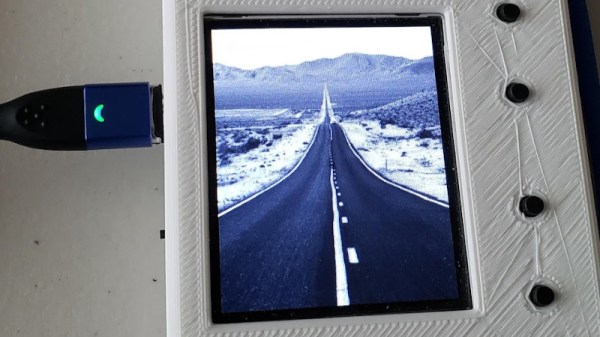
New Arduino JPEG Library Focuses On Speed

Working with graphics on microcontrollers has always meant focusing on making the most of limited resources. Particularly in the 8-bit era, all manner of tricks were used to get low-performance chips to achieve feats beyond their lowly station. However, these days, we’re blessed with 32-bit workhorses with clock speeds in the tens, or even hundreds, of MHz and many kilobytes of RAM to match. It’s these higher performance chips [Larry] had in mind when writing his JPEGDEC library.

As [Larry] discusses in a blog post on the topic, JPEG libraries already exist for the Arduino platform. However, many of these are aimed at 8-bit platforms with tiny amounts of RAM. While it’s possible to decode JPEGs piece by piece with some intelligent code under these conditions, it’s possible to go much faster when you’ve got a little more headroom. [Larry] does a great job of explaining the variety of optimizations he’s developed in the two decades since writing his first JPEG decoder back in 1994. From eliminating unnecessary marker checks to ignoring unneeded data for scaled-down output, it all adds up to get the job done faster. The library targets the Cortex-M0+, or any chip with a minimum of 20K of RAM, as its bare minimum to operate. Faster chips with higher clock rates naturally do better, and [Larry] provides benchmark decoding times for various common hardware using the library.

We’ve featured [Larry]’s GIF decoder for the Arduino platform before, again a useful library that’s optimised for good performance. If you’ve got your own neat tricks for image processing on microcontrollers, you know how to call!
The USB Null Modem Cable Is Now A Thing

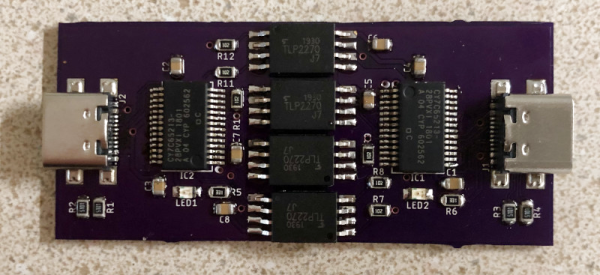
The classic serial null-modem cable was, among other things, used to connect two computers together for communications and file transfer. Largely eliminated in daily use by the advent of home networking, there are still fringe applications where such a thing can come in handy. [Nick Sayer] needed just such a tool, but one that would work in a modern USB environment. Enter the isolated USB null-modem.

The device consists of two USB Communication Device Class, or CDC chips, creating a USB serial port for each attached computer. The TX and RX lines are cross-connected to allow communication between the two sides. Rather than directly connect the lines, however, they pass through an opto-isolator. This is important, as it allows two computers at different ground potentials to be safely connected to each other without damage.

[Nick] originally created the device to solve a specific problem at his day job, but community response was large enough that he was kind enough to share the project online. Expect to see devices available on Tindie in future for those that need a hookup. While it’s not something everyone will need, for those that do, it should come in handy. If you’re looking for other useful applications for USB-serial devices, there’s plenty – you can even try your hand at software-defined radio!

Reactive Pixel Lamps Create Colourful Vibes On Command

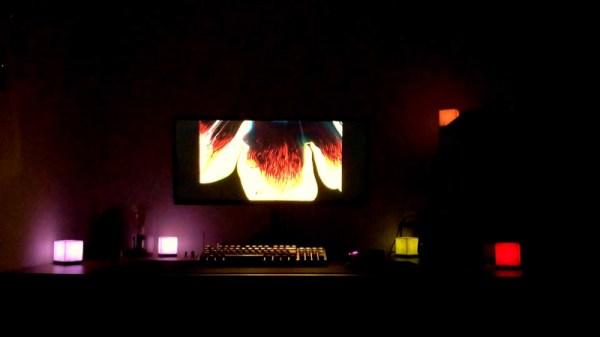
Phillips Ambilight technology is a curious thing, never quite catching on in the mainstream due to its proprietary nature. Consisting of an LED array that sits behind a television screen, it projects colours relevant to the content on screen to create a greater feeling of ambience. [Ed Chamberlain]’s reactive pixel lamps aim to do much the same thing in a more distributed way.

Each pixel lamp consists of a Wemos D1 controller fitted with an old-school 4-wire RGB LED. The components are placed in a 3D printed translucent cube, which serves as an attractive enclosure and diffuser. With WiFi connectivity on board, it’s possible to connect the individual cubes up to a Raspberry Pi serving as a Phillips Hue bridge thanks to DIYHue. Once setup, the lights can be configured as an Ambilight system within the Phillips Hue app.

It’s an impressive way to give a room reactive lighting on a budget, without resorting to costly off-the-shelf solutions. We’d love to see this expanded further, as we’re sure a room full of reactive lights would be truly a sight to behold. Other methods to recreate the Ambilight technology are possible, too. Video after the break.

Continue reading “Reactive Pixel Lamps Create Colourful Vibes On Command” →

Arduino Rig Does Spectrophotometry

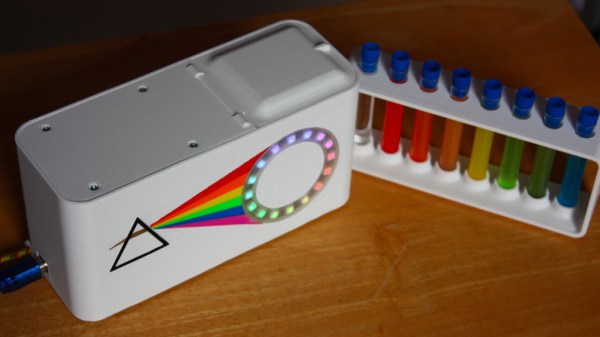
Spectrophotometry is an important scientific tool, most commonly used in biology and chemistry. It’s a method to measure the amount of light absorbed by a chemical solution at various different wavelengths. While it’s typically the preserve of expensive lab equipment, [Daniel Hingston] built a rig to do the job at home.

The heart of the rig is a normal filament-based flashlight bulb, which produces good-quality white light containing all colors. A prism is then used to split the light into its component wavelengths, so that the sample can be tested across the whole light spectrum. The prism is rotated by a servo motor, which exposes the sample to the full rainbow, while an Arduino uses a light-dependent resistor to measure how much light makes it through the sample. Thus, the amount of light absorbed by the sample can be calculated, relative to calibrations made with no sample present.

It’s a simple build that can be achieved with fairly common materials, barring the prism which may need to be specially ordered. It would be a great way to teach highschool students about advanced scientific concepts, as well as showing them behind the curtain of how lab equipment works.

We see all kinds of DIY science gear around here; this lantern-based bioreactor is a great example. Video after the break.

Continue reading “Arduino Rig Does Spectrophotometry” →

Manual Larson Scanner Invites You To Crank It

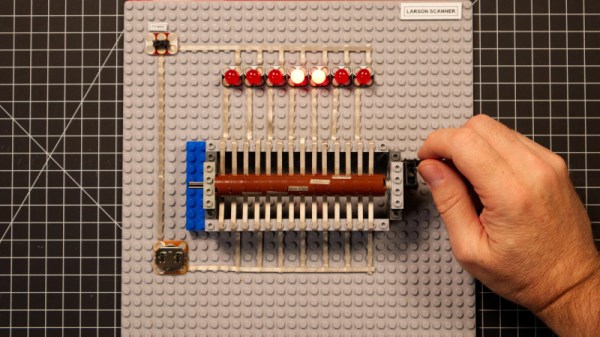
Hasselhoff make Larson Scanners famous. That’s the name for the scanning red lights on the front of KITT, the hero car from the popular 1980s TV series Knight Rider. Despite serving a solely aesthetic role, they remain a fun and popular LED project to this day. Putting a new twist on the old concept, [Pete Prodoehl] whipped up a Larson Scanner that you crank to operate.

Built out of LEGO, the project relies on a hand crank to work. The crank turns a drum, onto which is placed several strips of conductive Maker Tape – a steel/nylon material which we’ve looked at before. Strips of tape running side-by-side are bridge by segments of tape on the drum as it turns. The LEDs are switched on in the requisite pattern of a traditional Larson scanner.

The project has inspired further possibilities, such as using similar techniques to produce an electronic music box or player piano that will change tempo as the user changes the speed with the crank. [Pete] notes that turning the crank is an inherently enjoyable experience, and given the wonder inherent in hand-cranked musical projects like Marble Machine X, we can’t wait to see where this one goes next. Video after the break.

Continue reading “Manual Larson Scanner Invites You To Crank It” →

Get Creative With This ESP8266 Photography Light

In today’s fast-paced world of social media, if you want your photos to grab attention, you’ve got to have an edge. Whether it’s a deft touch in Photoshop or an amazing lens, it’s important to stand apart. Another great way is to experiment with lighting and color. To do just that, [Andrei] built a pocket RGB photo light for the home studio.

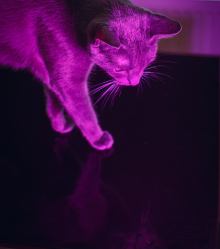
[Andrei]’s cat models for the camera.
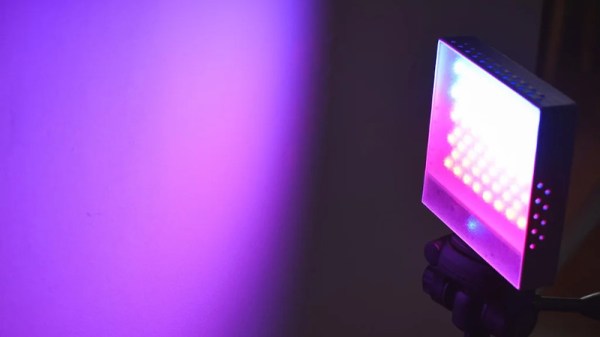
This is a project that any experienced maker should be able to whip up in a weekend. Not that there’s anything wrong with that, of course. The basic enclosure is 3D printed and readily reproducible on any FDM printer. Lighting is provided via the venerable WS2812B LED, 68 of them, to be exact. Finally there’s an ESP8266 running WLED, a webserver for the platform that’s dedicated to controlling LED strips. This makes it easy to tweak the LEDs with your smartphone.

Thanks to the WS2812Bs LEDs, a full range of RGB colors are available for [Andrei] to experiment with. He’s done a great job showing off the light with a few choice cat pics that serve to show its capabilities. While we wouldn’t expect to use such a device for clean white lighting in a serious photographic sense, it’s a perfect tool for art photography.

We’ve covered other studio light builds before, too. Video after the break.

Continue reading “Get Creative With This ESP8266 Photography Light” →

How To Get Into Cars: Aero Mods For More Grip

In 1960, Enzo Ferrari said “Aerodynamics are for people who can’t build engines”. It’s a quote that’s been proven laughably wrong in decades since. Aerodynamics are a key consideration for anyone serious about performance in almost any branch of motorsport. Today, we’ll take a look at how aero influences the performance of your car, and what modifications you might undertake to improve things.

Gains To Be Had

Improving the aerodynamics of your vehicle can mean wildly different things, depending on what your end goal is. Aerodynamics affects everything from top speed, to fuel economy, to grip, and optimizing for these different attributes can take wildly different routes. Often, it’s necessary to find a balance between several competing factors, as improvements in one area can often be detrimental in another.

To understand aerodynamics with regards to cars, we need to know about the forces of lift (or downforce), and drag. Drag is the force that acts against the direction of motion, slowing a vehicle down. Lift is the force generated perpendicular to the direction of motion. In the context of flight, the lift force is generated upwards with respect to gravity, lofting planes into the air. In an automotive context, we very much prefer to stay on the ground. Wings and aerodynamic surfaces on cars are created to create lift in the opposite direction, pushing the vehicle downwards and creating more grip. We refer to this “downwards lift” as downforce.

Continue reading “How To Get Into Cars: Aero Mods For More Grip” →