What are your plans for the long weekend? If you don’t have time or don’t want to dive into a new project, why not dust off something left unfinished, or do as Hackaday alum [Cameron Coward] did recently and upgrade an old project with a new brain.
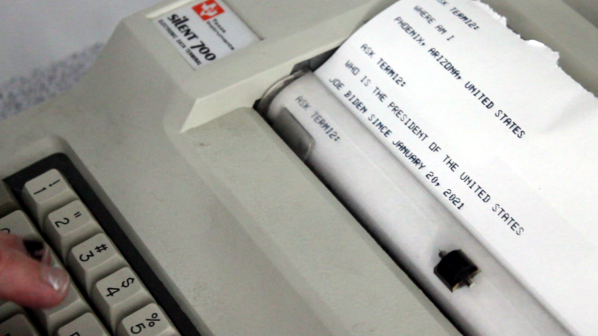
In this case, the project in question is a terminal typewriter — a Texas Instruments Silent 700 Terminal, to be exact — into a sort of late ’70’s version of Siri. The terminal typewriter is a special beast that used an acoustic coupler to send and receive both beeps and boops from distant mainframes. Whereas the first iteration of Termi used a Raspberry Pi Zero W to run a script that queries Wolfram Alpha, [Cameron] decided that between the login requirement, the boot time, and the weird formatting required to get it to work, that there had to be a better way.
Turns out that the better way is to use an ESP32 and read the “serial port”, which is a proprietary port with two serial connections — one for the acoustic coupler, and one for regular serial communication. Our favorite thing about this build, no matter the brain, is that there is a permanent record of all the questions and answers. Be sure to check out the video after the break.