Last month, I had the pleasure witnessing a birth. No, not of a child. What I’m talking about is something far rarer, though arguably, just as loud and danger fraught — the birth of a new hacker convention.
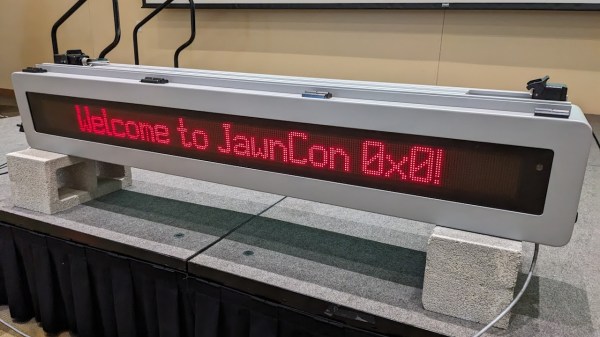
The very first JawnCon took place on October 19th and 20th at Arcadia University, just outside of Philadelphia. If you’re in the Northeast US and suddenly find yourself surprised to learn that a hacker con managed to slip under your radar, don’t be. The organizers, who previously helped launch the WOPR Summit back in 2019, wisely decided to keep the scale of this first outing in check. Just a single track of talks, a chill out room, and 130 or like-minded individuals.
 Although, even if they’d hatched a more ambitious plan, it’s hard to imagine they’d have had enough time to pull it off. Due to various circumstances, JawnCon had to come together at a breakneck pace, with less than 100 days separating the con’s inception and kickoff. That an event such as this could not only be organized so quickly, but go off without a hitch, is a testament to the incredible folks behind the scenes.
As for what a Jawn is…well, that might take a bit more explaining. It’s regional slang that’s perhaps best described as a universal noun in that it can be used to refer to basically anything or anyone. Think “smurf” or “da kine”. According to organizer Russell Handorf, the all-encompassing nature of the word describes not only his personal ethos but the spirit of the event. Rather than focusing too closely on any one aspect of hacking, JawnCon set out to explore a diverse array of tech topics from both the new and old schools. It would be an event where you could listen to a talk on payphone remote management, try your hand at lock picking, and learn about the latest in anti-drone technology, all under the same roof.
To that end, the team did an incredible job. Everyone I spoke to, young or old, newbie or vet, had a fantastic time. What’s more, as revealed in the Closing Remarks, the con actually managed to stay in the black — no mean feat for a first attempt. With a little luck, it seems like JawnCon is well on its way to becoming one of the Northeast’s can’t-miss hacker events. Continue reading “JawnCon 0x0: A Strong Start With A Bright Future” →