The holidays are rapidly approaching, and you probably already have a topic or two to argue with your family about. But what about with your hacker friends? We came upon an old favorite the other day: whether it “counts” as retrocomputing if you’re running a simulated version of the system or if it “needs” to run on old iron.
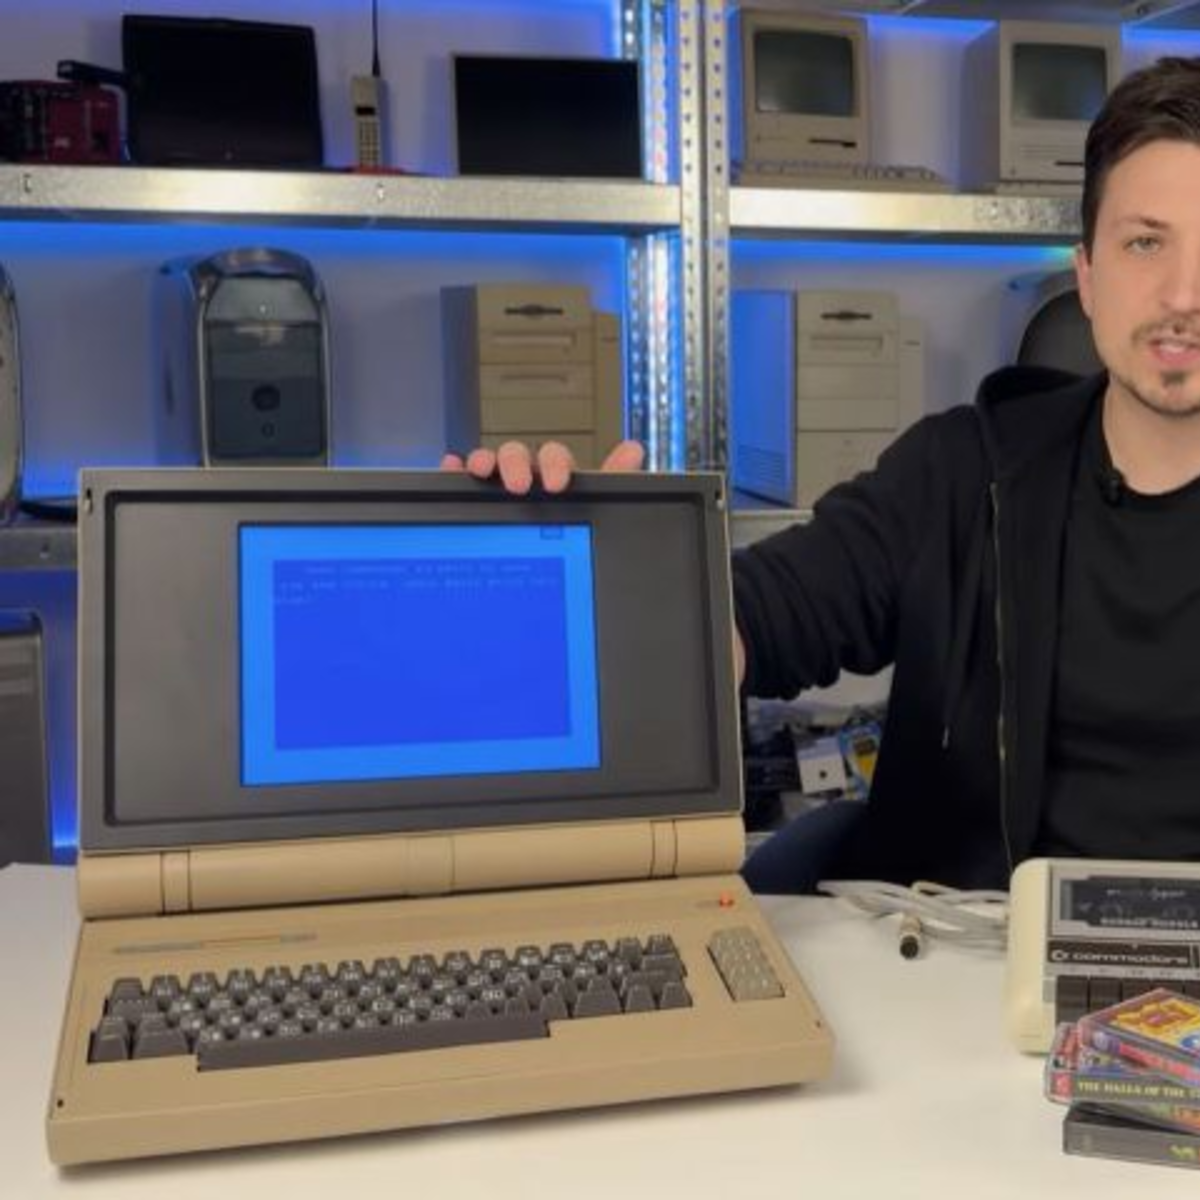 This lovely C64esque laptop sparked the controversy. It’s an absolute looker, with a custom keyboard and a retro-reimagining-period-correct flaptop design, but the beauty is only skin deep: the guts are a Raspberry Pi 5 running VICE. An emulator! Horrors!
We’ll admit to being entirely torn. There’s something about the old computers that’s very nice to lay hands on, and we just don’t get the same feels from an emulator running on our desktop. But a physical reproduction like with many of the modern C64 recreations, or [Oscar Vermeulen]’s PiDP-8/I really floats our boat in a way that an in-the-browser emulation experience simply doesn’t.
Another example was the Voja 4, the Supercon 2022 badge based on a CPU that never existed. It’s not literally retro, because [Voja Antonics] designed it during the COVID quarantines, so there’s no “old iron” at all. Worse, it’s emulated; the whole thing exists as a virtual machine inside the onboard PIC.
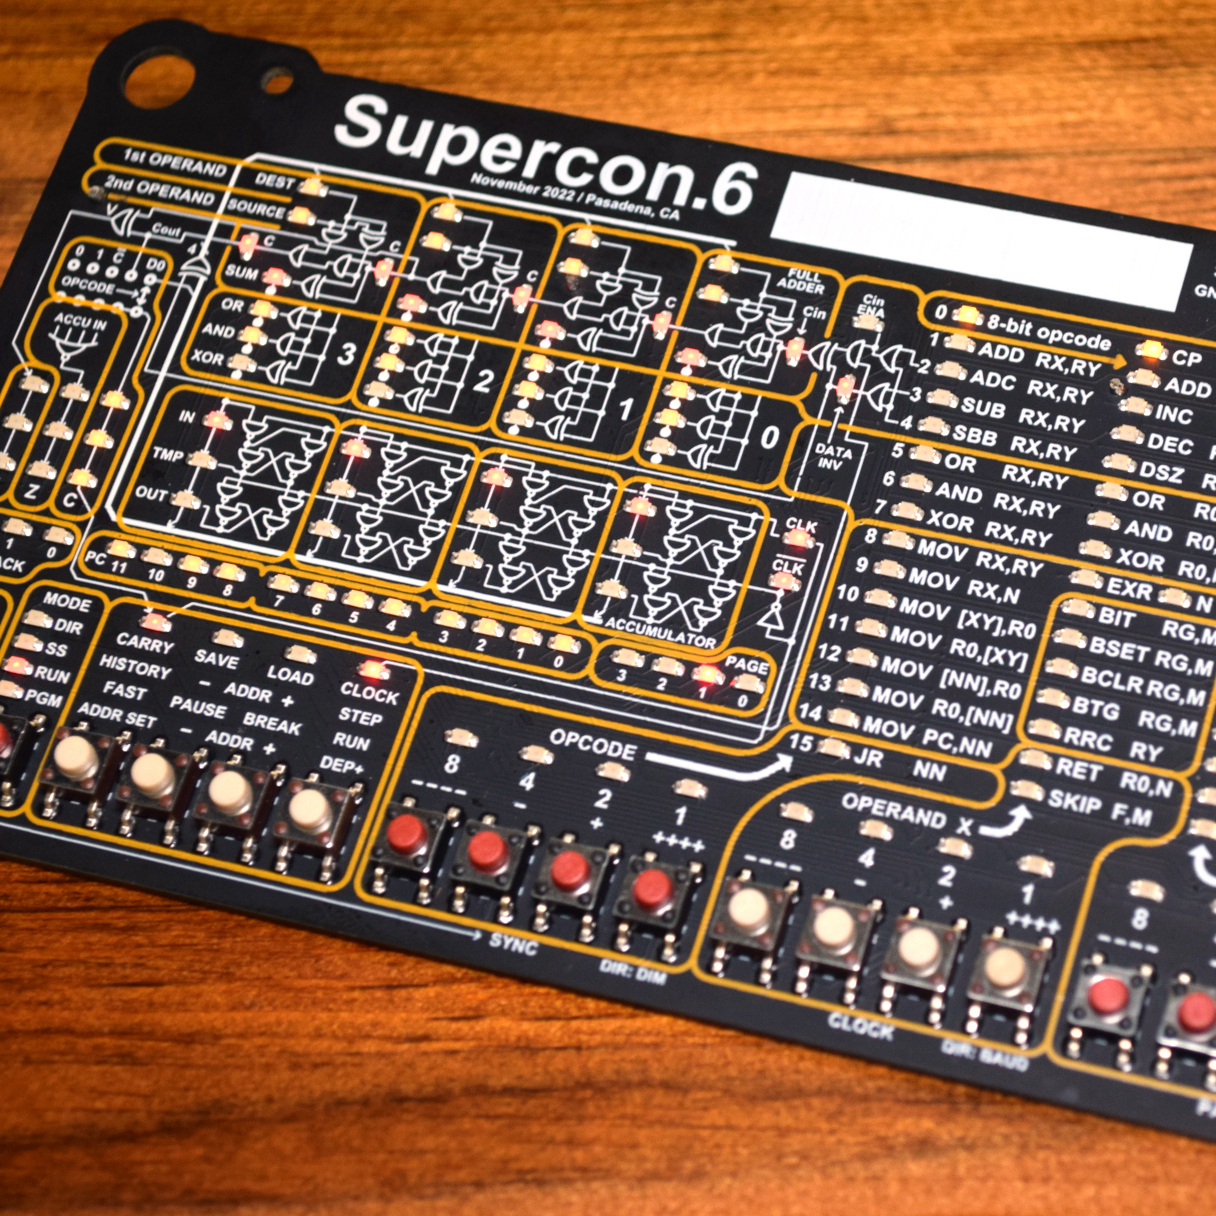 But we’d argue that this badge brought more people something very much like the authentic PDP-8 experience, or whatever. We saw people teaching themselves to do something functional in an imaginary 4-bit machine language over a weekend, and we know folks who’ve kept at it in the intervening years. Part of the appeal was that it reflected nearly everything about the machine state in myriad blinking lights. Or rather, it reflected the VM running on the PIC, because remember, it’s all just a trick.
So we’ll fittingly close this newsletter with a holiday message of peace to the two retrocomputing camps: Maybe you’re both right. Maybe the physical device and its human interfaces do matter – emulation sucks – but maybe it’s not entirely relevant what’s on the inside of the box if the outside is convincing enough. After all, if we hadn’t done [Kevin Noki] dirty by showing the insides of his C64 laptop, maybe nobody would ever have known.