Building A Stump Grinder From The Ground Up

Felling a tree properly is a skill that takes some practice to master, especially without causing any injuries or property damage. Getting the tree cut down though is sometimes only half of the battle, as the stump and roots need to be addressed as well. Unless you have a few years to wait for them to naturally decompose you might want to employ a stump grinder, and unless you want to spend a chunk of money on a stump grinding service or buy your own, you might want to do what [Workshop from Scratch] did and build your own.

This stump grinder isn’t anything to scoff at, either, and might even fool some into thinking it’s a consumer grade tool from a big box store. Far from it though, as almost everything down to the frame is custom machined specifically for this build. The only thing that isn’t built from scratch, including the cutting wheel, is the beefy 15 horsepower motor. Once it gets going it is able to carve stumps down to the ground in no time thanks especially to some gear reductions in the drive line from the motor to the cutting head.

Before anyone mentions safety, it looks like [Workshop from Scratch] has made some upgrades since his last project which was a gas-powered metal cutting chainsaw. Since then it looks like he has upgraded the sheet metal to something a little thicker, even though a stump grinder has arguably lower risk due to the slower speed of the cutting wheel and also to the fact that the cutting medium is wood and not metal. There are also brakes and an emergency shutoff switch. It sure seems like a fine addition to his collection of completely custom tools.

Continue reading “Building A Stump Grinder From The Ground Up”

See This Hybrid Approach To Folded 3D Printed Mechanisms

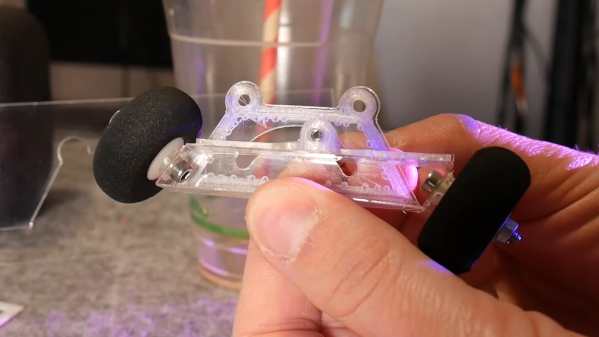
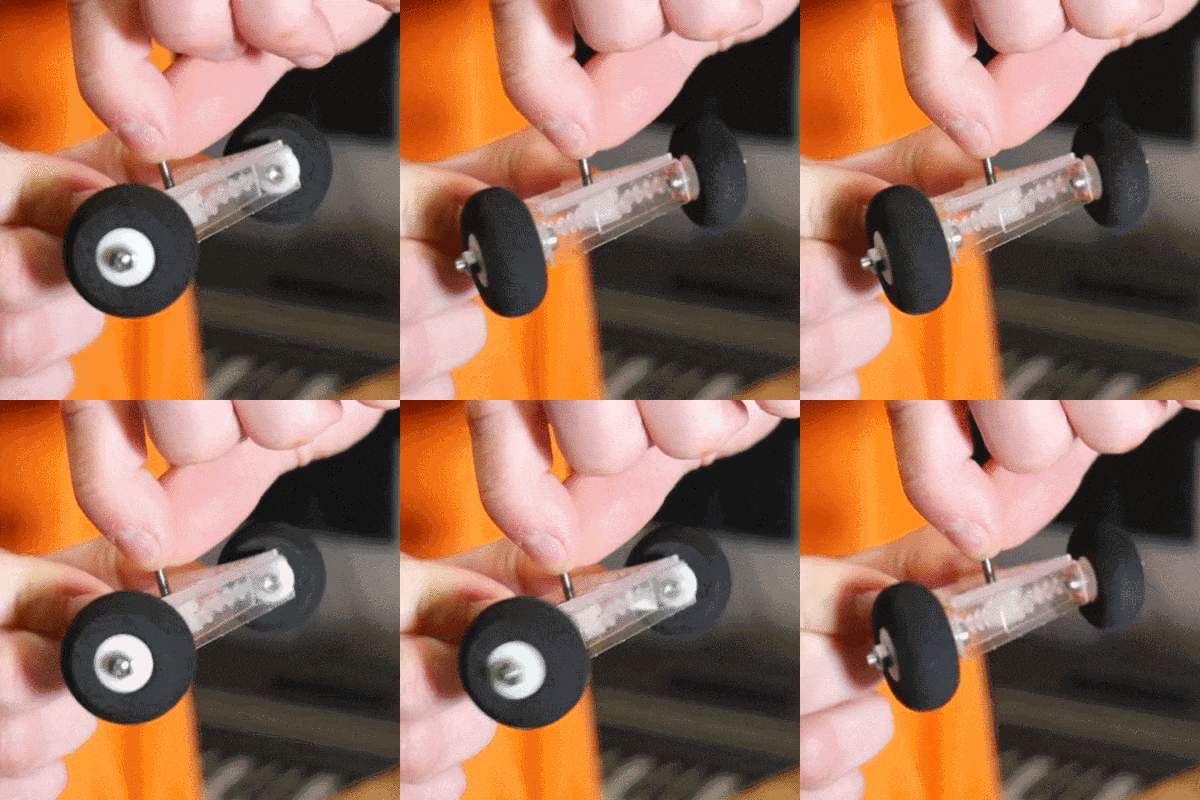
3D printers are quite common nowadays, but we’re still far from exhausting new ideas to try with them. [Angus] of [Maker’s Muse] recently got interested in 3D printing small mechanical assemblies that can be put together by folding them up, and also depend on folding linkages for the moving parts. (Video, embedded below.) The result would be lightweight, functional assemblies that would be simple to manufacture and require very few parts; but how to make the hinges themselves is the tricky part. As a proof-of-concept, [Angus] designed a clever steering linkage that could be printed flat and folded together, and shows his work on trying to make it happen.

[Angus] points out that that 3D-printed hinges have a lot of limitations that make then less than ideal for small and lightweight assemblies. Printing hinge pieces separately and assembling after the fact increases labor and part count, and print-in-place hinges tend to have loose tolerances. A living hinge made from a thin section of material that folds would be best for a lightweight assembly, but how well it works depends a lot of the material used and how it is made.

[Angus] tries many different things, and ultimately decided on a hybrid approach, combining laser cutting with 3D printing to create an assembly that consists of a laser-cut bottom layer with 3D printed parts on top of it to create a durable and lightweight device. He hasn’t quite sorted it all out, but the results show promise, and his video is a fantastic peek at just how much work and careful experimentation can go into trying something new.

Continue reading “See This Hybrid Approach To Folded 3D Printed Mechanisms”

Illustrated Kristina with an IBM Model M keyboard floating between her hands.

Keebin’ With Kristina: The One With The Mad Model M

Hand-Wired Hell Help

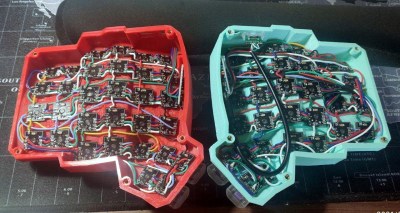
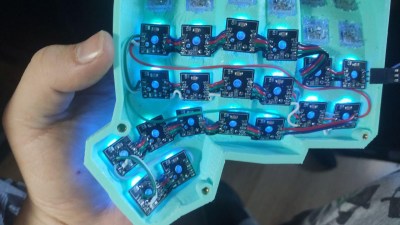
Do you dream of building a curvy ergonomic keyboard or macro pad, even though the idea of hand wiring gives you nightmares? You can make it a bit less troublesome with a tiny PCB for each key switch, as long as you have a reflow oven or you’re okay with a bit of surface-mount soldering for the diode, LED, and capacitor.

As a bonus, these should make switches a bit more secure against movement, and you could probably even get away with using hot swap sockets if you wanted. [Pedro Barbero] has the Gerber files available if you want to get some fabbed. We sort of wish we had used these on our dactyl, though the case is awfully tight and they might not fit.

Ultra-Mechanical Keyboard Angles with Lifter Motors

Lots of people prefer an angled keyboard, but plenty of new keebs, especially mechanical ones, just don’t offer that at all. Well, the wait for an adjustable 75% is over, at least. Okay, that’s not exactly true. The wait for a group buy to begin for an adjustable 75% is almost over.

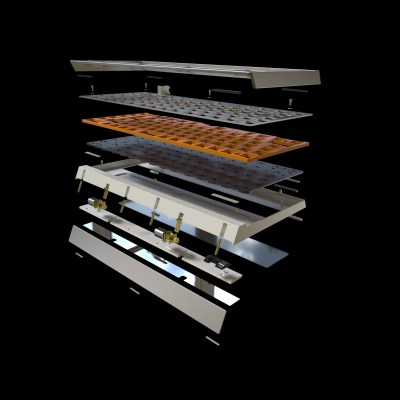
Nestled in between the arrow cluster and the menu key of the Besides Studios M-One is a rocker switch that angles the keyboard from 3° to 7° slowly but surely, like an adjustable bed. This is going to be a bare-bones group buy, meaning that it won’t come with any switches, stabs, or keycaps, but that doesn’t mean it will be cheap at $299. [BadSeed Tech] got an early prototype and built it out with Gateron Ink Black V2 switches in the video below in order to give it a proper spin.

Continue reading “Keebin’ With Kristina: The One With The Mad Model M”

Ten Projects Won The Refresh Work-From-Home-Life Round Of The Hackaday Prize

Here we are, a year and change into this pandemic, and if you were new to working-from-home every day at the start, surely it has lost its luster by now. We asked you to stand back and assess what can be better about WFH life and you took it from there, building incredibly useful things we couldn’t have dreamed of. From a pool of more than one hundred entries, the judges have selected ten projects whose creators have each been awarded a $500 prize, and will advance to the final round of the 2021 Hackaday Prize in October.

Are your prototypes a mess of wires? Or do you spend way too much time making sure each jumper is cut to the perfect length? Either way, you’re better off using breadWare, which takes a standard breadboard and changes the connection process into a software solution. That’s right — any rail including the power rails can connect to any other thanks to a handful of analog CMOS switch chips.

Maybe you’d love to build the perfect keyboard to grace your battlestation, but are afraid of all that hand wiring. Make it easier on yourself by soldering each key switch to its own little PCB.

If your home office is sometimes overrun by little humans that need immediate attention, you’ll no doubt appreciate the value of a device that can deactivate your web camera and mic automatically when it no longer senses your presence.

You may have left that awful office lighting behind, but you’re still getting plenty of prolonged exposure to blue light. This project aims to head that off a bit by replicating the current outdoor light temperature with indoor lighting. And don’t forget — air quality is just as important, so crack open a window once in a while and build yourself a smart lamp that can give you hard numbers.

This was the second of five challenges in the 2021 Hackaday Prize, which means that the ten finalists linked below will have until the end of October to flesh out and polish their projects before the final round of judging. Meanwhile, we’ve kicked off the next round with the Re-imagine Supportive Tech challenge. Show us how you would make electronics and devices more accessible, as in more modular, hackable, or affordable.

Ten Finalists from the Refresh Work From Home Challenge:

If you like these, take some time to kick back and peruse the entire list of entries in this challenge. You deserve it.

Cool WS2811 Trick Makes LED Art Installation Smooth

Normally, when a project calls for addressable LEDs, we just throw a strip of WS2812s and an Arduino together, cobble together some code from the examples in the FastLED library, and call it a day. We don’t put much thought into what’s going on under the hood, unless and until we run into an LED project that’s a little more challenging.

Inventor [Leo Fernekes] found himself in such a situation recently, when he pitched in on an LED art installation. The project called for rings of LED bars around the trunks of trees on a private estate. The physical size of the project and the aesthetic requirements created significant challenges, though. One of these was finding a way to control the LED bars, each of which draws about 100 mA and needs to be very smoothly dimmed. [Leo] looked at the WS2811 LED driver, but found that the low drive current and the 8-bit PWM output failed to tick either of those boxes.

[Leo] solved both problems by using two of the three PWM channels on the chip in concert — one to control the current and one to PWM the LED. The circuit he came up with is deceptively simple — just four transistors, a Schottky diode, and a bunch of passives. The other clever bit is the data interface between LED bars, which can be configured as either single-ended or differential. This allows the same interface to be used for the short distance between bars on a tree, and the longer runs between trees.

As usual, [Leo] does a great job of explaining his design and how it works, which we find very instructional. He did something similar when he managed to dim a non-dimmable LED fixture.

Continue reading “Cool WS2811 Trick Makes LED Art Installation Smooth”

Hands-On Review: TCam-Mini WiFi Thermal Imager

A thermal camera is a tool I have been wanting to add to my workbench for quite a while, so when I learned about the tCam-Mini, a wireless thermal camera by Dan Julio, I placed an order. A thermal imager is a camera whose images represent temperatures, making it easy to see things like hot and cold spots, or read the temperature of any point within the camera’s view. The main (and most expensive) component of the tCam-Mini is the Lepton 3.5 sensor, which sits in a socket in the middle of the board. The sensor is sold separately, but the campaign made it available as an add-on.

Want to see how evenly a 3D printer’s heat bed is warming up, or check whether a hot plate is actually reflowing PCBs at the optimal temperature? How about just seeing how weird your pets would look if you had heat vision instead of normal eyes? A thermal imager like the tCam-mini is the tool for that, but it’s important to understand exactly how the tCam-mini works. While it may look like a webcam, it does not work like one.

Continue reading “Hands-On Review: TCam-Mini WiFi Thermal Imager”

Classroom Surplus Becomes Linux Powerhouse

The SMART Response XE is a handheld computer that was originally sold for use in the classroom as a terminal for pupils taking tests. It’s now cheap enough on the surplus market to have become a target for experimenters, and we’ve seen them with a variety of cool hacks. We particularly like what [chmod775] has done with it, putting a VT100 terminal emulator on the device and hiding a NanoPi Neo Air single board computer in the battery bay. Powered from a USB battery bank, it gives a fully-featured Linux terminal in the palm of the hand. We see it running an Ubuntu LTS  version, and it’s clear that it’s a functional and usable device.

This raises a more abstract question though: We’d guess comparatively few of us write software through an old-style dumb terminal, instead we’re more likely to get our terminal experience at a much more accomplished command line with all the conveniences of a modern desktop surrounding it. How many of us could comfortably return to the limited confines of a VT100 emulator on an odd-sized LCD display? We’d be interested to hear [chmod755]’s experiences using it, because if it retains usability it’s a device we wouldn’t mind having ourselves.

Hungry for more SMART Response XE hacks? Take a look at the BASIC computer, or the spectrum analyser.