Well, this is a pleasant surprise: it seems that industrial designer [Eric Strebel] recently got a hold of an industrial sewing machine to tackle the softer side of prototyping. What doesn’t surprise us is that he did some upgrades to make it more user-friendly. Check them out in the video embedded below.
So, what’s the difference between a machine like this and what you might have around the house? Domestic sewing machines have a motor about the size of your fist, and it’s inside the machine’s body. Modern domestics can do light-duty work, but they can’t handle making bags and upholstery or sewing a bunch of layers of any material together. Industrial machines have either clutch or servo motors that are easily five times the size of a domestic’s motor, and are built into the table along with the machine.
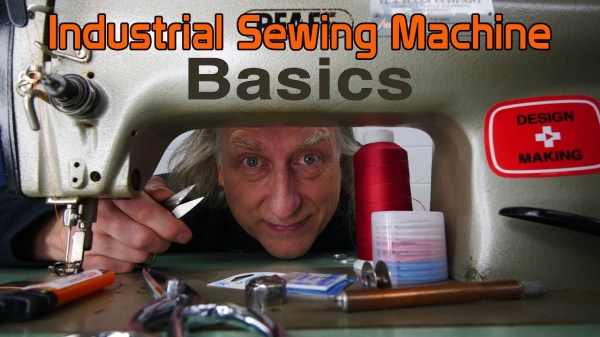
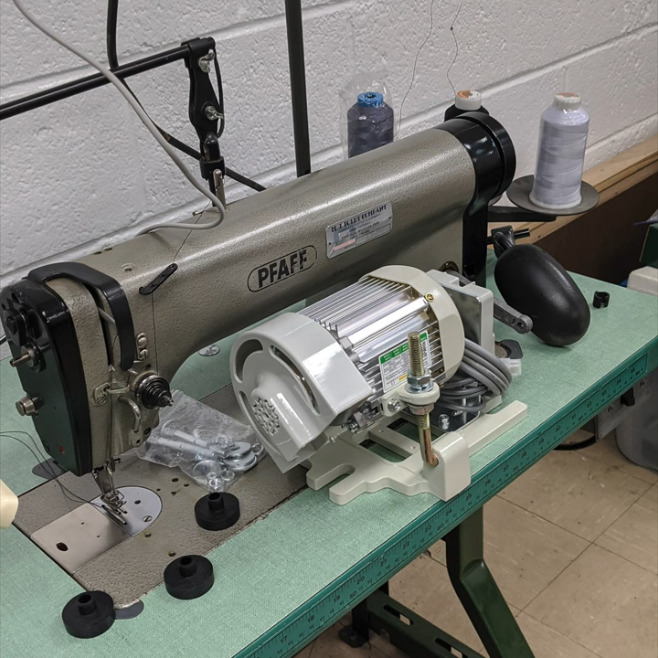
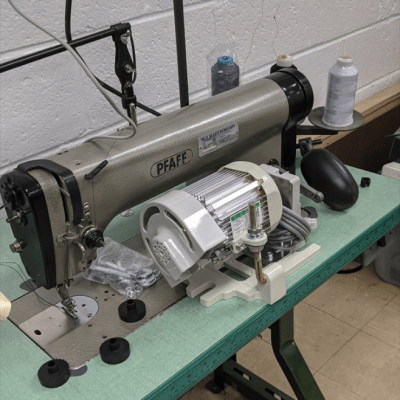 [Eric] found this Pfaff 463 on Craigslist. It was built somewhere around 1950, and it only does one thing — a single-needle, straight stitch, forward or reverse — but it will do it through damn near anything you want (unlike those computerized hunks of plastic made for home use nowadays). Again, these machines are always built into a table, and they come with a lamp. While the machine itself may be a workhorse, the light is wimpy, so [Eric] replaced it with a goose-neck LED light that has a magnet for sticking it anywhere light is required around the machine.
No matter the size, electric sewing machines are driven with a foot pedal. On a domestic, the pedal is loose and you just put it on the floor wherever you want, but industrial foot pedals are built into the table frame. [Eric] drilled a bunch of new holes in the side of the pedal so he can move the connecting rod closer to the pivot point. This gives him better control with less footwork.
The biggest, baddest upgrade [Eric] did was to the motor. Although there was nothing wrong with the original clutch motor, it makes the machine go very fast so that garment workers can fulfill their quotas. Because of this, it’s difficult to control. He upgraded to a brushless DC servo motor for greater precision and easier prototyping. He got really lucky, too, because it mounted directly into the old holes.
We agree wholeheartedly with [Eric]’s sentiment about old sewing machines, or any old machine for that matter. They tend to be overbuilt because planned obsolescence wasn’t a thing yet. If you can’t afford or find an industrial, an old Singer or something similar will likely serve your purpose, as long as you use the right needle.
If you already have an old domestic machine sitting around, you might be able to breathe new life into it with a 3D printer.
Continue reading “Simple Upgrades Make An Old Industrial Sewing Machine New Again” →
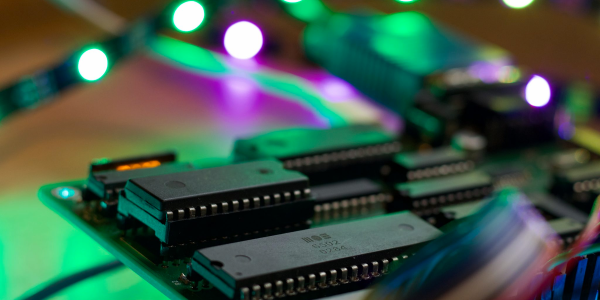
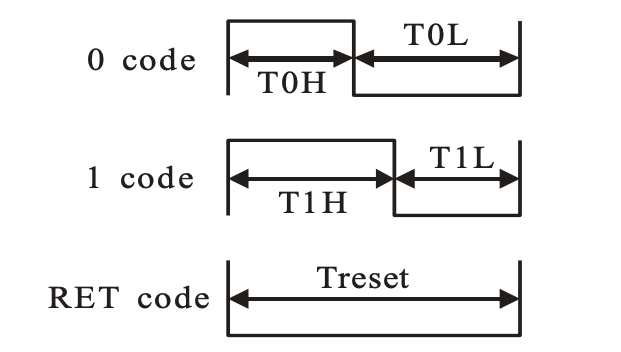 Specifically, [Anders] abuses the 74LS165 parallel-in, serial-out shift register for his dirty work. Instead of bit-banging the WS2812’s “long high is a 1, short high is a 0” signal directly, the first few bits of the shift register are hard-wired to VCC and the last few to GND.