By now most readers should be used to the phenomenon of taking almost any microcontroller and coaxing it to run a port of the 1990s grand-daddy of all first-person shooters, id Software’s Doom. It’s been done on a wide array of devices, sometimes only having enough power for a demo mode but more often able to offer the full experience. Latest to the slipgate in this festival of pixelated gore is [Nicola Wrachien], who’s achieved the feat using an nRF52840-based USB Bluetooth LE dongle.
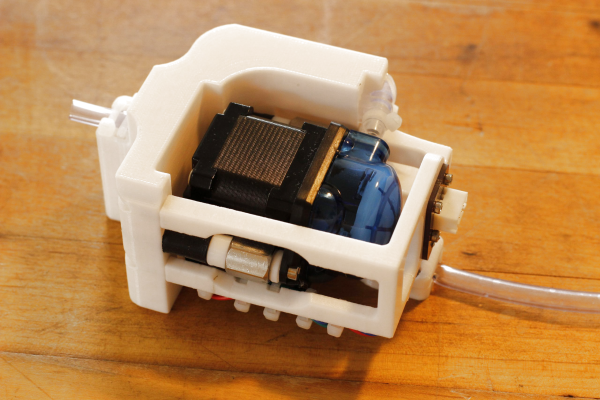
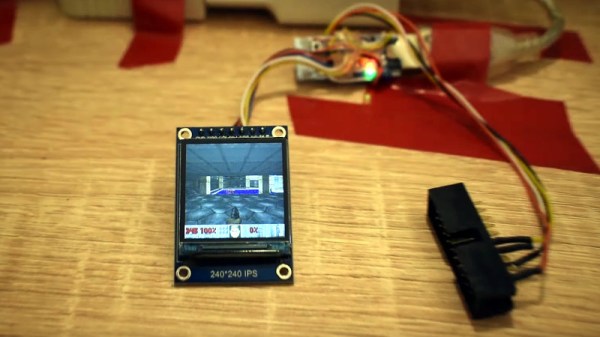
Full details can be found on his website, where the process of initial development using an Adafruit CLUE board is detailed. A 16MB FLASH chip is used for WAD storage, and an SPI colour display takes us straight to that cursed base on Phobos. The target board lacks enough I/O brought out for connection to screen and FLASH, so some trickery with 7400 logic is required to free up enough for the task. Controls are implemented via a wireless gamepad using an nRFS1822 board, complete with streamed audio to a PWM output.
The result can be seen in the video below the break, which shows a very playable game of both Doom and Doom 2 that would not have disgraced many machines of the era. This was prototyped on an Adafruit Clue board, and that could be the handheld console you’ve been looking for!
Continue reading “It’s Doom, This Time On A Bluetooth LE Dongle”