Building A Local Network With LoRaWAN

At its core, the Internet is really just a bunch of computers networked together. There’s no reason that there can’t be other separate networks of computers, or that we all have to tie every computer we have to The One Internet To Rule Them All. In fact, for a lot of embedded systems, it doesn’t make much sense to give them a full network stack and Cat6e Ethernet just to report a few details about themselves. Enter LoRaWAN, a wireless LAN that uses extremely low power for Internet-of-Things devices, and an implementation of one of these networks in an urban environment.

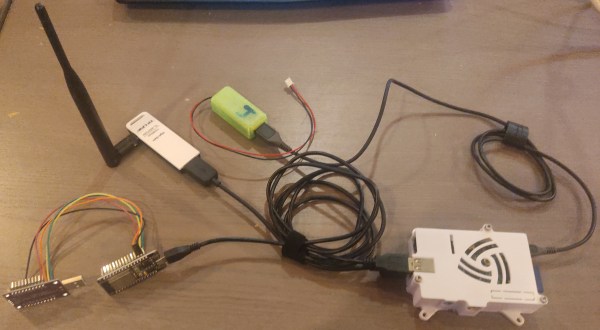
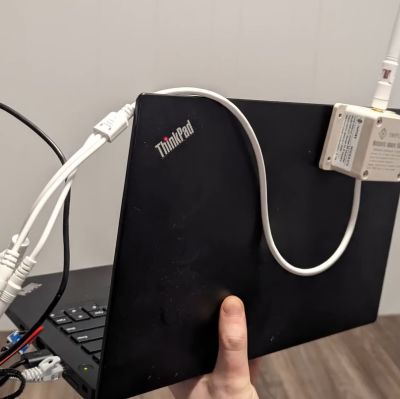
The core of the build is the LoRaWAN gateway which sits at the top of a tall building to maximize the wireless range of all of the other devices. It’s running ChirpStack on the software side and uses a Kerlink Wigrid station to broadcast. The reported range is a little over 9 km with this setup. Other gateways can also be added, and the individual LoRa modules can report to any available gateway. From there, the gateways all communicate back to the central server and the information can be sent out to the wider network, Internet or otherwise.

The project’s creator [mihai.cuciuc] notes that this sort of solution might not be best for everyone. There are other wide area networks available, but using LoRaWAN like this would be likely to scale better as more and more devices are added to the network. For some other ways that LoRa can be used to great effect, take a look at this project which builds an off-grid communications network with it.

Generating Stereo FM Signals, Thanks To Python

A casual understanding of how AM radio works is pretty easy to come by, and standard FM is only a little more complicated. Things can go off the tracks a bit with stereo FM, though — figuring out how they squeeze two separate audio tracks onto one radio signal is a bit of a head-scratcher. In that case, wrapping your head around the concept might be helped by mocking up a stereo FM signal with an arbitrary waveform generator and a little bit of Python.

Not that [Sebastian] of Baltic Lab was unfamiliar with multiplex FM theory, mind you. As he explains it, his goal was to generate a valid stereo FM signal with a different pure tone on each channel, 700 Hz on the left and 2,200 Hz on the right. Luckily, [Sebastian] has a nice AWG, the Siglent SDG1032X, which has an Ethernet connection that can be used to control it remotely along with PyVISA, a Python package for controlling instruments using the Virtual Instrument Software Architecture protocol.

The meat of this project, and what really helps drive home the concept of putting multiple audio signals onto an FM signal, lies in the Python code that generates the component parts. [Sebastian] does a great job explaining how he programatically generates the sum and difference signals along with the 19 kHz pilot tone, and puts them all together into one waveform. The output of the program is used to generate a series of values that are sent to the arbitrary waveform generator, which outputs the desired FM signal. Looking at the output on a spectrum analyzer, the two audio tones are clearly visible, as are the attenuated pilot tone and some other spikes a little further up.

Just add an antenna to the setup and you’d have the world’s dullest FM radio station — but at least it’d be in stereo. Or if you want to check out the origin story for FM radio, we’ve got something for that too.

TRX-Duo Is A Red Pitaya Clone For Software Defined Radio

If you’ve noticed the TRX-DUO software-defined radio transceiver, you might have wondered how it stacks up to other choices like Red Pitaya or HackRF.  [Tech Minds] obliges with a review of the Red device in the video below.

While this unit isn’t inexpensive, it also isn’t as expensive as some of its competitors. Sure, you can pick up an RTL-SDR dongle for a fraction of the price, but then you miss out on transmitting. The device is pretty powerful compared to a cheap software defined radio:

  • Frequency: 10 kHz to 60 MHz
  • CPU: Zynq SoC with a dual-core ARM Cortex A9
  • RAM: 512 MB
  • OS: Linux
  • Connectivity: Ethernet and USB connectivity (WiFi with a dongle)
  • ADC: 16-bit at 125 MS/s (2 channels)
  • DAC: 14-bit at 125 MS/s (2 channels)

The board boots off an SD card and there are several to choose from. The video shows two different images. One has a number of applications that run on the device and will also run on a Red Pitaya. The device shows a browser menu with various options and the result is quite impressive. Using the box as a WSPR beacon, it was heard fairly well given the low output power. It was, however, able to hear the world easily.

You can get a less capable Red Pitaya model for about $100 less than the going price. However, for something comparable, you will pay more for the Red Pitaya and — depending on capabilities — perhaps a lot more, although you do get more capability for the increased price.

You can do a lot more with a transmitting SDR — having both transmit and receive opens up many new projects. Of course, canned applications are great, but if you get one of these, you are going to want to try GNU Radio.

Continue reading “TRX-Duo Is A Red Pitaya Clone For Software Defined Radio”

Exploring The Cutting Edge Of Desktop ARM Hardware

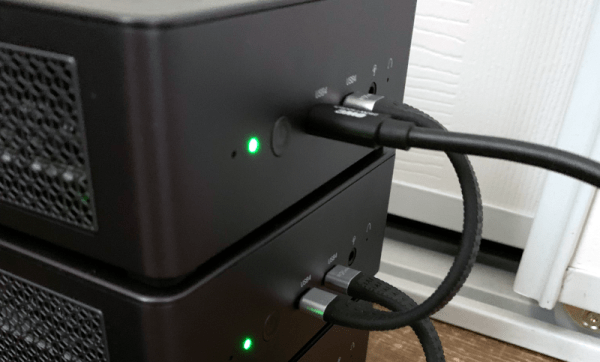
While the x86 architecture certainly isn’t going away anytime soon, it seems that each year more and more of our computing is done on ARM processors. It started with our smartphones, spread into low-cost Chromebooks, and now Apple’s gone all-in with their M1/M2 chips. But so far we haven’t seen too much movement in the desktop space, a fact which has arguably slowed the development of ARM-compatible software and operating systems.

But that doesn’t mean there aren’t options out there, and no, we don’t mean using a Raspberry Pi. [Wooty-B] has been documenting their efforts to switch over to a ARM desktop, which makes for fascinating reading even if you’re currently comfortable with your architecture choices. The key is the HoneyComb LX2K, a Mini-ITX ARM development board that offers enough expansion and raw power to meet most daily computing needs…assuming you’re willing to put in the effort. Continue reading “Exploring The Cutting Edge Of Desktop ARM Hardware”

Back of the dock shown. You can see that the dock is milled out of a massive chunk of aluminium, and you can see the charging, HDMI and Ethernet ports being accessible on the back.

Nintendo Switch Stock Dock Imperfect? Mill Your Own!

Despite the seat of honor it enjoys in literally millions of households, the official Nintendo Switch Dock is certainly far from perfect. For one, it’s not milled out of a hefty block of aluminum. A less apparent but no less important issue is that the ports are positioned kind of awkward – [Kevin] from Modified believes that the USB ports should be facing the front side, while the HDMI, Ethernet, and charging inputs should be on the backside — a reasonable position. He set out to fix both of these problems at the same time, and tells us the CNC-heavy rebuild story in a short but captivating video.

The original dock consists of two PCBs, and these two boards are the only thing [Kevin] didn’t redesign from scratch. As they’re connected with a flexible cable, he could freely rotate and thus completely reposition the ports-equipped board without soldering. He added some standoffs to secure this board to the case, and after 3D printing a few iterations for test-fitting, the milling went on for all of us to marvel at.

The resulting dock is pretty, functional, and even has some extra features — for instance, the “i” in the embossed Nintendo logo lights up when the dock is in use. In no small part due to the Nintendo logo, we don’t expect this one to grace store shelves, but we hope that it provides inspiration to other makers to do their builds. If you like this rebuild and crave more, whether you’re looking for inspiration, CNC work insights, or pretty milling videos, [Kevin]’s milled Xbox case project is an excellent “Watch next” choice.

Continue reading “Nintendo Switch Stock Dock Imperfect? Mill Your Own!”

Card's author typing on the IBM PC110's keyboard, with the Pico W-based card plugged into the PCMCIA slot on the left. PC110's screen shows successful ping 8.8.8.8.8.

Pi Pico W Does PCMCIA, Gets This IBM PC110 Online

Bringing modern connectivity to retro computers is an endearing field- with the simplicity of last-century hardware and software being a double-edged sword, often, you bring a powerful and tiny computer of modern age to help its great-grandparent interface with networks of today. [yyzkevin] shows us a PCMCIA WiFi card built using a Pi Pico W, talking PCI ISA. This card brings modern-day WiFi connectivity to his IBM PC110, without requiring a separate router set up for outdated standards that the typical PCMCIA WiFi cards are limited by.

The RP2040 is made to talk PCI ISA using, of course, the PIO engine. A CPLD helps with PCI ISA address decoding, some multiplexing, and level shifting between RP2040’s 3.3V and the PCI 5 V levels. The RP2040 software emulates a NE2000 network card, which means driver support is guaranteed on most OSes of old times, and the software integration seems seamless. The card already works for getting the PC110 online, and [yyzkevin] says he’d like to improve on it – shrink the design so that it resembles a typical PCMCIA WiFi card, tie some useful function into the Pico’s USB port, and perhaps integrate his PCMCIA SoundBlaster project into the whole package while at it.

This is a delightful project in how it achieves its goal, and a pleasant surprise for everyone who’s been observing RP2040’s PIO engine conquer interfaces typically unreachable for run-of-the-mill microcontrollers. We’ve seen Ethernet, CAN and DVI, along many others, and there’s undoubtedly more to come.

We thank [Misel] and [Arti] for sharing this with us!

Let Slip The Chips Of War

We’re going to go out on a limb and predict that future history books will note that the decision to invade a sovereign nation straight after a worldwide pandemic wasn’t exactly the best timing. Turns out the global electronics shortage the pandemic helped to catalyze isn’t just affecting those of us with peaceful intentions, as the Russian war machine is having a few supply issues with the parts needed to build modern weapons and their associated control equipment.

As you might expect, many of these parts are electronic in nature, and in some cases they come from the same suppliers folks like us use daily. This article from POLITICO includes an embedded spreadsheet, broken down by urgency, complete with part numbers, manufacturers, and even the price Moscow expects to pay!

Chips from US-based firms such as Texas Instruments are particularly hard for the Kremlin to source.

So what parts are we talking about anyway? The cheapest chip on the top priority list is the Marvell ‘Alaska’ 88E1322 which is a dual Gigabit Ethernet PHY costing a mere $7.10 USD according to Moscow. The most expensive is the 10M04DCF256I7G, which is an Altera (now Intel) Max-10 series FPGA, at $1,101 USD (or 66,815 Rubles, for those keeping score).

But it’s not just chips that are troubling them, mil-spec D-sub connectors by Airborn are unobtainable, as are all classes of basic passive parts, resistors, diodes, discrete transistors. Capacitors are especially problematic (aren’t they always). A whole slew of Analog Devices chips, as well as many from Maxim, Micrel and others. Even tiny logic chips from Nexperia.

Of course, part of this is by design. Tightened sanctions prevent Russia from purchasing many of these parts directly, which is intended to make continued aggression as economically unpleasant as possible. But as the POLITICO article points out, it’s difficult to prevent some intermediaries from ‘helping out’ without the West knowing. After all, once a part hits the general market, it is next to impossible to guarantee where it will eventually get soldered down.

Thanks to [Kim Tae] for the tip!