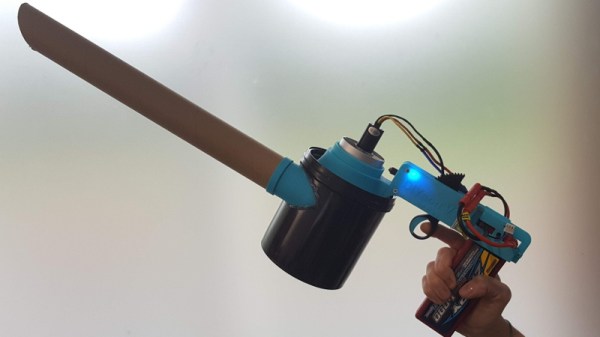
Making an event badge is hard work. Making a single prototype badge is hard enough, but the whole process of sourcing components and coordinating manufacture for hundreds of badges on a shoestring budget with the looming deadline of the event and its expectant attendees is a Herculean task.
[Uri Shaked] is one who bears the scars of producing an event badge, and he’s written a fascinating account of his experience. The conference in question was Aramcon 2019, a private tech event in Israel, and the badge has an nRF52840 driving an e-ink display, multi-colour LED, and an audio codec, with a set of full-size keyboard keys as user input. Since the nRF chip supports mesh networking, the idea was to produce a badge capable of streaming audio across the entire event.
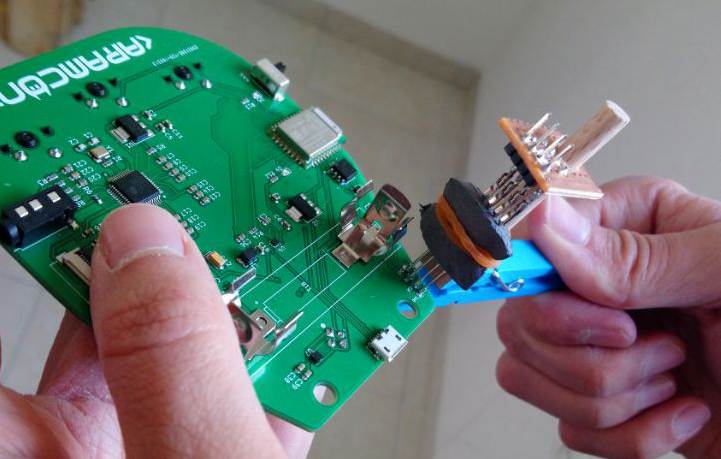
We follow the team through nail-biting months of prototype boards, reversed connectors with last-minute cable bodges, compatible parts that didn’t turn out to be quite so compatible, and wrong footprints, and see them arriving at a badge which worked, but without the audio they’d hoped for. Along the way they came up with a clothes-pin-based programming jig which would surely have merited its own Hackaday write-up had they covered it on its own. Demonstrating the mesh networking by turning a whole auditorium’s worth of badges LEDs yellow was their reward, and we can see they’ve produced a very creditable badge. We particularly like the use of keyboard key switches, and we commend them for planning a life for the badge after the event.
Our Hackaday colleague [Brian Benchoff] is a veteran of badge production, read his write-ups of the genesis of our Superconference 2017 badge and the Tindie dog badge. Meanwhile the keen-eyed among you may recognise the nRF52840 as the guts of the latest generation of Particle boards.