In 1962, John Glenn sat in his capsule waiting for his rocket engines to light-up and lift him to space. But first, he insisted that Katherine Johnson double-check the electronic computer’s trajectory calculations. While that’s the dramatic version of events given in the recent movie, Hidden Figures, the reality isn’t very far off. Glenn wasn’t sitting on the launchpad at the time, but during the weeks prior to launch, he did insist that Johnson double-check the computer’s calculations.
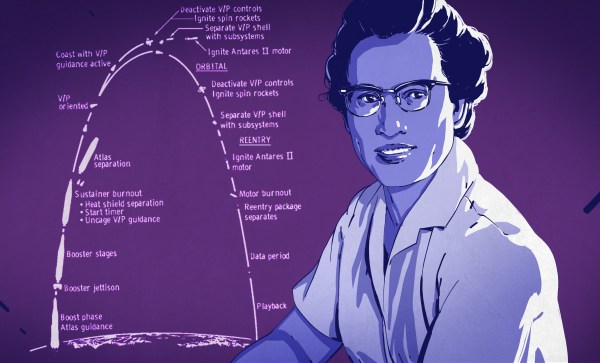
So who is this woman who played an important but largely unknown part of such a well-known historical event? During her long life, she was a wife, a mother, an African-American, a teacher, and a human computer, a term rarely used these days. Her calculations played a part in much of early spaceflight and in 2015, she was awarded the Presidential Medal of Freedom by President Obama. She also has a building named after her at the Langley Research Center in Hampton, Virginia.