Puerto Rico has a long road to recovery, and part of this is the damaged infrastructure: much of the electricity distribution network was destroyed, and will take months or years to rebuild. The Japanese hacker group [Hackerfarm], founded by Hackaday friend [Akiba], is looking to help by sending some of their solar lanterns to provide off-grid light.
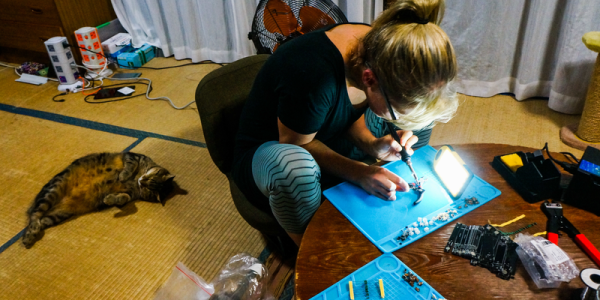
They’ve already shipped one batch, and are using the proceeds from sales of these paper lanterns to send more of them to Puerto Rico, where they will be given out to those who need them. The group has carried out similar projects before, distributing lanterns to Tsunami-hit areas of Japan and to Rwanda, where a women’s group builds and sells the lanterns. It seems like a great cause, and the design of the lanterns is pretty neat. We love that they provide an introduction to soldering and serve a higher purpose at the same time.
We’ve mentioned Hackerfarm before, both as part of a growing rural hackerspace scene, and because of their insane EL-wire creations and choreography. And [Akiba] gave a great talk at last year’s Supercon where he discussed the ins and outs of getting virtually anything done in Shenzhen. Check it out if you haven’t already.