Our feed is full of stories about the RF noise floor today, and with good reason. The ARRL reports on the International Amateur Radio Union Region 1 president, [Don Beattie, G3BJ] warning that in densely populated parts of Europe there is a danger that parts of the RF spectrum have become so swamped with noise as to be rendered unusable, while on the other side of the Atlantic we have RadioWorld reporting on similar problems facing AM broadcasting in the USA.
At issue are the usual suspects, interference from poorly shielded or suppressed domestic electronic devices, VDSL broadband, power-over-Ethernet, solar and wind power systems, and a host of other RF-spewing electronics. The combined emissions from all these sources have raised the noise level at some frequencies to the point at which it conceals all but the strongest signals. Any radio amateur will tell you that a station in a rural location will be electrically much quieter than one in a city, it seems that this effect has now reached a crescendo.
In the RadioWorld article, the author [Tom F. King] and his collaborator [Jack Sellmeyer] detail a series of tests they performed on a selection of lighting products from a quality brand, bought at a local Home Depot store. They were gathering data for a submission to the FCC enquiry on the noise floor issue we reported on last year. What they found was unsurprising, significant emissions from all the products they tested. They make some stiff recommendations to the FCC and other bodies concerned with radio spectrum to get tough with offending devices, to stay on top of future developments, and for operators of AM stations to pursue sources of interference.
It could be that there is so much equipment contributing to the noise floor that this battle is lost, but it doesn’t have to be this way. Anyone who has had to prepare a product to pass a properly carried out EMC test will tell you that the requirements are stringent, and it is thus obvious that many manufacturers are shipping products unworthy of the certification they display. It is to be hoped that the authorities will begin to take it seriously before it becomes an order of magnitude worse.
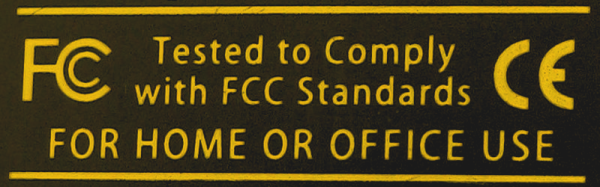
Compliance label image, Moppet65535 [CC BY-SA 3.0].