
If you’re a space fan, these are very exciting days. There’s so much happening overhead that sometimes it can be difficult to keep up with the latest news. Artemis I just got back from the Moon, the International Space Station crew are dealing with a busted Soyuz, SpaceX is making incredible progress with their Starship architecture, CubeSats are being flung all over the solar system, and it seems like every month a new company is unveiling their own commercially-developed launch vehicle.
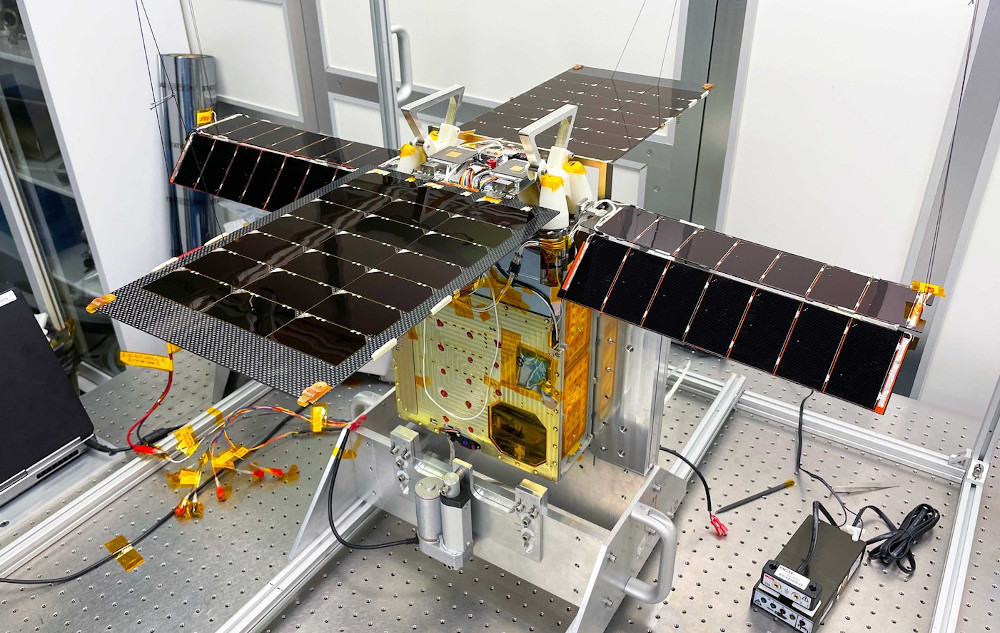
So with everything going on, we wouldn’t be surprised if you haven’t heard about NASA’s Lunar Flashlight mission. The briefcase-sized spacecraft was launched aboard a special “rideshare” flight of SpaceX’s Falcon 9 rocket back on December 11th — tagging along with two other craft heading to our nearest celestial neighbor, the Japanese Hakuto-R lander, and a small rover developed by the United Arab Emirates. There was a time when a launch like that would have been big news, but being that it was only the second of seven launches that SpaceX performed in December alone, it didn’t make many headlines.
But recently, that’s started to change. There’s a growing buzz around Lunar Flashlight, though unfortunately, not for the reasons we’d usually hope. It seems the diminutive explorer has run into some trouble with its cutting-edge “green” propellant system, and unless the issue can be resolved soon, the promising mission could come to an end before it even had a chance to start.
Continue reading “NASA Lunar Probe Finds Out It’s Not Easy Being Green”

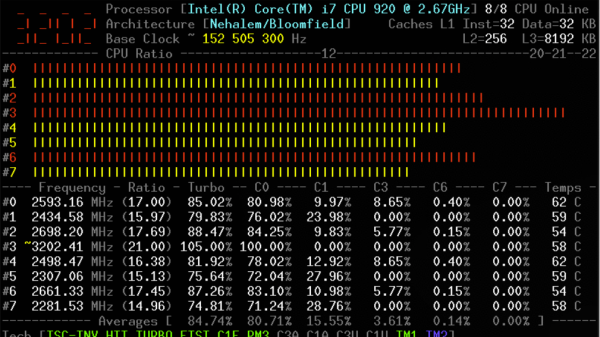
 The tool relies on a kernel module, and is coded primarily in C, with some assembly code used to measure performance as accurately as possible. It’s capable of reporting everything from core frequencies to details on hyper-threading and turbo boost operation. Other performance reports include information on instructions per cycle or instructions per second, and of course, all the thermal monitoring data you could ask for. It all runs in the terminal, which helps keep overheads low.