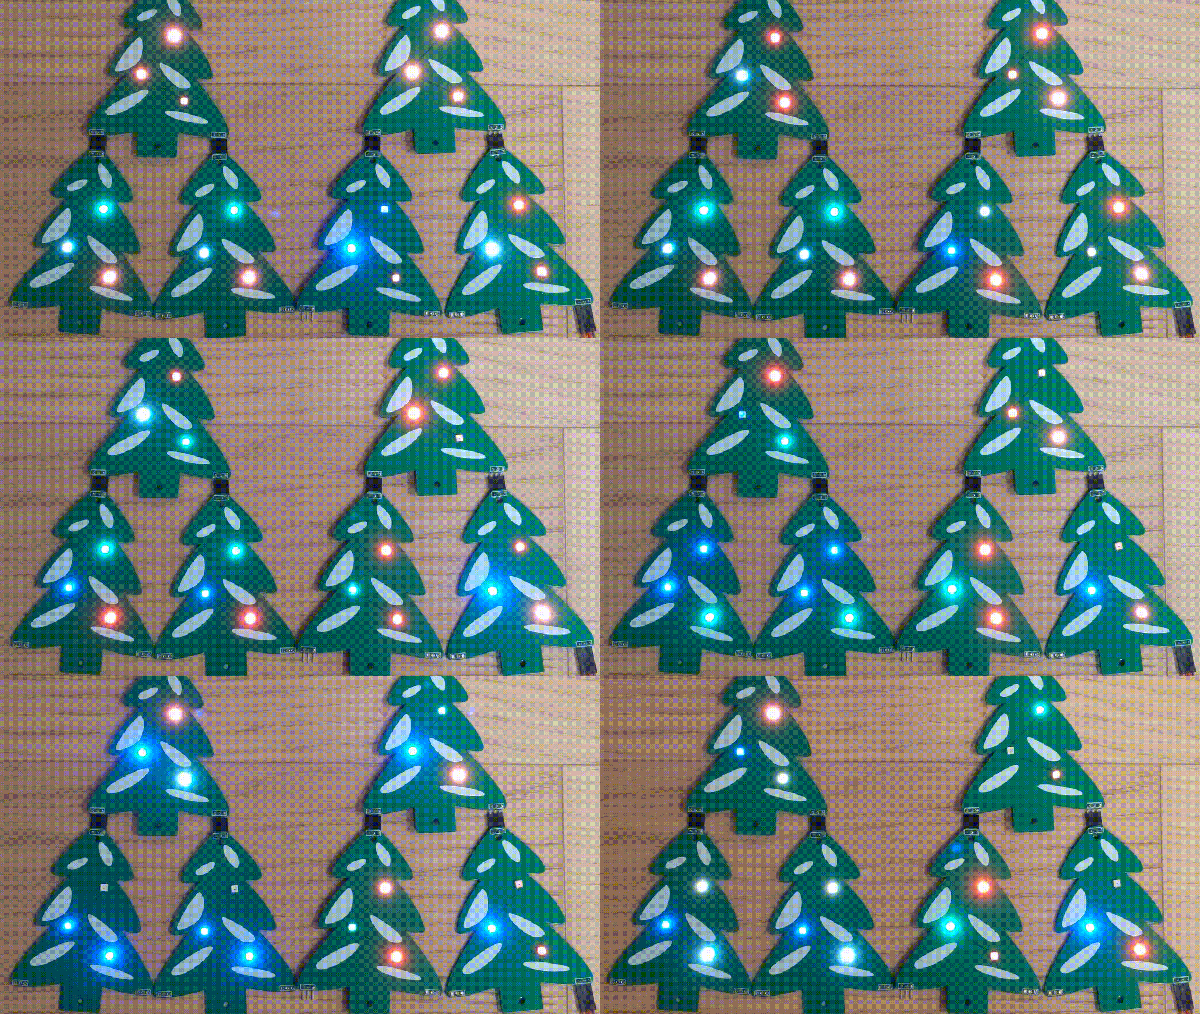
Old Christmas Tree Gets A New Spin

A couple of Christmases ago, [Nick] got tired of trying to evenly decorate his giant fake tree and built an MDF lazy Susan to make it easy as eggnog. But what’s the point of balanced decorations if one side of the tree will always face the wall? This year, [Nick] is giving himself the gift of a new project and motorizing the lazy Susan so the tree slowly rotates.

The saintly [Nick] decided to do this completely out of the junk box, except for all the WS2811 RGB LEDs on order that he hopes to synchronize with the tree’s movement. He started by designing a gear in OpenSCAD to fit the OD of the bearing, a task made much simpler thanks to the open-source gear libraries spinning around out there.

It was hard to get slow, smooth movement from the NEMA-23 he had on hand, but instead of giving up and buying a different motor, he designed a gear system to make it work. Our favorite part has to be the DIY slip ring [Nick] made from a phono connector to get around the problem of powering a rotating thing. This is a work in progress, so there are no videos just yet. You can watch [Nick]’s Twitter for updates.

[Nick] didn’t specify why he chose to use WS2811s, but they have gotten pretty cheap. Did you know you can drive them with VGA?

Via Adafruit’s CircuitPython newsletter

Don’t Hang Christmas Lights, Embed Them

Finding it hard to get into the holiday spirit this year? Maybe you just need a timely project to light up the evenings until Santa (or Krampus) pays your house a visit. Whoever visits this season, delight or distract them with a 3D printed tree featuring embedded RGB LEDs.

[MakeTVee] printed this tree in four stages to make it a little bit easier to wire everything up. Each stage has six LEDs embedded in a 5mm transparent layer at the bottom. The top stage has a second color change to make a tree topper that holds a single LED. The color change feature in PrusaSlicer 2.0 made it easy to pause the print, insert the wired-up LEDs, and resume seamlessly in green filament. There’s a hidden base of what appears to be appropriately delicious cinnamon filament that holds the Trinket M0 and the power switch.

This lil’ tree looks great, especially considering how fiddly and nerve-wracking the wiring and assembly must have been. [MakeTVee] made it easier on himself with a printed wiring stencil that holds the LEDs in their star formation while he solders them up with magnet wire (a solid choice in our book). He thoughtfully included that stencil in the files which are up on the Prusa site. Dim the lights, grab a hot beverage, and check out [MakeTVee]’s build video after the break.

If you want a holiday hack that people can play with, invite them to paint your addressable tree.

Continue reading “Don’t Hang Christmas Lights, Embed Them”

Just In Time For Christmas: Apple Macintosh Prototype For Sale

We do love a bit of retrotechnology around our workspace. But we have to admit, we really want to find this prototype Apple Mac under the tree this year. There’s only one problem. There’s only one for sale and only two like it known to exist, for that matter. The auction house thinks it will fetch up to $180,000. We will guess that number is low, but we will find out on December 4th.

The 1983 computer has a pre-production plastic housing and a 5.25 inch “twiggy” drive. Apple provided this machine, apparently, to Encore Systems so they could develop MacWrite ahead of the machine’s release date.

Continue reading “Just In Time For Christmas: Apple Macintosh Prototype For Sale”

Printing Christmas Cards The Hard Way

Printing customized Christmas cards is a trivial matter today: choose a photo, apply a stock background or border, add the desired text, and click a few buttons. Your colorful cards arrive in a few days. It may be the easiest way, but it’s definitely no where near as cool as the process [linotype] used this season. (Editor’s note: skip the Imgur link and go straight for the source!)

The first task was to create some large type for the year. [linotype] laser printed “2018” then used an iron to transfer toner to the end of a piece of scrap maple flooring. Carving the numbers in relief yielded ready-to-go type, since the ironing process took care of the necessary mirroring step. The wood block was then cut to “type high” (0.918 inches; who knew?) using a compositor’s table saw – with scales graduated in picas, of course.

Continue reading “Printing Christmas Cards The Hard Way”

Have Yourself A Recursive Little Christmas: Ornament That Prints Ornaments

Sure there are the occasional functional Christmas tree ornaments; we had one that plugged into the lights and was supposed to sound like a bird gently trilling its song, but was in fact so eardrum-piercing that we were forbidden from using it. But in general, ornaments are just supposed to be for looks, right? Not so fast — this 3D-printed ornament has a 3D-printer inside that prints other ornaments. One day it might just be the must-have in functional Christmas decor.

Given that [Sean Hodgins] had only a few days to work on this tree-dwelling 3D-printer, the questionable print quality and tiny print volume can be overlooked. But the fact that he got this working at all is quite a feat. We were initially surprised that he chose to build a stereolithography (SLA) printer rather than the more common fused deposition modeling (FDM) printer, but it makes sense. SLA only requires movement in the Z-axis, provided in this case by the guts of an old DVD drive. The build platform moves in and out of a tiny resin tank, the base of which has a small LCD screen whose backlight has been replaced by a bunch of UV LEDs. A Feather M0 controls the build stage height and displays pre-sliced bitmaps on the LCD, curing the resin in the tank a slice at a time.

Results were mixed, with the tiny snowflake being the best of the bunch. For a rush job, though, and one that competed with collaborating on a package-theft deterring glitter-bomb, it’s pretty impressive. Here’s hoping that this turns into a full-sized SLA build like [Sean] promises.

Continue reading “Have Yourself A Recursive Little Christmas: Ornament That Prints Ornaments”

An IoT Christmas Tree You’re Invited To Control

We love IoT gadgets, but are occasionally concerned that they might allow access to the wrong kind of hacker. In this case, [Kevin] has created an IoT tree that allows anyone to control the pattern of lights, and he’s invited you to do so!

We played with the tree a bit, and the web interface is fairly powerful. For each LED, you can select either a random color or a keyframe-defined pattern. For the keyframe LEDs, you can create a number of “keyframes”, each of which is defined by a color and a transition, which can be either linear, quarter sine wave, or instantaneous (“wall”). Additional keyframes can be added for each LED, and if don’t specify a pattern for all the LEDs, the system repeats those you have defined to fill the entire string. There are also a few preset patterns you can choose if you prefer. If you, too, want to play with the tree, don’t delay: it’s only available through the first week of 2019!

Behind the scenes, an aging Raspberry Pi provides the local brains driving the LED controller and streaming the video, while a cloud server running a Redis instance allows communication with the web. The interface to the string of WS2811 LEDs uses [Kevin]’s Kinetis LK26 breakout board, which he managed to get working despite the state of tools and documentation for the Kinetis ARM family. You can read a good discussion of the system on his blog; there are a surprisingly large number of pieces that need to work together. As usual, he provides all the source code for this project on GitHub.

We’ve seen [Kevin]’s work before, including his 73-LED wristwatch, and adventures developing on an STM32 from scratch.

But, if it’s IoT Christmas trees that have got you thinking, you can check out this one from last year.

IPv6 Christmas Display Uses 75 Internet’s Worth Of Addresses

We’ve seen internet-enabled holiday displays before, and we know IPv6 offers much more space than the older IPv4 addressing scheme that most of us still use today, but the two have never been more spectacularly demonstrated than at jinglepings.com. The live video stream shows an Internet-connected Christmas tree and an LED display wall that you can control by sending IPv6 ICMP echo request messages, more commonly known as pings.

Reading the page, you quickly parse the fact that there are three ways to control the tree. First, you can type a message in the box and press send – this message gets displayed on the crawl at the bottom of the LED screen.  Second, you can light up the tree by sending a ping to the IPv6 address 2001:4c08:2028:2019::RR:GG:BB, where RR, GG, and BB are 8-bit hex values for red, green, and blue. This is a neat abuse of the IPv6 address space, in that the tree has 224 (around 16.8 million) IPv6 addresses, one for each color you can set. We were impressed by this brute-force use of address space, at least until we read on a little further.

You can also make your own drawings on the LED wall, again by sending pings. In this case, the address to set a pixel to a particular color is: 2001:4c08:2028:X:Y:RR:GG:BB, where X and Y are the pixel coordinates. This seems easy enough: to set pixel (10, 11) to magenta, the RGB value (0xFF, 0x00, 0xFF), you’d simply ping the IPv6 address 2001:4c08:2028:10:11:FF:00:FF. Having  an array of addressable LEDs is commonplace in hacker circles today, although each of them having their own live IPv6 address on the Internet seems a little excessive at first. Then it hits you – each LED has an IPv6 address for every possible color, just like the tree: 16.8 million addresses for each LED. The LED display is 160×120 pixels in size, so the total number of IPv6 addresses used is 160x120x224, which is 75 times larger than all possible IPv4 addresses!  This is a hack of monstrous proportions, and we love it.

In case you’re not running IPv6 yet, we’ve got you covered. To send individual pings using your browser, you can use a site like Ipv6now. If you want to send pixels to the display wall, you’re better off using a 6in4 tunnel that lets you access IPv6 sites using your current IPv4 connectivity.  Hurricane Electric offers a free 6in4 tunnel service that we’ve found useful. Then it’s just a matter of writing some code to send pixel values as pings.  The python scapy module is perfect for this sort of thing. But, first you’ll have to fill out the form on jinglepings.com and wait to get your IPv6 address whitelisted before you can draw on the display; evidently the usual bad actors have found the site and started drawing inappropriate things.

If you think this use of addresses seems wasteful, you needn’t worry. There are around 3.4×1038 IPv6 addresses, enough for 1027 such displays. We’re going to go out on a limb here and say it: nobody will ever need more than 2128 IP addresses.

If you’re looking to build an LED holiday display on a smaller budget, check out this one that re-purposes normal LED strings.

Thanks to [Ward] for the tip!