A recent company move has left [kigster] and his 35 coworkers in a frustrating situation. Their new building only has two single occupancy bathrooms. To make matters worse, the bathrooms are located on two different floors. Heading to one bathroom, finding it occupied, then running upstairs to find the second bathroom also occupied became an all to common and frustrating occurrence at the office.
It was obvious the office needed some sort of bathroom occupancy monitoring system – much like those available on commercial aircraft. [kigster] asked for a budget of about $200 to build such a system. His request was quickly granted it by office management. They must have been on their way to the bathroom at the time.
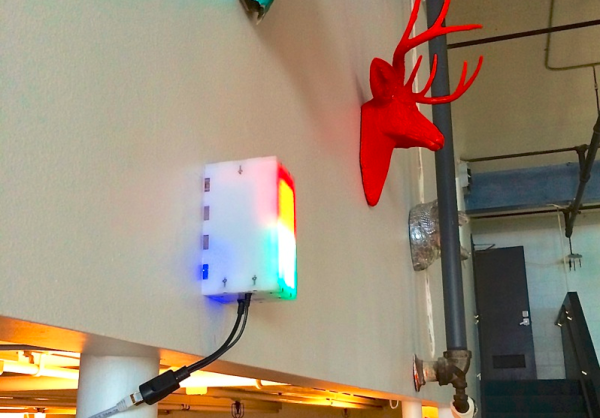
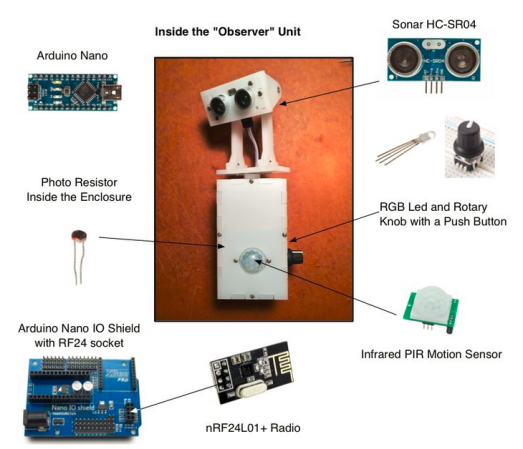 [kigster] began work on BORAT: Bathroom Occupancy Remote Awareness Technology. The initial problem was detecting bathroom occupancy. The easiest method would be to use door locks with embedded switches, much those used in aircraft. Unfortunately, modifying or changing the locks in a rented office space is a big no-no. Several other human detection systems were suggested and rejected. The final solution was a hybrid. Sonar, Passive Infrared (PIR), and light sensors work in concert to detect if a person is in the bathroom. While we think the final “observer unit” is rather cool looking, we’re sure unsuspecting visitors to the office may be wondering why a two eyed robot is staring at them on the throne.
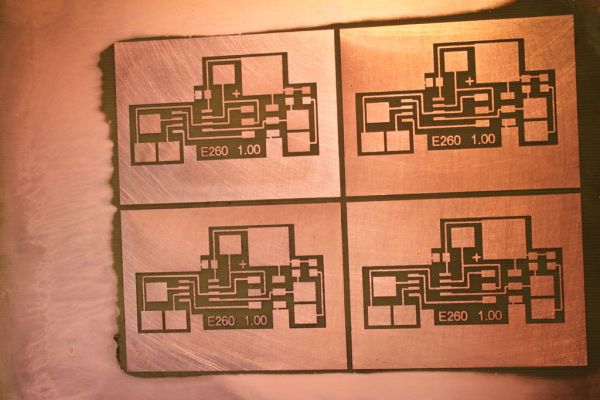
The display side of the system was easy. The entire system communicates with the venerable nRF24L01+ radio modules, so the display just needed a radio module, an arduino, and a way of displaying bathroom status. Two LED matrices took care of that issue.
We really like this hack. Not only is it a great use of technology to solve a common problem, but it’s also an open source system. BORAT’s source code is available on [kigster’s] github.
Want to know more about BORAT? Kigster is answering questions over on his thread in the Arduino subreddit.
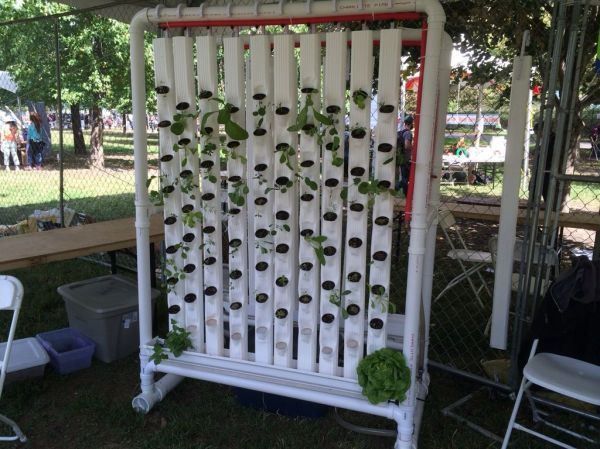
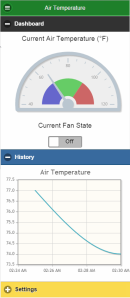 The potential urban farmer may not be super excited about tending to his crops. This is where the robot portion of the RUFS system comes into play. There are two control systems that work independently of each other. The first is for indoor applications and controls light cycles and circulation fans. The second is a little more complex and controls the watering portion of the system. Not only does it water the plants at pre-determined intervals but it also monitors the pH, nutrient and water levels inside the reservoir. Both these systems are Arduino-based. For extreme control freaks, there is one more add-on available. It’s Raspberry Pi based and has an accompanying mobile app. The Pi records and logs sensor data from the Arduinos and also allows remote updating of the watering and light schedules. The mobile app lets you not only look at current conditions of the system but also displays the historical data in a nice visual graph.

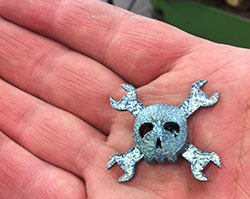 [Wilfred] was testing a titanium 3D printer at work and was looking for something to print. The skull ‘n wrenches was a suitable candidate, and the results are fantastic. From [Wilfred]: “Just out of the printer the logo looks amazing because it isn’t oxidized yet (inside the printer is an Argon atmosphere) Then the logo moves to an oven to anneal the stress made by the laser. But then it gets brown and ugly. After sandblasting we get a lovely bluish color as you can see in the last picture.”