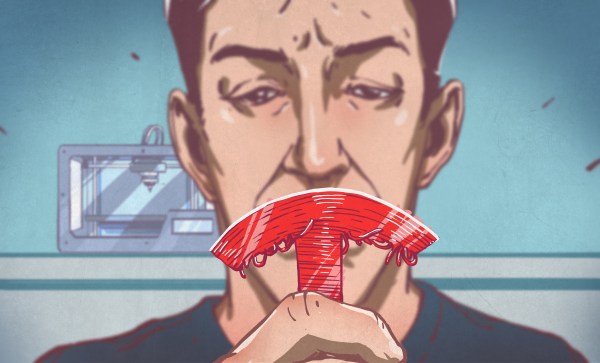
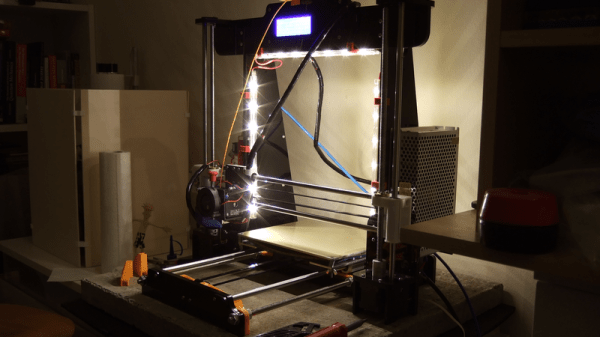
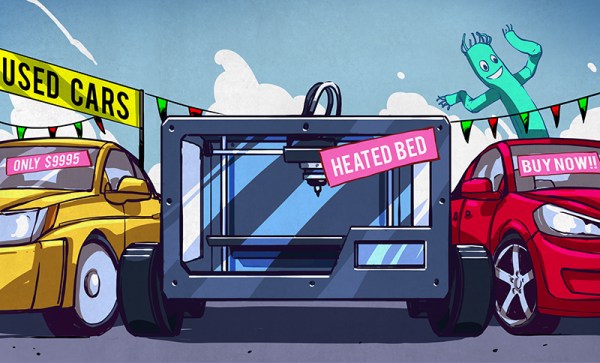
Designing For Fab: A Heads-Up Before Designing PCBs For Professional Assembly

Designing pcbs for assembly is easy, right? We just squirt all the footprints onto a board layout, connect all the traces, send out the gerbers and position files, and we’re done–right?

Whoa, hold the phone, there, young rogue! Just like we can hack together some working source code with variables named after our best friends, we can also design our PCBs in ways that make it fairly difficult to assemble.

However, by following the agreed-upon design specs, we’ll put ourselves on track for success with automated assembly. If we want another party to put components on our boards, we need to clearly communicate the needed steps to get there. The best way to do so is by following the standards.

Proper Footprint Orientation

Now, for a momImage Credit: https://encrypted-tbn2.gstatic.com/images?q=tbn:ANd9GcQBEztpnSxpN_IRjq3y8GbetrMHKuoSu_s6myiFOHilL2FlQKyLrgent, let’s imagine ourselves as the tip of a vacuum pickup tool on a pick-and-place machine. These tools are designed to pick up components on the reel from their centroid and plunk them on their corresponding land pattern. Seems pretty straightforward, right? It is, provided that we design our footprints knowing that they’ll one day come face-to-face with the pick-and-place machine.

To get from the reel to the board, we, the designers, need two bits of information from out part’s datasheet: the part centroid and the reel orientation.

The part centroid is an X-Y location that calls out the center-of-mass of the part. It basically tells the machine: “pick me up from here!” As designers, it’s our responsibility to design all of our footprints such that the footprint origin is set at the part’s centroid. If we forget to do so, the pick-and-place will try to suck up our parts from a location that may not stick very well to the package, such as: the corner.

Continue reading “Designing For Fab: A Heads-Up Before Designing PCBs For Professional Assembly”

[Hari] Prints An Awesome Spider Robot

Although we have strong suspicions that the model’s designer failed entomology, this spider robot is very cool. [Hari Wiguna] made one, and is justifiably thrilled with the results. (Watch his summary on YouTube embedded below.)

Thanks to [Regis Hsu]’s nice design, all [Hari] had to do was order a hexapod’s dozen 9g servos for around $20, print out the parts, attach an Arduino clone, and he was done. We really like the cutouts in the printed parts that nicely fit the servo horns. [Hari] says the calibration procedure is a snap; you run a sketch that sets all the servos to a known position and then tighten the legs in place. Very slick.

The parts should print without support on basically any printer. [Hari]’s is kinda janky and exhibits all sorts of layer-to-layer irregularities (sorry, man!) but the robot works perfectly. Which is not to say that [Hari] doesn’t have assembly skills — check out the world’s smallest (?) RGB LED cube if you think this guy can’t solder. Of course, you can entirely sidestep the 3D-printed parts and just fix a bunch of servos together and call it a robot. It’s harder to make building a four-legger any easier than these two projects. What are you waiting for?

Continue reading “[Hari] Prints An Awesome Spider Robot”

Flying The First Open Source Satellite

The Libre Space Foundation is an organization dedicated to the development of libre space hardware. It was born from the SatNOGS project — the winners of the first Hackaday Prize — and now this foundation is in space. The Libre Space Foundation hitched a ride on the Orbital ATK launch yesterday, and right now their completely Open Source cube sat is on its way to the International Space Station.

The cube sat in question is UPSat, a 2U cubesat that is completely Open Source. Everything from the chassis to the firmware is completely Open, with all the source files hosted on GitHub.

UPSat is currently on its way to the International Space Station stowed in an Orbital ATK Cygnus cargo spacecraft. From here, the UPSat will be unloaded by members of the current ISS expedition and deployed with help from NanoRacks. Basically, the first Open Source satellite will be tossed overboard from the International Space Station. If you want to listen in on the data UPSat is beaming down, build a SatNOGS ground station and tune into 435.765 MHz. With a good antenna, you should be able to hear it when the ISS is in the sky, or a few times a week.

You can check out the launch of the Cygnus the UPSat is flying on in the video below. NASA also recorded a 360° video from the launch pad that unfortunately cuts out in the first few seconds after launch.

Continue reading “Flying The First Open Source Satellite”

Discontinued Nintendo Consoles And Raspberry Pis

Nintendo has discontinued a Classic gaming console. It’s a pity, yes, but with the release of Nintendo’s new gaming console, they probably have bigger fish to fry. That doesn’t mean these discontinued Nintendo consoles will die a slow, miserable death locked away in a closet; at least one of them will live on with the heart of a Raspberry Pi.

This is a project [Liam] has been working on since 2012, just after he got the first edition of the Raspberry Pi. While some people were figuring out how to stuff the Pi inside a Nintendo Entertainment System or a Super Nintendo Entertainment System, [Liam] decided to embed the Pi inside a console of a more recent vintage: the Nintendo GameCube.

The first phase of this project was simply to get the Pi running inside the enclosure of the non-working GameCube he picked up. The power supply in this console was well designed, and after a quick perusal through some online documentation, [Liam] found a stable 5V with enough amps to power the Pi. After ripping out the internals of this console with the help of a quickly hacked together ‘Nintendo screwdriver’, [Liam] had a perfectly functional Pi enclosed in a Nintendo chassis.

Time marches on, and after a while, the Raspberry Pi 2 was released. By this time, retro emulation was hitting the big time, and [Liam] decided it was time for an upgrade. He disassembled this Nintendo console again, routed new wires and inputs to the original controller ports, and used a Dremel to route a few holes for the HDMI and SD card slot.

With the addition of a few SNES-inspired USB controllers, RetroPi, and a few ROMs, [Liam] has a wonderful console full of classic emulation goodness, packaged in an enclosure Nintendo isn’t making any more.

Ethanol-Powered Arduinos

Following the time-honored YouTube tradition of ordering cheap stuff online and playing with it while the camera runs, [Monta Elkins] bought a Stirling engine that drives a DC motor used as a generator. How much electrical juice can this thing provide, running on just denatured alcohol? (Will it blend?)

The answer is probably not really a spoiler: it generates enough to run “Blink.ino” on a stock Arduino, at least when powered directly through the 5 V rail. [Monta] recorded an open-circuit voltage of around 5 V, and a short-circuit current of around 100 mA at a measured few hundred millivolts. While he didn’t log enough of the points in-between to make a real power curve, we’re guessing the generator might be a better match for 3.3 V electronics. The real question is whether or not it can handle the peaky demands of an ESP8266. Serious questions, indeed!

The video is a tad long, but it’s more than made up for by the sight of an open flame vibro-botting itself across his desk while [Monta] is trying to cool the cold side down with a melting ice cube. Which got us thinking, naturally. If you just had two of the Stirling enginesContinue reading “Ethanol-Powered Arduinos”

The Surface Area To Volume Ratio Or Why Elephants Have Big Ears

There are very few things that are so far reaching across many different disciplines, ranging from biology to engineering, as is the relation of the surface area to the volume of a body. This is not a law, as Newton’s second one, or a theory as Darwin’s evolution theory. But it has consequences in a diverse set of situations. It explains why cells are the size they are, why some animals have a strange morphology, why flour explodes while wheat grains don’t and many other phenomena that we will explore in this article.

Continue reading “The Surface Area To Volume Ratio Or Why Elephants Have Big Ears”

The Cubic Cyphercon Badge

Last week in Milwaukee was Cyphercon, Wisconsin’s premier hacker conference. You can’t do a hacker con without either an electronic conference badge or a 45 hanging off a lanyard, and the Cyphercon 2017 badge doesn’t disappoint. It’s an electronic cube, lovingly designed by the folks at tymkrs. It’s also a puzzle box with security holes and wireless communications. It’s a mesh network of badges, and one of the best conference badges we’ve ever seen.

The most obvious feature of the Cyphercon 2.0 badge is the extra dimension. From the outset, the design of this badge was a 3-dimensional cube, constructed out of beautifully crafted PCBs and soldered together at the edges. The techniques to bring PCBs into the third dimension are really nothing new — we’ve seen 3D PCBs before — but never at this kind of volume. There were over four hundred badges constructed for Cyphercon, and every single joint was hand-soldered. This is something your assembly house just won’t do, and I would hate to think about the poor solder monkeys that would be forced to assemble 3D badges for a larger con.

3D isn’t the only trick up the Cyphercon badge. There are cutouts in each side of the cube exposing LEDs, microprocessors, busses, and a single USB port. This USB port allows the wearer to recharge the battery, yes, but if you install a terminal emulator on your laptop and plug in the badge, you’re dropped into a world of mystery, intrigue, and suffocation. This badge is a text adventure game, with the goal of a game to reassemble a relay-based computer from parts scrounged from around a missile silo. Once the relay computer is complete, the badge turns into an emulator for a vintage time-sharing operating system. In this OS, you’re able to write code and deploy it to other badges. This is seriously impressive stuff.

Between the cubic Cyphercon badge, the Hunter S. Rodriguez badge heading to Vegas this summer, and badges that are Nintendo emulators, this is looking like a great year for electronic conference badges. The artistry and skill here is amazing, and we can’t wait to see what else the community will come up with.

Below, you can check out a few videos on the Cypbercon badge. [Wire]’s explanation of how the badge was created over the last nine months is in there, as is the Cyphercon badge panel talk.

Continue reading “The Cubic Cyphercon Badge”