The last challenge of The Hackaday Prize has ended. Over the past few months, we’ve gotten a sneak peek at over a thousand amazing projects, from Open Hardware to Human Computer Interfaces. This is a contest, though, and to decide the winner, we’re tapping some of the greats in the hardware world to judge these astonishing projects.
Below are just a preview of the judges in this year’s Hackaday Prize. In the next few weeks, we’ll be sending the judging sheets out to them, tallying the results, and in just under a month we’ll be announcing the winners of the Hackaday Prize at the Hackaday Superconference in Pasadena. This is not an event to be missed — not only are we going to hear some fantastic technical talks from the hardware greats, but we’re also going to see who will walk away with the Grand Prize of $50,000.
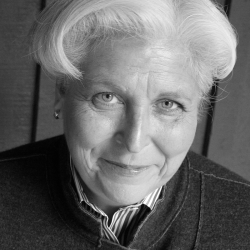
Sherry Huss
Sherry Huss is the former vice president of Maker Media, and oversees the publishing of Make Magazine and Maker Faires across the globe. Sherry is a major advocate of ‘all things maker’ in the global community, and her vision and passion for the maker movement was instrumental in growing the Make: brand within the maker ecosystem. Under her guidance, the largest Maker Faires, the Bay Area and World Maker Faire in New York, have grown from just a few thousand people in 2006 to events with over 200,000 attendees each year. Sherry is a giant in the Maker world, and an unending advocate of maker, DIY, and everyone who makes, whether that’s through wood, code, metal, solder, or fabric.
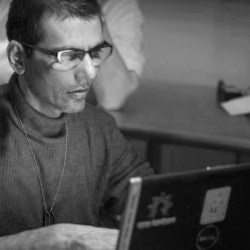 Anool Mahidharia
Anool is an electrical engineer, and works in Test & Measurement at Lumetronics. He’s part of WyoLum, an international group of hardware nerds who are consistently pumping out projects that push the limits of how blinky, glowey, and interesting a thing can be. They’re behind some projects you may have caught at random hacker meetups, and the creators of an absurd RGB LED cube that’s also a die. Anool is, by every account, an extremely capable hardware engineer, a longtime writer for Hackaday, and is constantly travelling the world presenting the latest developments in electronics to the public.
 Danielle Applestone
Before founding Other Machine Co., now Bantam Tools, makers of tiny desktop milling machines that make fantastic circuit boards, Danielle Applestone worked with DARPA to develop high-precision machines that were effectively made out of kitchen cutting boards. HDPE, it turns out, is extraordinarily mechanically stable, cuts and machines easily, and can make very rigid components. Danielle spun this research out into the Othermill, an actual successful hardware startup. Danielle talked about this experience at the Hackaday Superconference, and we’re thrilled to have her on board judging other makers in their efforts to create the next big hardware thing.
 Kwabena Agyeman
Kwab is one of the leading experts in computer vision and machine learning applications, and specializes in FPGA and Chip design. His greatest contribution to Open Hardware is the OpenMV, a platform for Computer Vision, ‘at the edge’, or basically a very high performance microcontroller and camera module on a single board, that’s running computer vision algorithms. This project began as a Hackaday Prize project that was then bootstrapped into a successful business. Formerly of Planet Labs where he spent his time pulling off Apollo 13-level hacks on space assets, Kwab is among the most successful designers in the world of Open Hardware.
These are just a few of the amazingly accomplished judges we have lined up to determine the winner of this year’s Hackaday Prize. The winner will be announced on November 3rd at the Hackaday Superconference. There are still tickets available, but if you can’t make it, don’t worry. We’re going to be live streaming everything, including the prize ceremony, where one team will walk away with the grand prize of $50,000. It’s not an event to miss.