The first video from [3DPrintedLife] attempting to make a liquid piston engine was… well… the operative word is attempting. The latest video, though, which you can see below gets it right, at least eventually.. He has a good explanation of the changes that made the design better. Turns out, one change that made a difference was to turn a key part of the engine inside out. You can see the video below.
The first version would quickly break during operation and while the first new version didn’t work very well, it did stay in one piece which is a definite improvement.
Most houses built in the US today are platform construction: skinny two-by-fours are stacked and layered to create walls with studs. Each floor is framed on top of the other. It is fast, relatively cheap, and easy to learn how to do. However, it is not without drawbacks. Some estimates put the amount of waste generated per square foot (0.09 m2) at around 3.9 lbs (1.8 kg).
Timber framing is an older style where giant beams are used to create the structure of the house. Each timber is hand-carved and shaped, requiring skill and precision. Some cabins are still built this way because it is easy to source the timber locally and cutting into big logs is less work than cutting into lots of small logs. It’s relatively ecologically friendly, but slow and skilled-labor intensive.
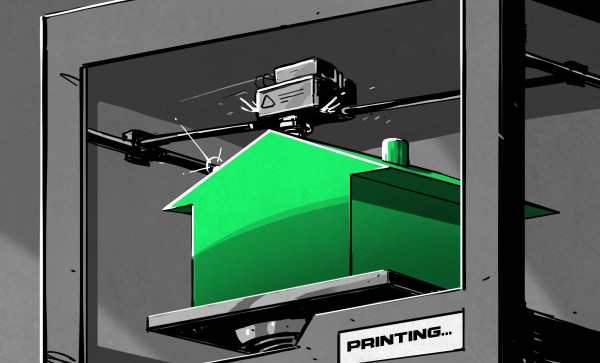
We live in a world where there is a vast need for cheaper, faster, more eco-friendly housing, but finding a solution that can tick all the boxes is fiendishly difficult. Can 3D-printed housing accomplish all three of those goals? We’re not there yet, but we’re working on it.
It started with [CHORL] making a promise to himself regarding constructing a new combat robot: no spending of money on the new robot.
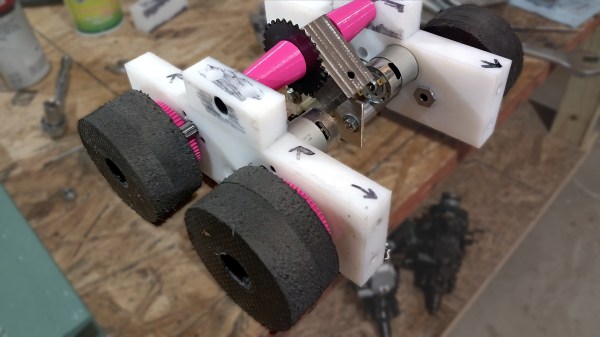
That rule was violated (but only a little) by making his robot’s wheels out of EVA kneeling pads. EVA (Ethylene-Vinyl Acetate) is a closed-cell foam that makes for durable yoga mats, kneeling pads, and products of a similar nature. [CHORL] found a way to turn them into light but serviceable wheels for his robot: the Susquehanna Boxcar.
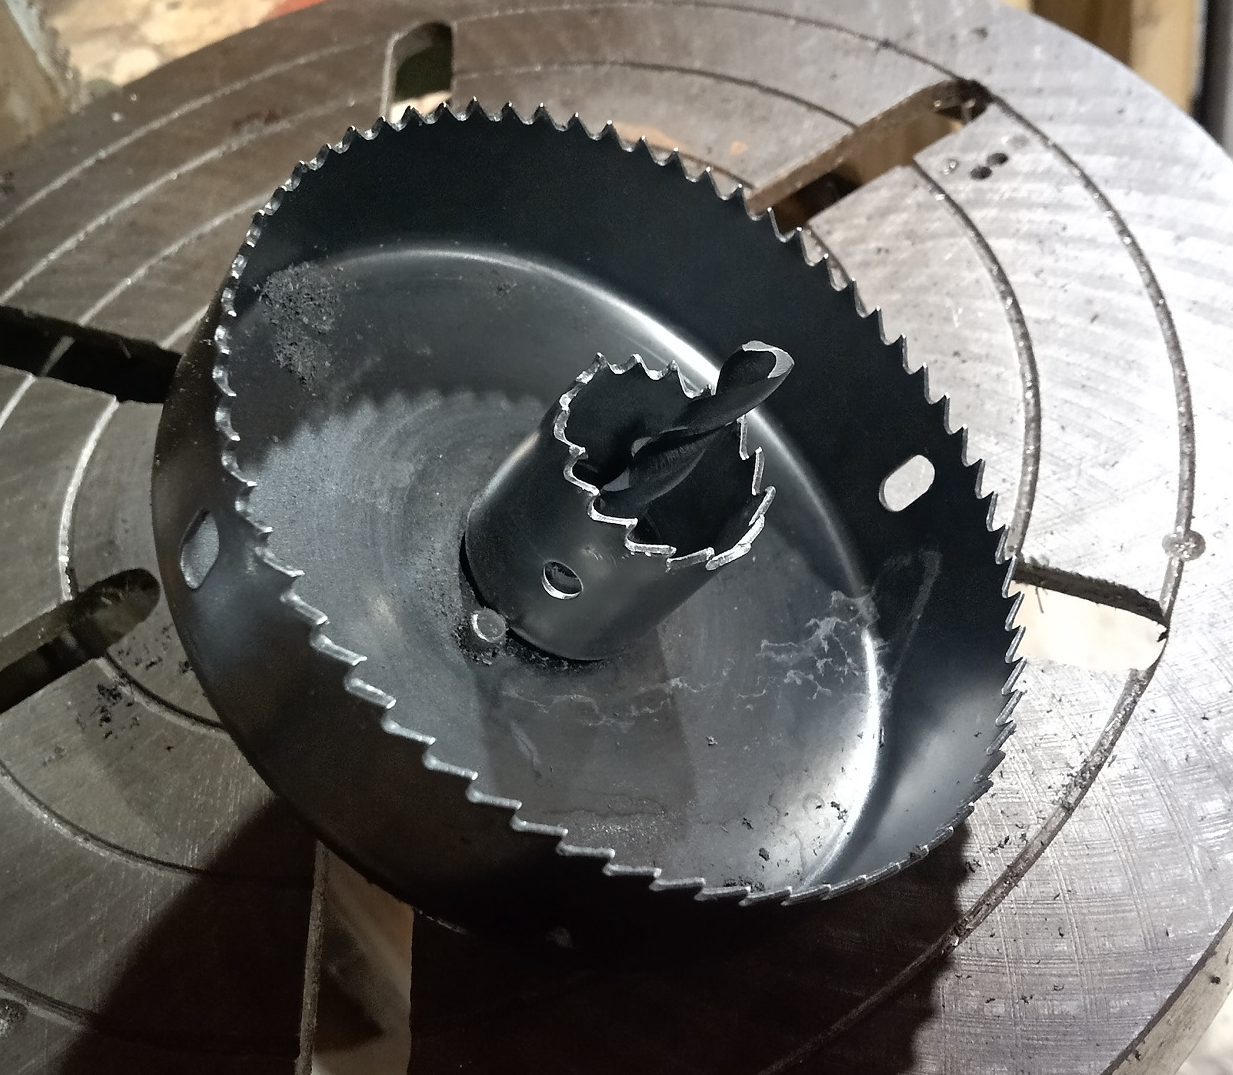
Nested hole saws create concentric holes. Perfect for wheels.
Here’s how the wheels were made: [CHORL] began with two hole saws. Nesting a smaller hole saw into a larger one by putting both on the same arbor created a saw with two holes, both of which were centered with respect to one another. The only problem was that this hole saw was not actually deep enough to cut completely through the thick foam. Luckily, cutting roughly halfway through on one side, then flipping the sheet over and cutting through from the other side was a good workaround. That took care of turning the thick foam sheet into round wheels.
A 3D-printed part served as a wheel hub as well as gear for the drivetrain. We want to call attention to the clever method of reinforcing the connection between the parts. [CHORL] didn’t want to just glue the geared hub directly to the surface of the foam wheel, because he suspected it might separate under stress. To address this, he designed six slots into the hub, cut matching slots into the foam wheel, and inserted six spline-like reinforcements in the form of some ABS strips he had on hand. Gluing it all together with E-6000 and leaving it to cure overnight under a weight resulted in a geared wheel assembly that [CHORL] judged to be about as round and rigid as a wheel should be, so the robot had a solution for nice light wheels that were, above all, cheap!
Lots of robots need wheels, and unsurprisingly, DIY solutions are common projects. [CHORL]’s approach here looks pretty scalable, as long as one can cut some accurate holes.
Interested in knowing more about the robot these wheels are destined for? [CHORL]’s still working on the Susquehanna Boxcar, but it’s almost done, and you can read a bit more about it (and see a few more pictures) here.
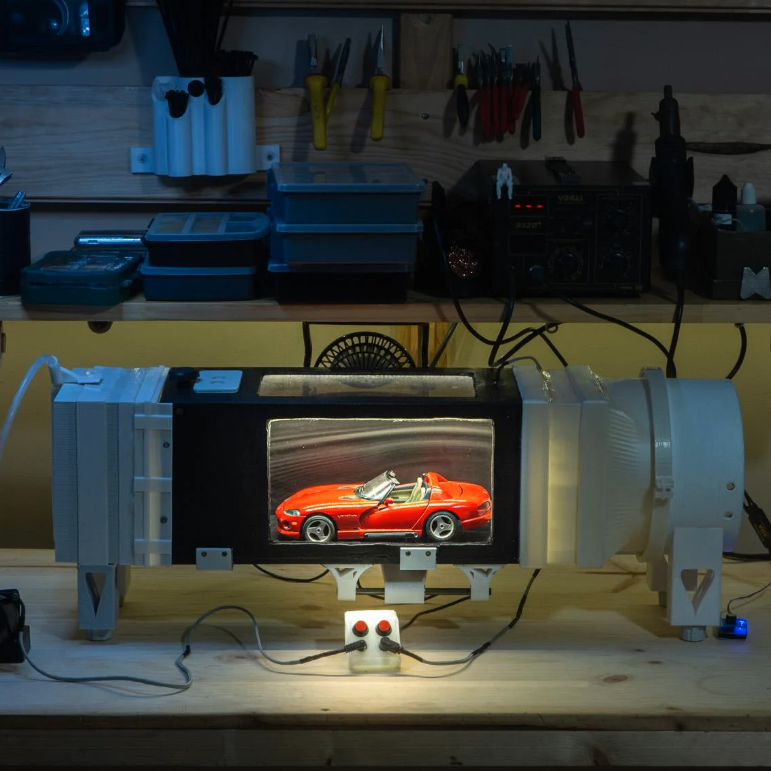
Every wanted a mini wind tunnel to check the aerodynamics of scale model cars, drones, or other small objects? Then check out [dannyesp]’s mostly-3D-printed DIY wind tunnel (video, embedded below). Don’t forget to also browse the additional photos in this Reddit thread.
A junk parts project doesn’t have to look like a hack job.
There’s not much for plans available, since as [dannyesp] admits, this device was very much the product of trial-and-error and junk bin parts. The video and photos are more than enough for any enterprising hacker to work with.
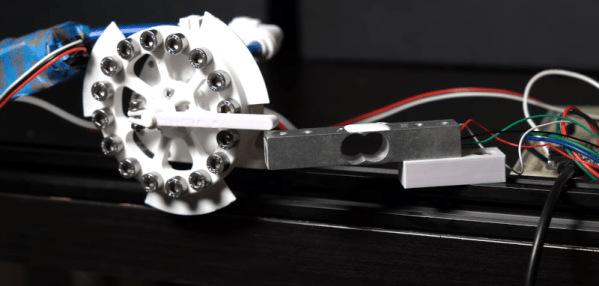
The core of the device is a large fan made from a junked drone motor. This fan is located at the rear of the tunnel. A small anemometer is placed at the front, where some 3D-printed baffles also work to smooth out turbulent incoming air.
The foggy trails of vapor come from a hacked-up vape pen. Vapor gets piped through some tubing to the front of the tunnel. There, the vapor trails are drawn towards the low-pressure area at the rear, traveling over and around the object on the way. [dannyesp] also mentions that the platform holding the object is mounted on a rail, which incorporates some kind of pressure sensor in an attempt to quantify wind drag.
We want to take a moment to appreciate just how clean this “junk parts” project looks — even though it is made from things like broken photo frames. All of this comes down to thoughtful assembly. A hack doesn’t have to look like a hack job, after all. We also love the little control box that, instead of having a separate power indicator, lights up like a little nightlight when it has power.
Hacking vaporizers is a fantastic way to create a small, portable fog machine. These can create fantastic costume effects like this smoking Ghost Rider skull. They are a great way to turn an off-the-shelf consumer item into something that cost quite a bit more just a few years back.
If you want to take pictures of tiny things close up, you need a macro lens. Or a microscope. [Nicholas Sherlock] thought “Why not both?” He designed a 3D-printed microscope lens adapter that you can find on Thingiverse. Recently, [Micael Widell] tried it out with a microscope lens and you can see the results in the video below.
A $20 microscope lens allows for some amazing shots. There are two designs that fit different cropped-image and full-frame cameras. As you might expect, the depth of field is razor-thin, probably sub-millimeter. Additionally, with a 4X lens on a 35 mm sensor, the field of view is about 9 mm so you have to have a steady hand just to keep everything in frame.
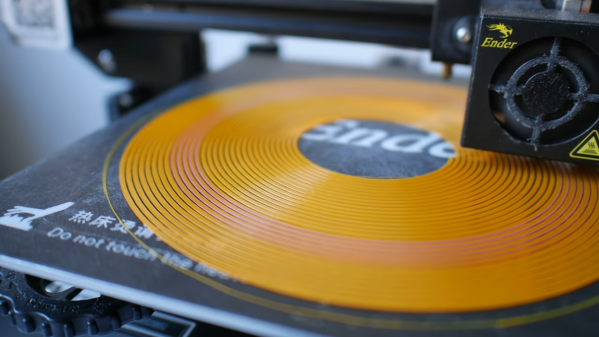
Interested in experimenting with your own multi-color filament? [Turbo_SunShine] says to just print your own, and experiment away! Now, if you’re thinking that 3D printing some filament sounds inefficient at best (and a gimmick at worst) you’re not alone. But there’s at least one use case that it makes sense for, and maybe others as well.
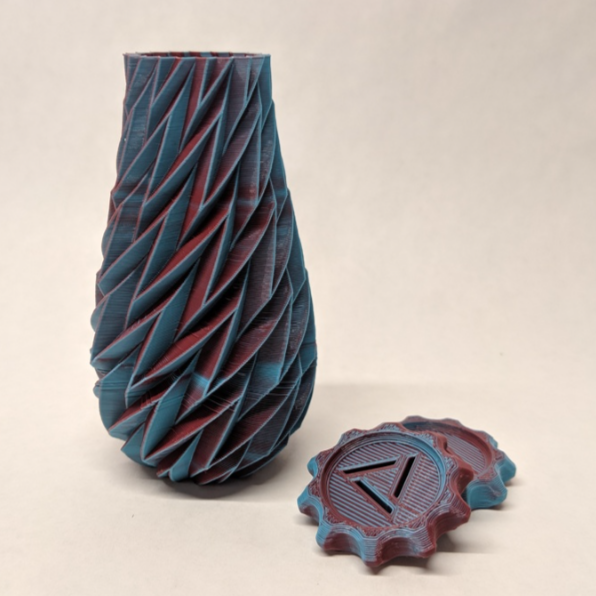
Printing with bi-color filament results in an object whose color depends on viewing angle, and part geometry.
There is such a thing as bi-color filament (like MatterHackers Quantum PLA) which can be thought of as filament that is split down the center into two different colors. Printing with such filament can result in some trippy visuals, like objects whose color depends in part on the angle from which they are viewed. Of course, for best results it makes sense to purchase a factory-made spool, but for light experimenting, it’s entirely possible to 3D print your own bi-color filament. Back when [Turbo_SunShine] first shared his results, this kind of stuff wasn’t available off the shelf like it is today, but the technique can still make sense in cases where buying a whole spool isn’t called for.
Here is how it works: the 3D model for filament is a spiral that is the right diameter for filament, printed as a solid object. The cross-section of this printed “filament” is a hexagon rather than a circle, which helps get consistent results. To make bi-color filament, one simply prints the first half of the object in one color, then performs a color change, and finishes the print with a second color. End result? A short coil of printed “filament”, in two colors, that is similar enough to the normal thing to be fed right back into the printer that created it. This gallery of photos from [_Icarus] showcases the kind of results that are possible.
What do you think? Is 3D printing filament mainly an exercise in inefficiency, or is it a clever leveraging of a printer’s capabilities? You be the judge, but it’s pretty clear that some interesting results can be had from the process. Take a few minutes to check out the video (embedded below) for some additional background.
[Jan Mrázek] is on a quest to make your resin 3D prints more accurate, more functional, and less failure prone. Let’s start off with his recent post on combating resin shrinkage.
When you want a part to have a 35 mm inner diameter, you probably have pretty good reasons, and when you draw a circle in your CAD software, you want a circle to come out in the real world. Resin shrinkage can put a kink in both of these plans. [Jan] identifies three culprits: resin squeezing, resin shrinkage, and exposure bleeding. And these three factors can add up in unexpected ways, so that you’ll get a small reference cube when you print it on its own, but large reference cubes when printed as a group. [Jan]’s article comes with a test piece that’ll help you diagnose what’s going on. Continue reading “Fighting All That Can Go Wrong With Resin”→