Some of the hacks we feature are modifications of existing devices, others are ground-up builds of entirely new ones. And then there are the experiments, things that have to be worth trying because they just might work. In this final category we have [Matt]’s work with UV sensitive plastic to form the basis of a simple persistent display, which has created something best described as a proof-of-concept that shows promise, and definitely proves that he had an idea very much worth trying.
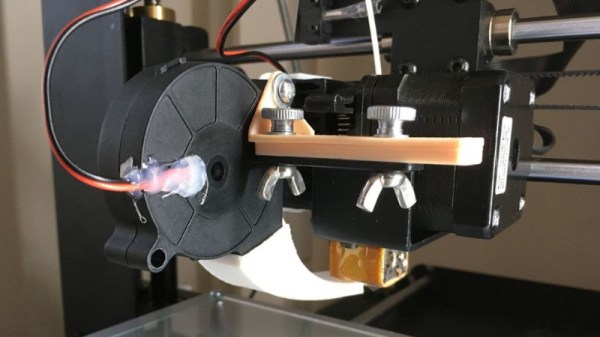
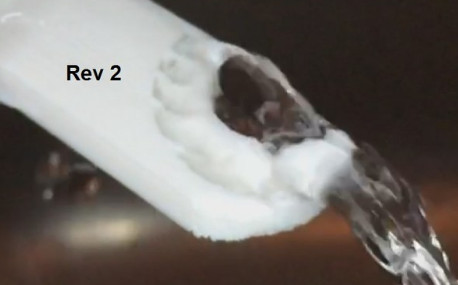
The idea makes use of a plastic that changes colour from white to purple when exposed to UV light. He 3D printed a waffle-like structure to locate over a 3×3 grid of UV LEDs, which he could then illuminate under the control of an Arduino Mini Pro. A short illumination changes the colour of the plastic above it, creating a “pixel” that persists for several seconds. In this he has created a working proof of concept for a very simple 3×3 matrix display, albeit rather an unwieldy one. The advantage the idea offers is that a relatively long time of display can be achieved for a relatively short LED illumination, giving a potential for power saving.
The proof-of-concept itself isn’t particularly useful, but from this idea it’s possible a larger display could be practically made. An array of surface-mount LEDs could perhaps illuminate a larger array of plastic to a greater resolution, it’s definitely an idea that was worth trying, and which shows promise for further pursuit. If you’d like to see it in action he’s posted a video, which we’ve placed below the break.
Continue reading “UV Sensitive Filament As A Persistent Display”