This Z80 Computer Bootstraps Itself

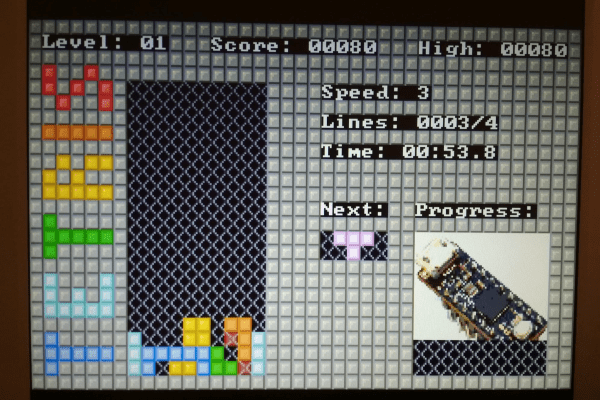
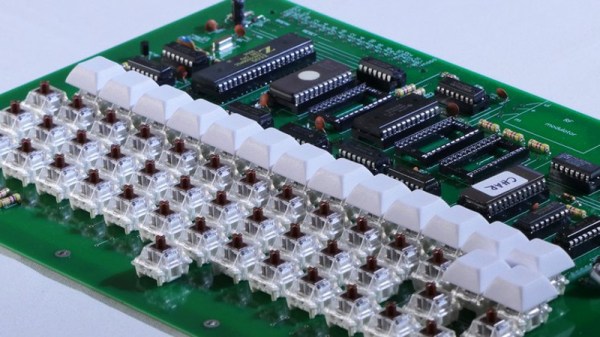
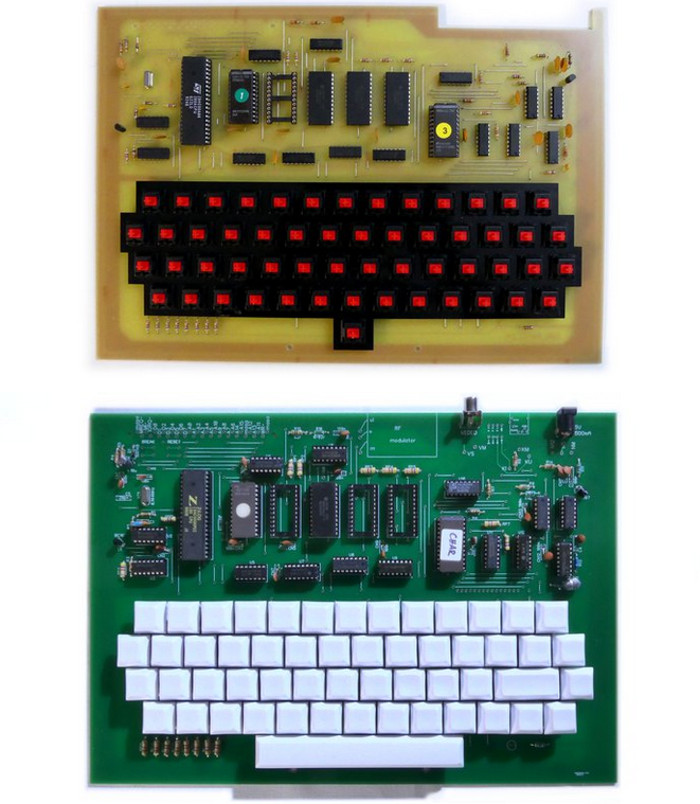
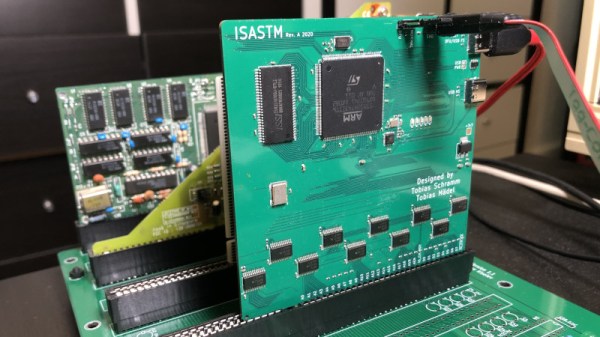
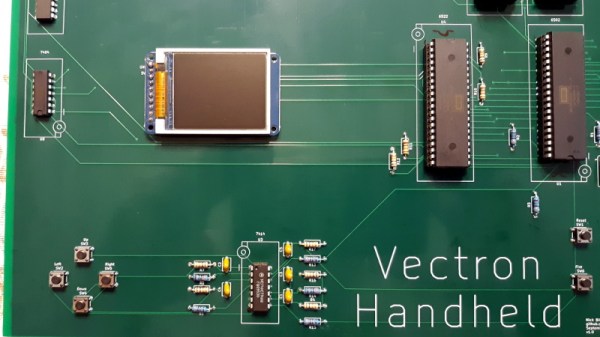
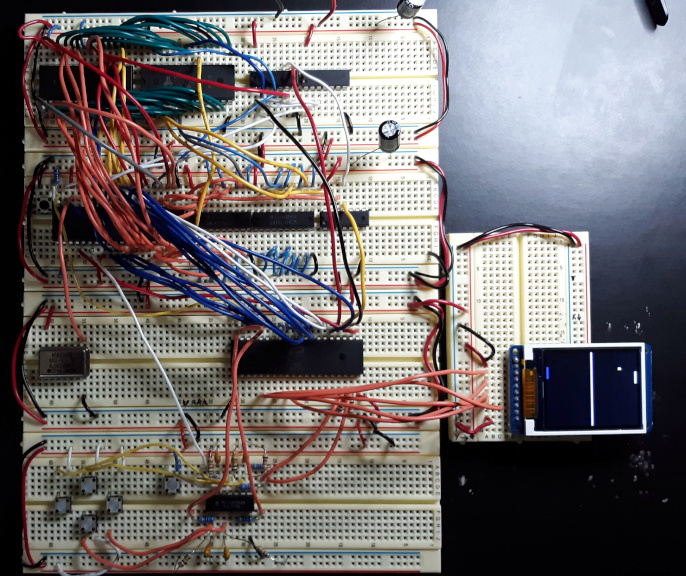
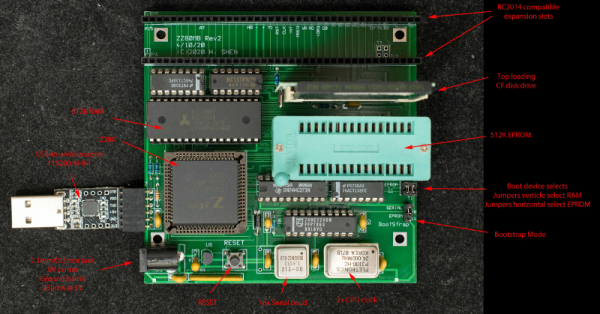
[Plasmode] has created several Z80-compatible board designs, at least four of them using the oddball Z280. The Z280 was a special variant of a Z80 that could bootstrap itself with no external PROM, making it ideal for anyone trying to build a system on a breadboard. According to his post, the cost to build the board is about $35.

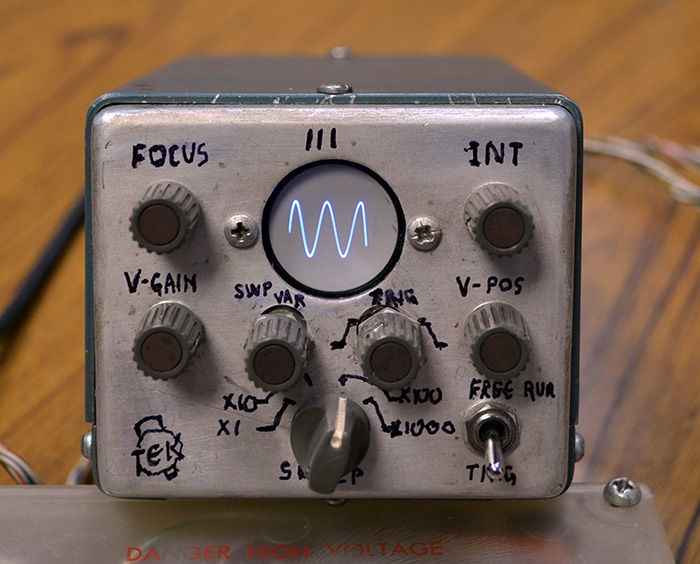
Although the 8080 CPU got a lot of glory, it was much harder to use than the Zilog Z80. The Z80 only required a single clock and power supply, so it was much easier to build a system, even on a breadboard. On top of that, the bus wasn’t multiplexed and it could refresh DRAM memory by itself. Maybe that’s why you can still get Z80-derived chips readily. There was one thing, though, you needed an EPROM or some other way to run some initial code to bootstrap your system. Zilog knew this was a problem. In those days, you had to use a special tool to burn a PROM and, unless it was erasable and you had the special UV light to erase it, any mistakes cost you a chip.

Continue reading “This Z80 Computer Bootstraps Itself”

A VGA Retro Console With Everything Generated From A Single ARM Cortex M0

The later game consoles of the 8-bit era such as Nintendo’s NES or Sega’s Master System produced graphics that went beyond what owners of early 1980s home computers had come to expect from machines with the same processors, but they did so only with the help of powerful custom chipsets for their day that took care of the repetitive hard work of assembling frames and feeding them to the display device. Reproducing their equivalent with more modern hardware requires either some means of creating similar custom silicon, or a processor significantly more powerful such that it can do the work of those extra chips itself. But even with a modern microcontroller it’s still a significant challenge, so [Nicola Wrachien]’s uChip, a VGA console that does the whole job in software on a humble ARM Cortex M0 is a significant achievement.

If you are familiar with the home computers that used the processor to generate the display output, you’ll know that they spent most of their time working on the lines of the display and only had a few milliseconds of the frame blanking period for the device to perform any computing tasks before returning to the next frame. The 320×240 at 57 frames per second gives a line sync frequency of 30 kHz, and the computing happens while the display is sent the black space at the top and bottom of the screen. This is reckoned to be equivalent of the ATSAMD21E18 microcontroller on the uChip module the system uses running at only 10MHz rather than the 48MHz it is running at in reality, and with these resources it also runs the game logic, USB controller interfacing, reading games from the SD card, and game sound.

The result is a complete game console on a small PCB little longer on its longest side than its connectors. We may have largely seen the demise of VGA on the desktop several years after we called it, but it seems there is plenty of life in the interface yet for hardware hackers.

Iconic Yugoslavian Galaksija Computer Reborn, With A Documentary Too

One of the humbling things about writing for Hackaday is the breadth of experience among our colleagues, despite one’s own skills or achievements there is probably for all of us a level of impostor syndrome when we look at their work. This week provided a reminder of this, while taking a closer look at the crowdfunder for a documentary about the Galaksija, the Yugoslavian 8-bit computer from the 1980s designed by our colleague [Voja Antonić]. Not only will the documentary be produced, but also they are recreating the Galaksija as a kit, so you can experiment with this historic computer for yourself. The campaign has reached passed its goal a couple times over but still has a few days left, so jump in if you are interested.

Freshly made original Galaksija (top), and new double-sided Galaksija (bottom).

With the advantage of being able to reach out to [Voja] as a colleague, it was time to secure the straight dope on the project. Though he’s not spearheading it, aside from appearing in the documentary he’s also produced the new Galaksija PCB to take advantage of double-sided manufacture and remove the wire links that were a feature of the original.

In that sense this isn’t so much a clone of the original as an updated version from the same designer, with only a few other updates such as key switches and connectors where the exact original component could no longer be sourced. A particularly fascinating side-tale comes from a reprint of the first Galaksija magazine. Photo-reproductions of the original printed pictures did not yield good results, so [Voja] built from scratch an entirely original Galaksija, carefully recreating the framing of each step shown in those original photos.

This project has faced its fair share of obstacles before launching on Crowd Supply, so it’s very good indeed to see it receive its funding with time to spare. We look forward to seeing the results, meanwhile you can see a promo video in Serbian with Youtube’s English subtitling below the break. You can read [Voja]’s writing on the machine in Hackaday articles past, but don’t miss the opportunity to meet him at a live event — he’s the mastermind behind a number of hardware badges at Hackaday events.

Continue reading “Iconic Yugoslavian Galaksija Computer Reborn, With A Documentary Too”

Relay Computer Consumes Six Years And 4.5 Suitcases

If you thought your home-brew project was taking a long time, [Jeroen Brinkman]’s MERCIA Relay Computer project probably has you beat. He began working on this impressive computer back in 2014, and has been at it ever since.  In fact, the ongoing nature of the project is embedded into the name itself — the English translation of the acronym MERCIA is “My Simple Relay Computer Under Construction”.  Being interested in old analog and relay computers from an early age, [Jeroen] took on this project to educate students about how computers work.  The entire computer is build only using relays, diodes, and capacitors, not to mention color-coded wire based on signal functions. Using relays as the primary switching elements is at the core of his educational goal — anyone can understand how a relay works.

Understandably, this thing is big.  But he has cleverly packaged it to visually show the major building blocks of a computer.  While the exact size isn’t stated, we can estimate based on the photo of [Jeroen] standing next to the modules that these panels are about 1.5 m tall and perhaps 60 cm wide.  The whole computer is nine panels wide, making it about 5 meters long.  Except for the ROM assembly, pairs of panels are hinged together and they fold like a book and carried like a suitcases when being moved.  If you enjoy the clickety-clack sound of relays, be sure to watch the relay longevity test in the video below and check out our article on the 1958 FACOM from last year.

This is a fascinating project, but unless you have a couple thousand relays laying around and a decade of free time, it’s probably better to just enjoy [Jeroen]’s work rather than build your own.  We hope he releases schematics and other documentation once the project is finished.  You can follow his Facebook build log if you want to keep track of the progress. Thanks to [David Gustafik] for the tip.

Continue reading “Relay Computer Consumes Six Years And 4.5 Suitcases”

Cardboard Models Trace Design Process Of Vintage Tektronix Miniscopes

There aren’t many brands that inspire the kind of passion and fervency among its customers as Tektronix does. The venerable Oregon-based manufacturer of top-end test equipment has produced more collectible gear over the last 75 years than just about anyone else.

Over that time they have had plenty of innovations, and in the 1970s they started looking into miniaturizing their flagship oscilloscopes. The vintageTEK museum, run by current and former employees, has a review of the design process of the 200 series of portable oscilloscopes that’s really interesting. At a time when scopes were portable in the way a packed suitcase is portable, making a useful instrument in a pocketable form factor was quite a challenge — even for big pockets.

The article goes into great detail on the back-and-forth between the industrial designers, with their endless stream of models, and the engineers who would actually have to stuff a working scope into whatever case they came up with. The models from the museum’s collection are wonderful bits of history and show where the industrial designers really pushed for some innovative designs.

Some of the models are clearly derived from the design of the big bench scopes, but some have innovative flip-down covers and other interesting elements that never made it to production. Most of the models are cardboard, but some were made of aluminum in the machine shop and sport the familiar “Tek blue” livery. But the pièce de résistance of the collection is a working engineering model of what would become the 200-series of miniscopes, a handmade prototype with a tiny round CRT and crudely labeled controls.

The vintageTEK museum sounds like another bucket-list stop for computer and technology history buffs. Tek has been doing things their own way for a long time, and stopping by the museum is sure to be a treat.

Thanks to [Tanner Bass] for the tip.

ISASTM Runs Vintage Cards Over USB

The ISA bus is a relic of the distant past, and no longer supported by the PC mainstream. Outside of retro fanatics and likely some long-term industrial users, it’s all but forgotten. That hasn’t stopped [Manawyrm] from hacking away, however, and she’s developed a nifty adapter for the modern era.

Still in its early stages of development, the ISASTM is a ISA-over-USB adapter that allows a modern computer to work with older expansion cards. Running on an STM32H743, and using the microcontroller’s native USB1 interface, the ISASTM card is able to be slotted into a backplane in order to address multiple cards with one adapter. [Manawyrm] demonstrates the hardware by running Monkey Island 1 in the PCem emulator, with sound provided by an AdLib ISA soundcard.

There are some throughput issues, which [Manawyrm] aims to solve by switching to USB2 and making some tweaks and improvements to the code. Regardless, it’s an impressive tool that we imagine could have some use in keeping some legacy hardware alive, too. Incidentally, it’s been a long while since we’ve seen a solid ISA hack around these parts. Video after the break.

Continue reading “ISASTM Runs Vintage Cards Over USB”

Handheld Pong On A 6502

Recreating the arcade smash hit Pong in a device small enough to plug into a home television was a considerable technical challenge back in 1975. Of course, a big part of that was the fact that it needed to be cheap enough that consumers would actually buy it. But had money been no object, the Vectron Handheld by [Nick Bild] shows what a dedicated Pong board based on the 6502 CPU and 7400-series logic could have looked like.

Prototyping the Vectron Handheld

Well, aside from the display anyway. While [Nick] made sure to use components that were contemporaries of the 6502 wherever possible, he did drop in a modern SPI LCD panel. After all, it’s supposed to be a portable game system.

Though as you can see in the video after the break, the massive 273 mm x 221 mm PCB only just meets that description. Incidentally, there’s no technical reason for the board to be this big; [Nick] was just playing it safe as he’s still learning KiCad.

Those with a keen eye towards 6502 projects likely saw the breadboard version of the Vectron that [Nick] put together last year. Compared to the original, the circuit for the handheld has been considerably simplified as it wasn’t designed to be a general purpose 6502 computer. Whether or not you think being able to play Pong on it makes up for those shortcomings is a matter of personal preference.

Continue reading “Handheld Pong On A 6502″