In the mid-1970s, if you had your own computer, you probably built it. If you had a lot of money and considerable building skill, you could make an Altair 8800 for about $395 — better than the $650 to have it built. However, cheaper alternatives were not far behind.
In 1976, Popular Electronics published plans for a computer called the COSMAC Elf which you could build for under $100, and much less if you had a good junk box. The design was simple enough that you could build it on a piece of perf board or using wire wrap. We featured the online archive of the entire Popular Electronics collection, but hit up page 33 of this PDF if you want to jump right to the article that started it all. The COSMAC Elf is a great little machine built around a 40-pin RCA 1802 processor, and for many was the first computer they owned. I lost my original 1802 computer in a storm and my recent rebuild in another completely different kind of storm. But there is a way to reclaim those glory days without starting from scratch. I’m going to repurpose another retro-computing recreation; the KIM-1.
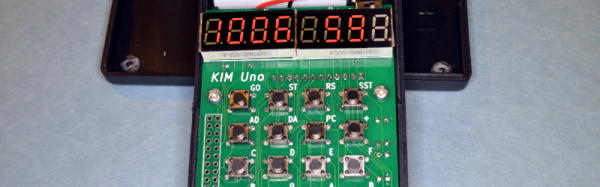
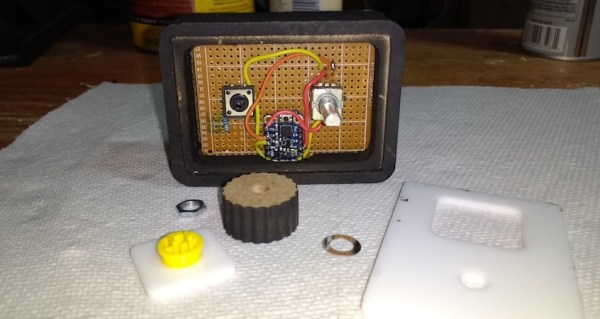
I’ll admit it, Rewiring a real KIM-1 to take an 1802 CPU would be difficult and unnecessary and that’s not what this article is about. However, I did have a KIM UNO — [Oscar’s] respin of the classic computer using an Arduino mini pro. Looking at the keyboard, it occurred to me that the Arduino could just as easily simulate an 1802 as it could a 6502. Heck, that’s only two digits different, right?
The result is pretty pleasing. A “real” Elf had 8 toggle switches, but there were several variations that did have keypads, so it isn’t that far off. Most Elf computers had 256 bytes of memory (without an upgrade) but the 1802 UNO (as I’m calling it) has 1K. There’s also a host of other features, including a ROM and a monitor for loading and debugging programs that doesn’t require any space in the emulated 1802.
Continue reading “KIM-1 To COSMAC Elf Conversion — Sort Of” →