Ok, this one is a bit bizarre, but in perfect keeping with the subject matter: a talking toilet ripped from the pages of the Captain Underpants children’s books. Hackaday.io user [hamblin.joe]’s county fair has a toilet decorating contest and at the suggestion of their neighbour’s son, [hamblin.joe] hatched a plan to automate the toilet using an Arduino in the fashion of the hero’s foes.
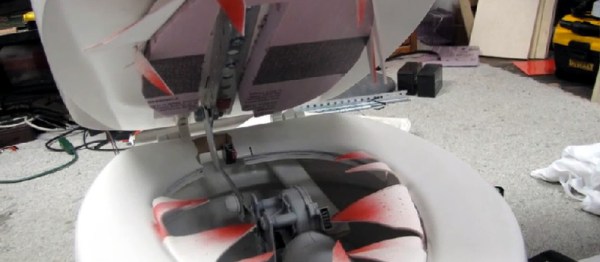
Two Arduinos make up this toilet’s brains, an Adafruit Wave Shield imbues it with sound capabilities, and a sonic wave sensor will trigger the toilet’s performance routine when someone approaches. A windshield wiper motor actuates the toilet bowl lid via a piece of flat iron bar connected to a punched angle bracket. Installing the motor’s mount was a little tricky, since it had to be precisely cut so it wouldn’t shift while in the toilet bowl. A similar setup opens the toilet tank’s lid, but to get it working properly was slightly more involved. Once that was taken care of there was enough room left over for a pair of 12V batteries and a speaker. Oh, and a pair of spooky eyes and some vicious looking teeth.
Continue reading “You Probably Don’t Want To Find This Toilet In Your Washroom”