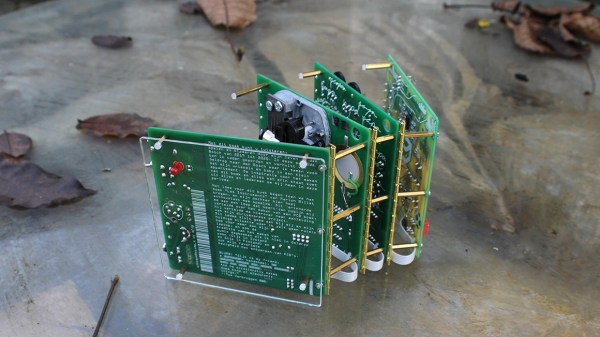
[Gijs Gieskes] has made another eye-catching PCB wonder, this time a diary built from several circuit boards which are assembled into a book, not unlike a PC/104 system. But with [Gijs]’s system you can easily open the stack-up to access single boards without disassembling the whole thing. We don’t see brass piano hinges on PCB assemblies very often, but [Gijs]’s PCB designs are anything but conventional. Hint: if you wanted to recreate this technique using more ordinary hardware, you can find hinged PCB standoffs from various suppliers.
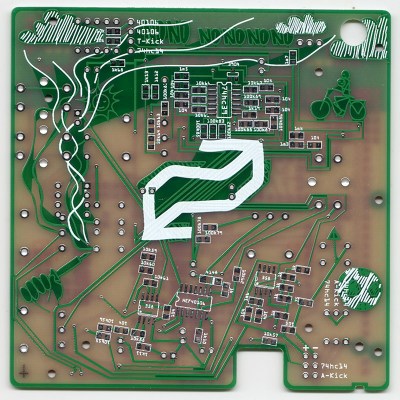
Apparently it’s more than a passive piece of art. Each board has several circuits, some of which (all?) are functioning is ways not clearly described, which seems to be intentional. According to his build log, different things happen when you mix and match the inter-board ribbon cables in various ways. We are told in the instructions “to just try and see what happens”. No schematics are posted, but there is a partial description of the circuits in the manual and parts on the two-layer boards are well-labeled. Although after spot checking a few circuits board photos, we’d guess that no small number of traces, and perhaps some parts, are wild goose chases.
The project claims to be a diary for the years 2018 and 2019, but we will leave it as an exercise for the reader to interpret the messages that [Gijs] has embedded into this fascinating piece. We have written about several of his projects over the years, such as this crazy bent Casio SK-1 from all the way back in 2005. And before dismissing this “book” style of circuit board stack-up as only for artists, check out this teardown of a Soyuz clock we covered back in January.