In the roughly decade and a half since the Android mobile operating system appeared on the scene it has been primarily sold on devices with an ARM core at their heart, but along the way it has also appeared for other architectures. If you had a MIPS Android phone you may have been in the minority, but Intel phones enjoyed some popularity, and the up-and-coming new kid in the world of Android is RISC-V. For anyone interested in this last architecture it’s worth looking at the Google Open Source blog, in which they’ve published an overview of the current status of the project.
In short, it’s full steam ahead — as the development environment and emulation is in place for RISC-V Android. It’s certain we’ll start seeing RISC-V phones on the market soon, but perhaps that’s not the part which should interest readers the most. Over the last decade we have seen an explosion of inexpensive ARM single board computers, and though some of them such as the Raspberry Pi owe their heritage to set-top-box SoCs, it’s fair to say that a strong driver for this trend has been the proliferation of powerful mobile chips. A take-up of RISC-V driven by Android would mean a similar explosion of powerful SoCs with those cores, leading we hope to much more accessible and powerful RISC-V computing. Sadly we expect them to still come with proprietary peripherals leading to plenty of closed source blobs, but we can’t have everything.
If you’d like to read more about the whole blob situation and RISC-V, we’ve got you covered.


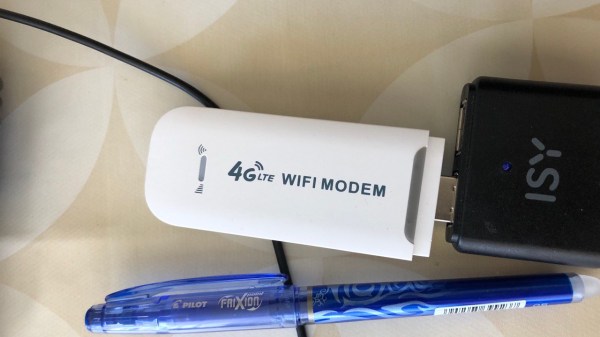
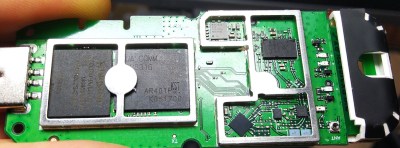 Now, there’s caveats. [extrowerk] points out that you should buy the modem with the appropriate LTE bands for your country – and that’s not the only thing to watch out for. A friend of ours recently obtained a visually identical modem; when we got news of this hack, she disassembled it for us – finding out that it was equipped with a far more limited CPU, the MDM9600. That is an LTE modem chip, and its functions are limited to performing USB 4G stick duty with some basic WiFi features. Judging by a popular mobile device reverse-engineering forum’s
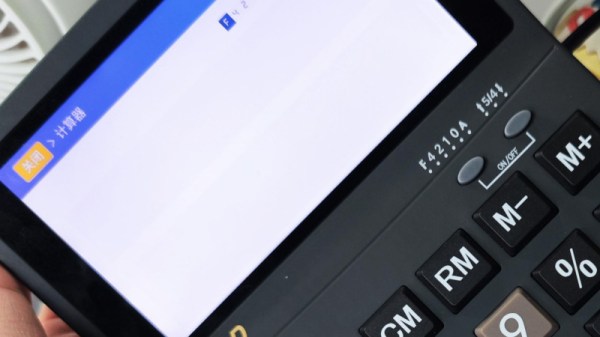
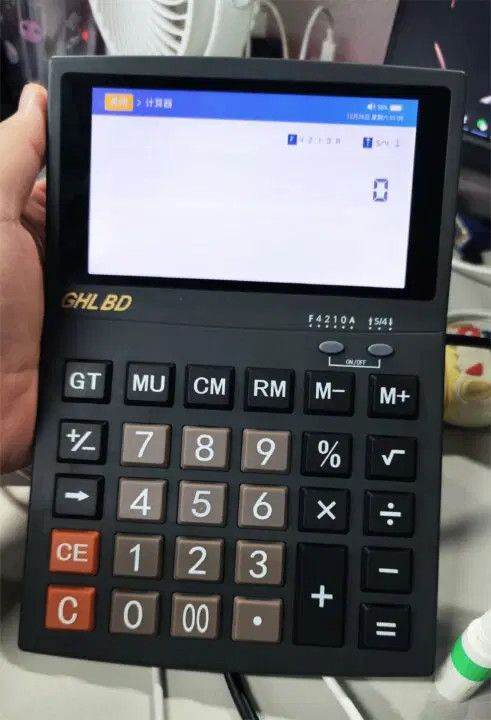
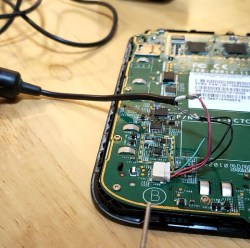 The soft touch layer on the back didn’t go away with help of alcohol, but by sheer luck, an acetone bottle was nearby, and an acetone scrub helped get rid of the unpleasant stickiness. The tablet’s charging circuitry turned out to be unsophisticated – the tablet wouldn’t boot from MicroUSB input, and [Jonathan] wired up 5 volts from a USB cable straight into the battery input. Mind you, this might not be advised, as Lithium-Ion battery range is from 3 volts to 4.2 volts and a regulator would be called for, but [Jonatron] says it’s been working just fine.