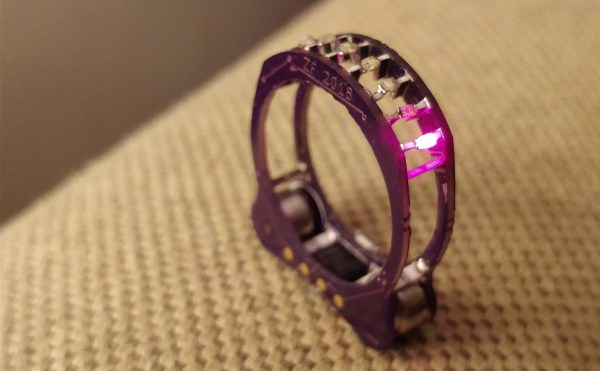
When the cabal of electronic design gurus that pull the invisible strings of the hardware world get together, we imagine they have to show this ring to prove their identity. This is the work of [Zach Fredin], and you’re going to be shocked by the construction and execution of what he calls Cyborg Ring.
The most obvious feature of the Cyborg Ring is the collection of addressable LEDs that occupy the area where gems would be found on a ring. What might not be so obvious is that this is constructed completely of electronic components, and doesn’t use any traditional mechanical parts like standoffs. Quite literally, the surface mount devices are structural in this ring.
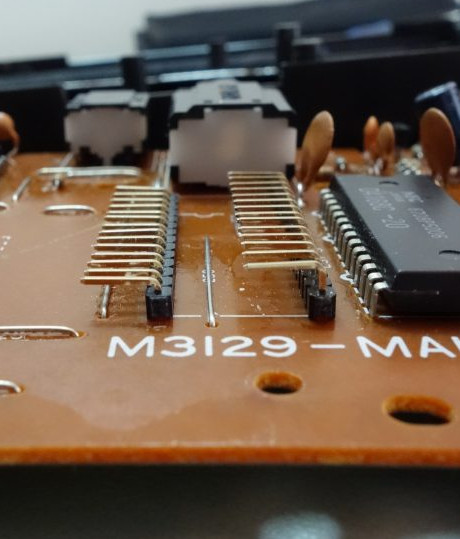
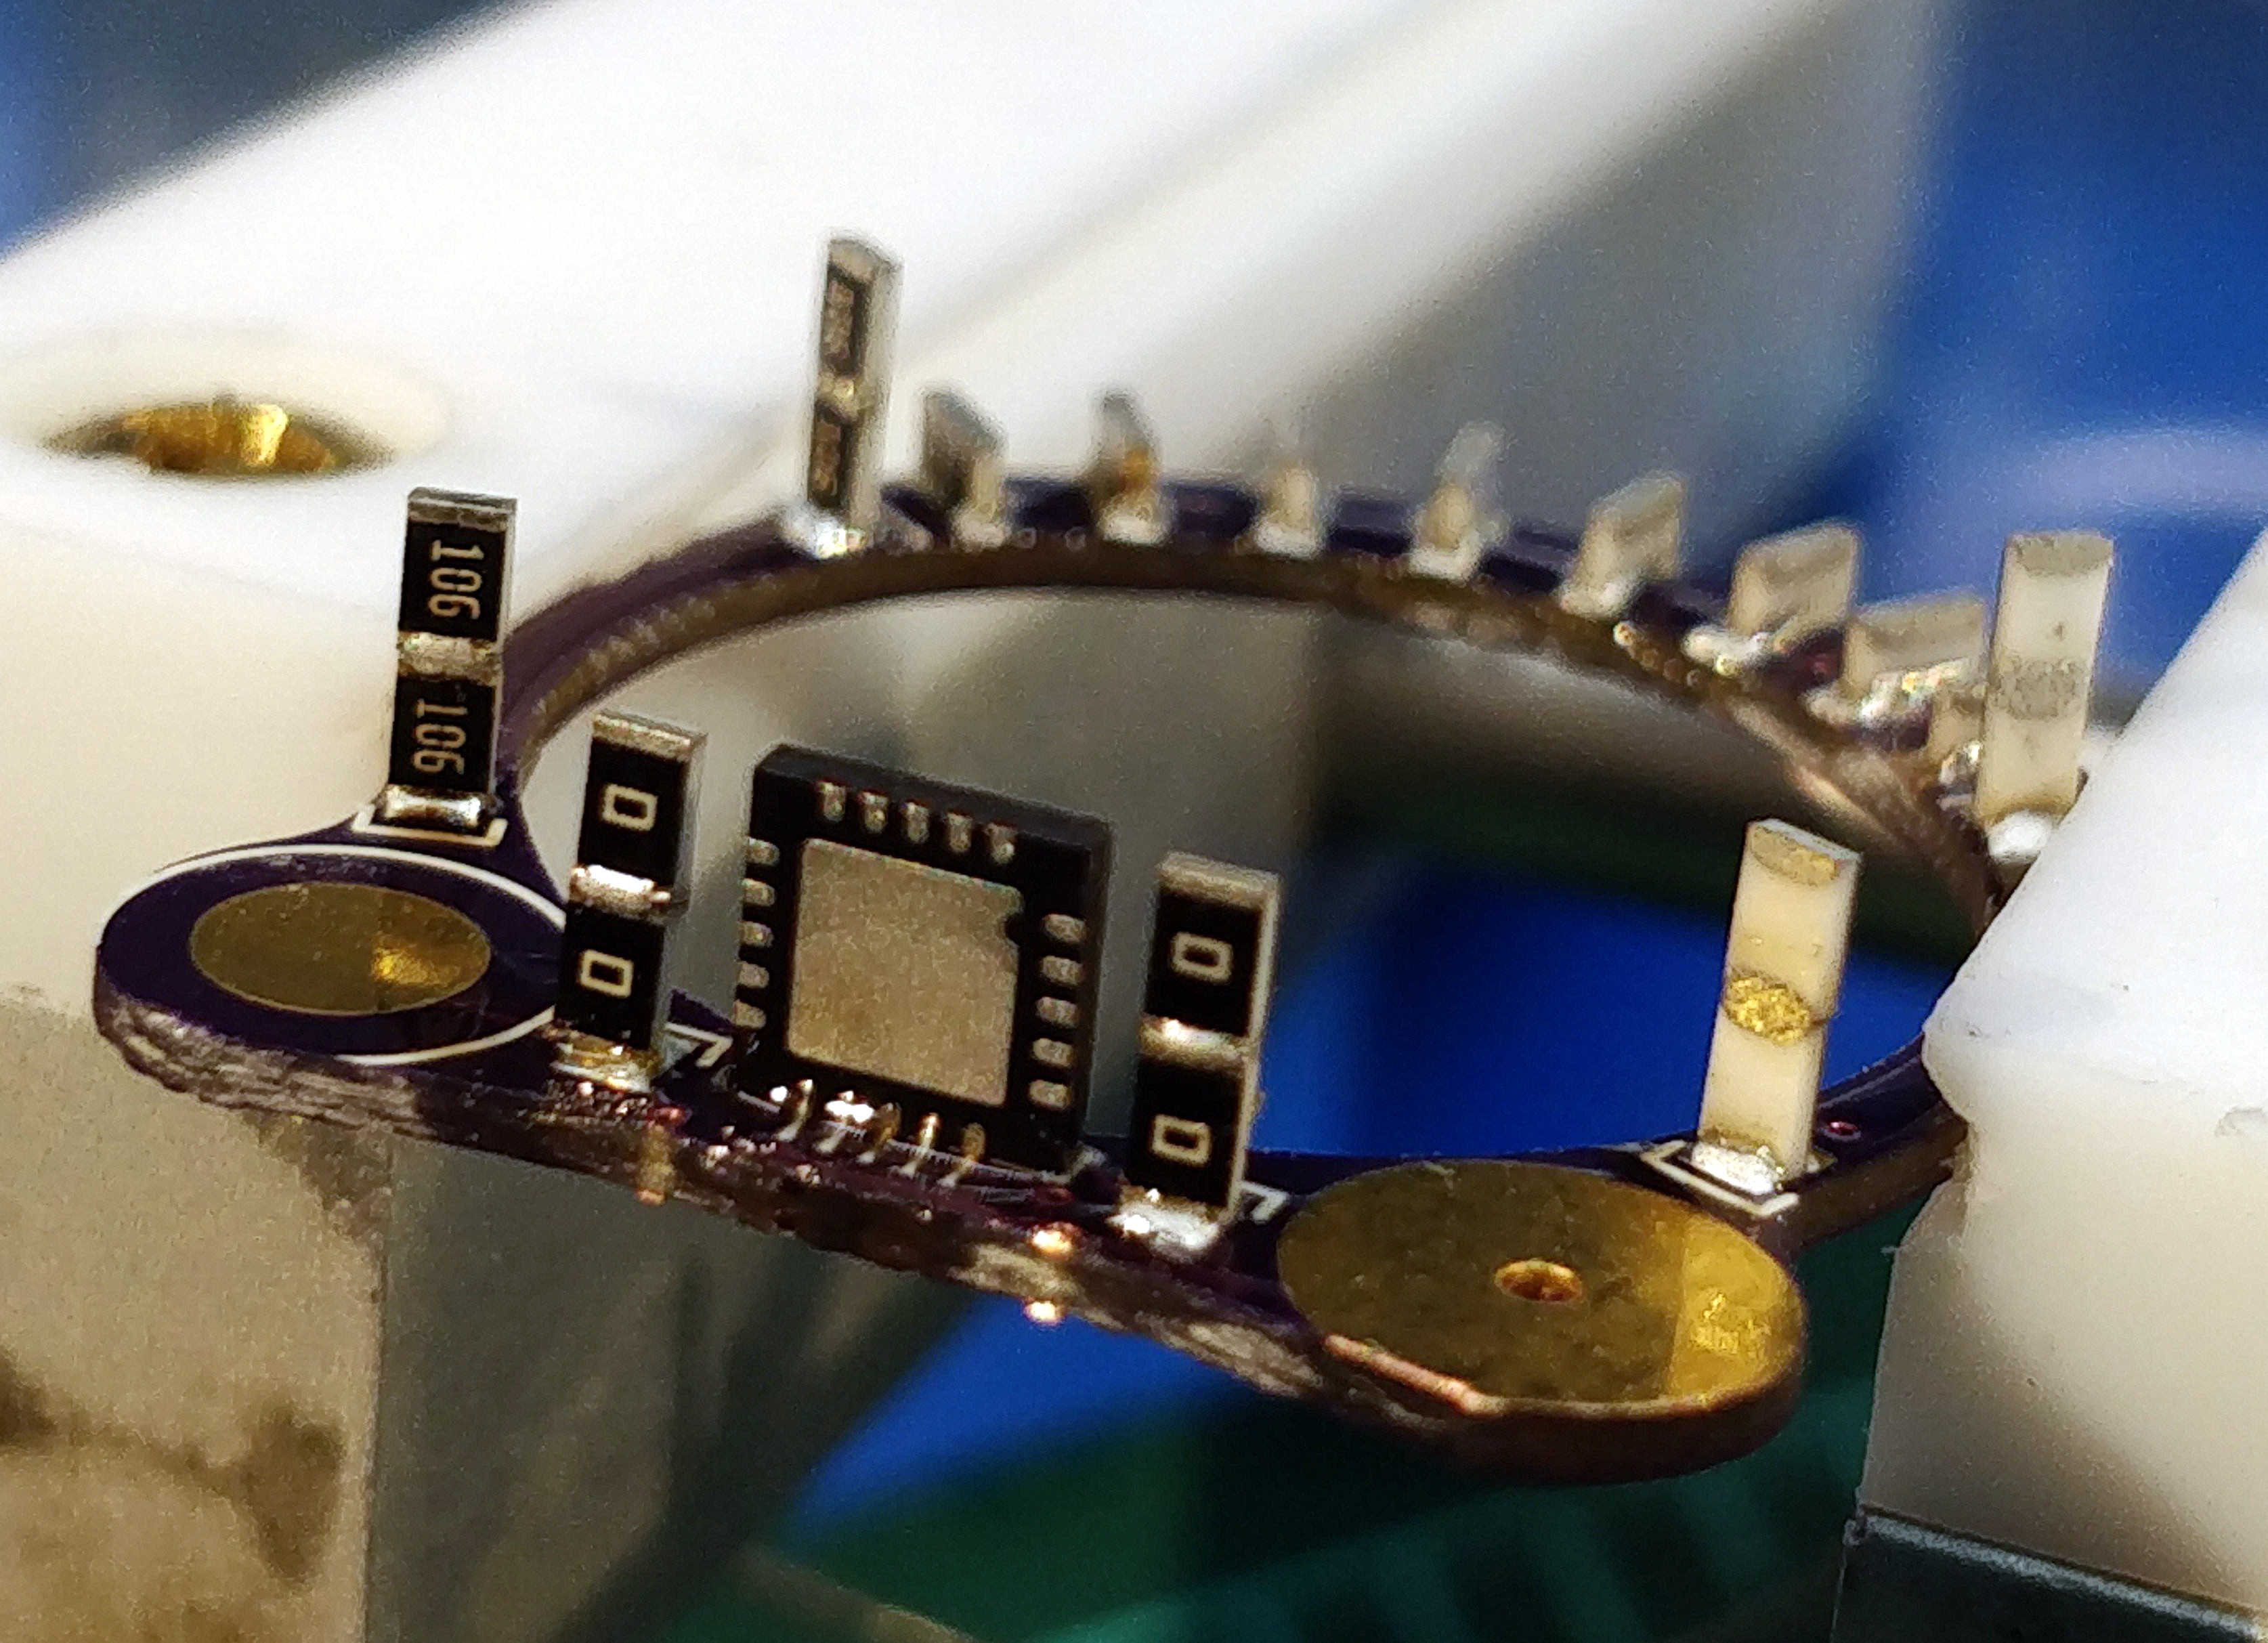 They are also electrical. Here you can see a detail of how [Zach] pulled this off. We are looking at the underside of the ring, the part that goes below your knuckle. One of the two PCBs that are sized to fit your finger has been placed in a Stick Vise while the QFN processor is soldered on end, and the pairs of SMD resistors are put in place.
The precise measurements of each part make it possible to choose components that will perfectly span the gap between the two boards. In the background of the image you can see SMD resistors on their long ends — a technique he used to allow the LEDs themselves to span between one resistor on each of the two PDBs to complete the circuit. Incredible, right?
But it gets better. [Zach] ended up with a working prototype, but has continued to forge ahead with new design iterations. These updates are a delight to read! Make sure you follow his project and check in regularly; if you’ve already looked at this now’s the time to go back and see the new work. The gold pads for the minuscule coin cells which power the ring are being reselected as the batteries didn’t fit well on the original. Some layout problems are being tweaked. And the new spin of boards should be back from fab in a week or so.
Don’t miss the demo video found below. We really like seeing projects that build within the wearble ring form factor. It’s an impressive constraint which [Zach] seems to have mastered. Another favorite of ours is [Kevin’s] Arduboy ring.
Continue reading “Membership Ring Of The Electronic Illuminati”