A Unique Display Makes An Unusual Clock

Do you know the clock speed of the computer you’re reading this article on? Maybe Hackaday readers are more likely to reply “Yes!” to that question than the general public, but if there’s a takeaway it’s that for most computer users their clock speed is now an irrelevance. It’s quick enough for the job in hand and that’s all that matters. This was not always the case though, and a few decades ago the clock speed of a PC was its major selling point. Beige boxes would have seven-segment displays lit up with the figure, and it was an unusual example of one that [Ken Yap] used to produce a clock that he believes is one-of-a-kind; unless by some slim chance somebody else has rescued the same part.

The displays were hard wired without any signals from the processor, and what makes this one unusual is that as well as having a couple of digits in yellow it also sports a segmented “MHz” in red. This would have been quite a big deal on your 486 back in about 1994. To make a clock from this unpromising start required a little creative thinking, and he manages it by using the “M” and the “H” digits to represent minutes and hours, and displaying each figure in turn. The display is wired on a piece of protoboard with an STM8 dev board, and yes, as you can see in the very short video below the break, it does tell the time.

Custom displays are more usually seen in the world of LCDs than LEDs, so this one remains a rarity on these pages. Happily there are projects out there in which people spin their own takes on the idea.

Continue reading “A Unique Display Makes An Unusual Clock”

The Clock Under The Dome

In what can only be described as a work of art, [suedbunker] has created a clock under a glass dome. Sporting Nixie tubes, a DS3223, BCD encoders, and MPSA43 transistors driven by an MCP23008 I/O expander it is truly a sight to behold. [suedbunker] has previously created the Circus Clock, a similar clock that celebrated a diversity of ways of displaying the time.

The dome clock represents a continuation of that idea. Reading the clock requires looking at the horizontal and vertical numbers separately. The hours are on the horizontal and minutes are on the vertical. Monday to Sunday is represented in the neon bulbs on the back. The power supply at the bottom provides a wide range of voltages including 5 V, 12 V, 24 V, 45 V, 90 V, 150 V, and -270 V for all the various types of lights. For safety, an optocoupler is used on the -270 volts to drive the clear seven-segment display.

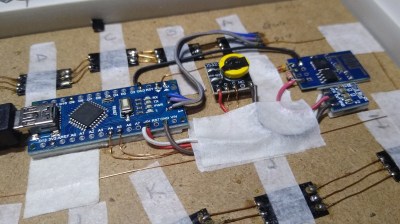
An Arduino Nano controls the whole clock by communicating with the DS3232 real-time clock module and the port expanders via I2C. The soldering and wiring work, in particular, is tidy and beautiful. We look forward to future clocks by [suedbunker] and his wife.

Continue reading “The Clock Under The Dome”

A Linear Stencil Clock Built For Quiet Operation

We around the Hackaday shop never get tired of seeing new ways to mark the passage of time. Hackers come up with all manner of interesting timekeeping modalities using every imaginable material and method of moving the mechanism once per whatever minimum time unit the hacker chooses to mark.

But honestly, there are only so many ways to make a clock, and while we’re bound to see some repeats, it’s still nice to go over old ground with a fresh approach. Take this linear sliding stencil clock for instance. [Luuk Esselbrugge] has included some cool design elements that bear a closer look. The video below shows that the display is made up of four separate stepper motors, each driving a vertical stencil via a rack-and-pinion mechanism. There a simple microswitch for homing the display, and a Neopixel for lighting things up.

The video below shows that the stencils move very, very slowly; [Luuk] says that this is to keep the steppers as quiet as possible. Still, this means that some time changes take more than a minute to accomplish, which is a minor problem. The Neopixel also doesn’t quite light up just one digit, which should be a pretty easy fix for version 2. Still, even with these issues, we like the stately movements of this clock, and appreciate [Luuk]’s attempts to make it easier to live with.

Don’t let the number of clocks you see on these pages dissuade you from trying something new, or from putting your twist on an old design. Start with fridge magnets, an old oscilloscope, or even a bevy of steel balls, and let your imagination run wild. Just make sure to tell us all about it when you’re done.

Continue reading “A Linear Stencil Clock Built For Quiet Operation”

Building This Mechanical Digital Clock Took Balls

In the neverending quest for unique ways to display the time, hackers will try just about anything. We’ve seen it all, or at least we thought we had, and then up popped this purely mechanical digital clock that uses nothing but steel balls to display the time. And we absolutely love it!

Click to embiggen (you’ll be glad you did)

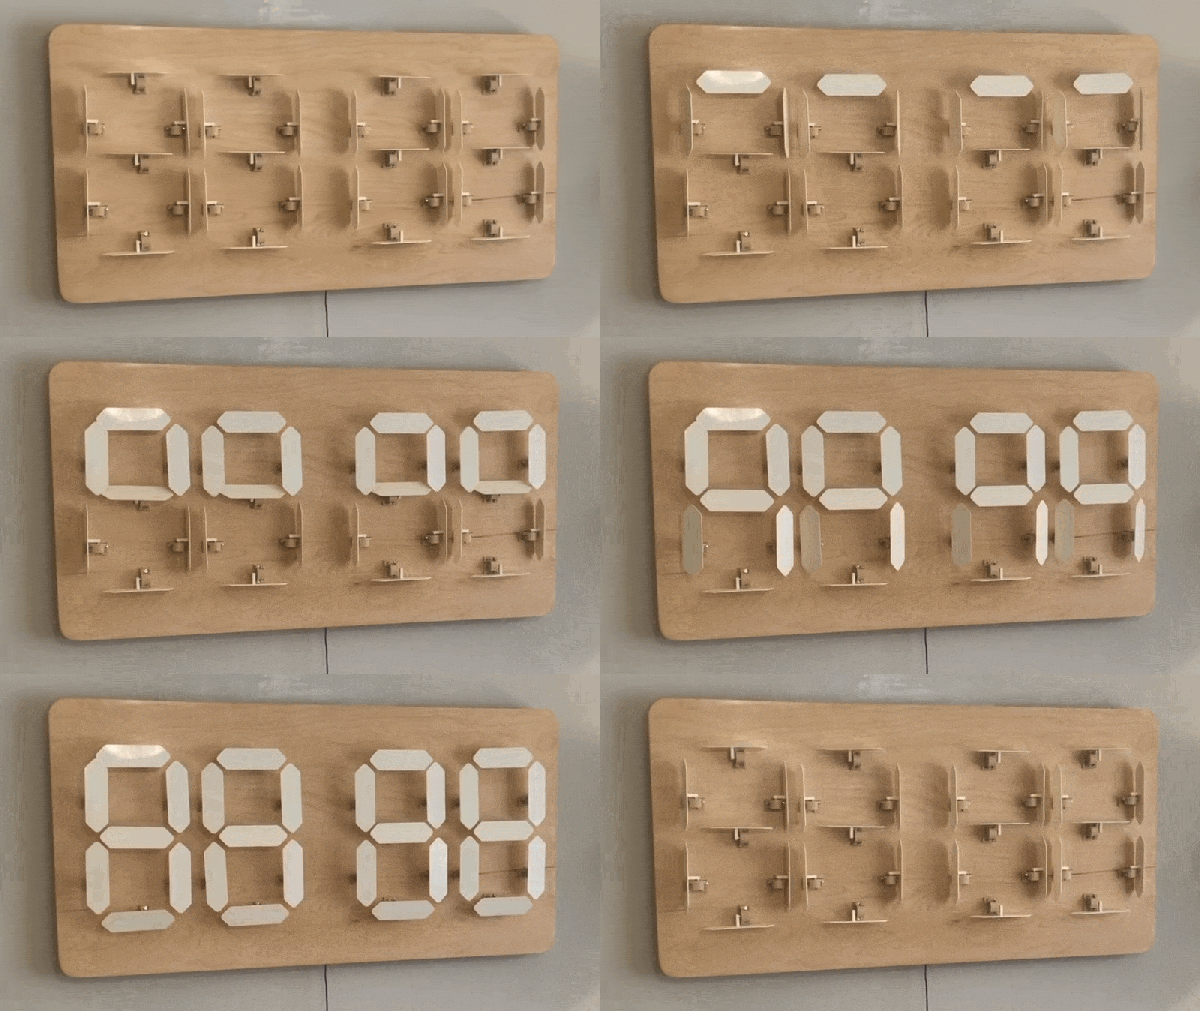
One glimpse at the still images or the brief video below shows you exactly how [Eric Nguyen] managed to pull this off. Each segment of the display is made up of four 0.25″ (6.35 mm) steel balls, picked up and held in place by magnets behind the plain wood face of the clock. But the electromechanical complexity needed to accomplish that is the impressive part of the build. Each segment requires two servos, for a whopping 28 units plus one for the colon. Add to that the two heavy-duty servos needed to tilt the head and the four needed to lift the tray holding the steel balls, and the level of complexity is way up there. And yet, [Eric] still managed to make the interior, which is packed with a laser-cut acrylic skeleton, neat and presentable, as well he might since watching the insides work is pretty satisfying.

We love the level of craftsmanship and creativity on this build, congratulations to [Eric] on making his first Arduino build so hard to top. We’ve seen other mechanical digital displays before, but this one is really a work of art.

Continue reading “Building This Mechanical Digital Clock Took Balls”

Clock Is Not Readable By Humans

Not every build needs to be immediately useful or revolutionary. Plenty of builds are just for fun, for education, or even purposefully useless but still challenging. This clock, for example, might fit into all three categories. It’s a clock that displays time through a QR code, making it completely inscrutable unless you have a device which likely has its own readable clock on it already.

The QR Code clock comes to us from [Aaron] and is based on the now-ubiquitous ESP32 WiFi chip. The ESP32 is connected to a 64×64 LED matrix which is updated every second with a code for the current time. With single-second resolution that means that even with a method for reading a QR code by hand, like you sometimes can with barcodes, there’s no way to read it without a smartphone since it changes so rapidly.

Of course [Aaron] recognizes the flaw in his design in his video in which he notes tongue-in-cheek that with this clock you would never have to look at a smartphone again, since the clock is right there on the wall. We appreciate the humor and also that [Aaron] has made all of his source code available in case you would like to use this as an example project for using QR codes for more useful purposes. For now, though, we’ll just forward you along to some other useless machines.

Thanks to [willmore] for the tip!

Continue reading “Clock Is Not Readable By Humans”

ESP32 Becomes Modern Controller For A 1960s Clock

These days, everything’s got a clock in it, and a good proportion of those clocks are automatically syncronized to high-accuracy Internet time servers. Back in the past, things weren’t so easy. Often, institutions that required accurate time would use a single highly-accurate primary clock to drive a series of secondary clocks around a facility. Without the primary clock, the secondary clock has no signal to drive it. [Oleksii Samorukov] had just such a clock, and whipped up a controller to stand in for timekeeping duty.

The secondary clock in question is a Pragotron PJ 27, which requires regular 12V signals of alternating polarity in order to keep time. To handle this job, [Oleksii] decided to use an ESP32 in combination with an L298N motor controller. The L298N is an H-bridge driver chip, allowing it to easily supply the 12V signals in alternating polarities where required. To ensure the system keeps accurate time, the ESP32 regularly queries an NTP time server over WiFi.

It’s a tidy build, and one that brings this attractive 1960s timepiece into the modern era. We’d love to have such a stylish, well-built clock in our own home, too. Of course, if you want really accurate time, building a GPS clock is a great option, too!

[Thanks to Irregular Shed for the tip!]

Linear Clock Ratchets Up The Action

On the face of it, making a clock that displays the time by moving a pointer along a linear scale shouldn’t be too hard. After all, steppers and linear drives should do the job in a jiffy. Throw an Arduino in and Bob’s your uncle, right?

Wrong. At least that’s not the way [Leo Fernekes] decided to build this unique ratcheting linear clock, a brilliant decision that made the project anything but run-of-the-mill. The idea has been kicking around in [Leo]’s head for years, and there it stayed until inspiration came in the unlikely form of [This Old Tony], one of our favorite YouTube machinists. [Old Tony] did a video on the simple genius of latching mechanisms, like the ones in retractable pens, and that served as an “A-ha!” moment for [Leo]. For a ratchet, he used a strip of bandsaw blade oriented so the teeth point upward. A complex bit of spring steel, bent to engage with the blade’s teeth, forms a pawl to keep the pointer moving upward until it reaches the top.

[Leo] decided early on that this would be an impulse clock, like the type used in schools and factories. He used a servo to jog a strip of tape upward once each minute; the tape is engaged by jaws that drag the pointer along with it, moving the pawl up the ratchet by one tooth and lifting the pointer one minute closer to the top. The pointer releases at the top and falls back to start the cycle over; to arrest its freefall, [Leo] had the genius idea of attaching magnets and using eddy currents induced in the aluminum frame for the job. Finished off with a 3D-printed Art Deco scale, the clock is a unique timepiece that’s anything but boring.

We really appreciate [Leo]’s unique and creative take on projects, and his range. Check out his everlasting continuity tester and his phage-like sentry gun for some neat build details.

Continue reading “Linear Clock Ratchets Up The Action”