Hands On With The Ortur Laser Cutter

I couldn’t write very much without a computer. Early in my career, I wrote with a typewriter. Unless you are pretty close to perfect — I’m not — it is very frustrating to make edits on typewritten stuff. The equivalent in the real world, for me, has been 3D printers and CNC machines. I can visualize a lot of things that I’m not careful enough to build with normal tools. Despite my 7th-grade shop teacher’s best efforts, everything I did turned out to be a toothpick or a number 7. But I can get my ideas into CAD and from there the machines do the rest. That’s why I was excited to get a laser cutter this past Christmas. You might wonder why I’d need a laser cutter if I have the other tools. Then again, if you read Hackaday, you probably don’t need me to explain why you need a new gadget. I’ve had my eye on a laser for a good long time, but recent developments made it more attractive. I thought I’d share with you some of what I’ve found getting started with the Ortur laser cutter. The cutter is easy to put together and costs somewhere in the $200-$400 range depending on what you get with it. I thought I’d take some time to share what I’ve learned about it.

Why a Laser?

If you haven’t had experience with a laser cutter or engraver before, you might think it is a very specific instrument. Sure, the Ortur is good at engraving some things (but not all things). It can cut some things, too, but not as many things as a big serious laser cutter. However, creative people find lots of ways to use cutting and engraving to produce things you might not expect.

Continue reading “Hands On With The Ortur Laser Cutter”

3D Print A PCB The Hard Way

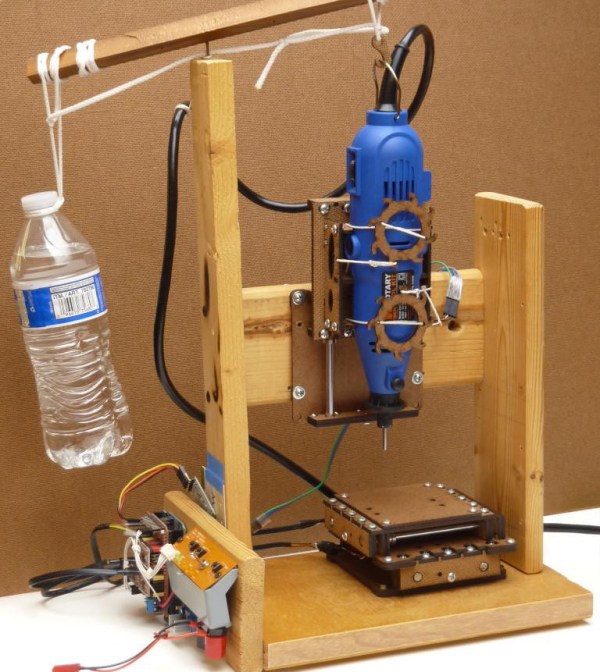
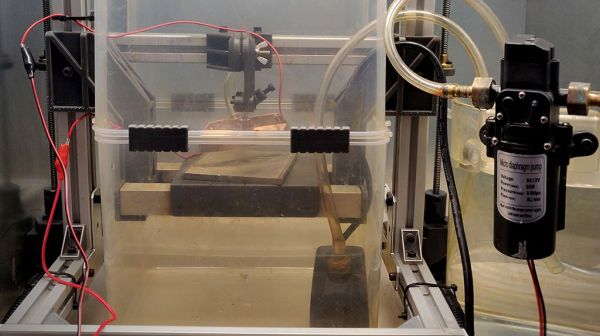
There’s an old joke about the physics student tasked with finding the height of a building using a barometer. She dropped the barometer from the roof and timed how long it took to hit the ground. Maybe that was a similar inspiration to [Moe_fpv_team’s] response to the challenge: use a 3D printer to create a PC board. The answer in that case? Print a CNC mill.

[Moe] had some leftover 3D printer parts. A $40 ER11 spindle gets control from the 3D printer software as a fan. The X, Y, and Z axis is pretty standard. The machine can’t mill metal, but it does handy on plywood and fiber board and should be sufficient to mill out a PCB from some copper clad board.

Continue reading “3D Print A PCB The Hard Way”

3D Printer? Laser Cutter? CNC? Yes, Please

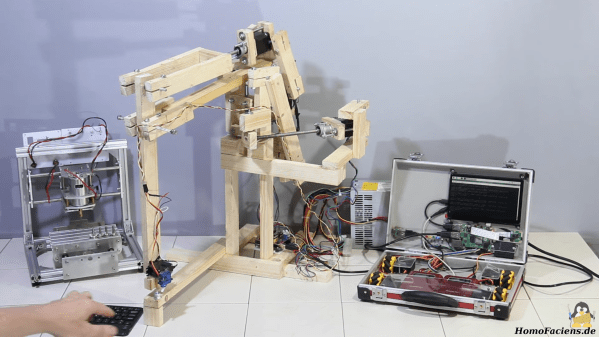
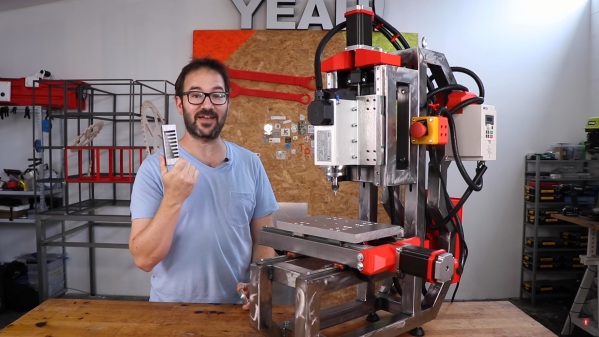
Most of us have, or, would like to have a 3D printer, a laser engraver, and a CNC machine. However, if you think about it naively, these machines are not too different. You need some way to move in the XY plane and, usually, on the Z axis, as well.

Sure, people mount extruders on CNCs, or even lasers or Dremel tools on 3D printers. However, each machine has its own peculiarities. CNCs need rigidity. 3D printers should be fast. Laser engravers and CNCs don’t typically need much Z motion. So common sense would tell you that it would be tough to make a machine to do all three functions work well in each use case. [Stefan] thought that, too, until he got his hands on a Snapmaker 2.0.

As you can see in the video below, the machine uses different tool heads for each function. The motion system stays the same and, curiously, there are three identical linear motion modules, one for each axis.

Continue reading “3D Printer? Laser Cutter? CNC? Yes, Please”

Pen Plotter Draws Maps Directly On The Wall

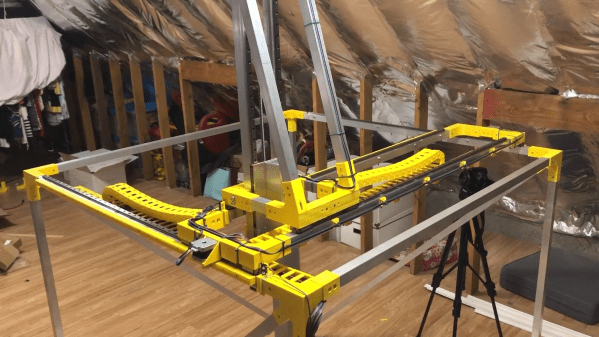
For map-lovers like [Christopher Getschmann], poring over a quality map can be as satisfying as reading a good book. Good maps can be hard to come by, though, especially at a scale worth looking at, or worth using as adornment on a dull, lifeless wall. The solution is obvious: build a wall-mount CNC plotter to draw maps directly on the wall.

[Christopher] began his map quest by scraping world map data from a number of sources, including OpenStreetMap, Natural Earth, and GEBCO. This gave him data for coastlines, terrain, and bathymetry — enough for a map of the world large enough to fill a wall. Since the scale of the map would preclude the use of even a large-format inkjet printer, [Christopher] set about building a wall-covering pen-plotter to render the map. The CoreXY-style plotter is large, but still light enough to hang on the wall while it works, and to be repositioned to cover a larger area.

The plotter runs on steppers driven by ultra-quiet Trinamic TMC5160 drivers, so the plotter wouldn’t be a nuisance while it worked. The map was plotted on eight pieces of cardboard mounted directly to the wall, filling the 2- x 3-meter space almost entirely. Landmasses and elevation contours were plotted as continuous lines in black ink, while bathymetric data was rendered in blue ink as cross-hatching with variable spacing, to make deeper oceans darker blue.

We find [Christopher]’s map breathtaking, all the more so considering the work that went into making it. It would be interesting to find alternate uses for the plotter, which reminds us a little of a cross between a draw-bot and a Maslow vertical CNC router, now that it’s done with its cartographic duties.

Blackboard Becomes Tidy Pen Plotter

Printers are all well and good, but they’re generally limited to smaller paper sizes and use expensive ink. If you instead want to produce art on a larger scale, a plotter can be a great way to go. [tuenhidiy] built a tidy example using an old blackboard as a base.

These days, such a build is quite easily approachable, thanks to the broad DIY CNC and 3D printing communities. The plotter consists of a pair of stepper motors, driven by an off-the-shelf RAMPS 1.4 controller and an Arduino Mega 2560. The motors are mounted at the top corners of the blackboard, and move the pen holder via a pair of toothed belts, counter-weighted for stability. The pen holder itself mounts a simple permanent marker, and uses a servo to push the holder away from the paper for retraction, rather than moving the pen itself. Control of the system is via the Makelangelo firmware, an open-source effort capable of driving a wide variety of CNC motion systems.

The final result is a simple plotter using readily available parts that can reliably plot large graphics on a piece of A1 paper. We’re particularly impressed by the clean, continuous lines it produces – testament to a sound mechanical design.

We see plenty of plotters around these parts; even rotary types that can draw on curves. Video after the break.

Continue reading “Blackboard Becomes Tidy Pen Plotter”

Checking In On Low-Cost CNC Machines

Low cost 3D printers have come a long way in the last few years, but have entry-level CNC machines improved by the same leaps and bounds? That’s what [ModBot] recently set out to find. Despite getting burned pretty badly on a cheap CNC a few years back, he decided to try again with a sub $400 machine from FoxAlien. You can see his full review after the break.

The machine looks very similar to other generic CNC machines you see under many brand names, sometimes for a good bit less. The 3018 number is a giveaway that the work area is 30×18 cm and a quick search pulled up several similar machines for just a bit more than $200. The FoxAlien did have a few nice features, though. It has a good-looking build guide and an acrylic box to keep down the shaving debris in your shop. There are also some other nice touches like a Z-axis probe and end stops. If you add those items to the cut-rate 3018 machines, the FoxAlien machine is pretty price competitive when you buy it from the vendor’s website. The Amazon page in the video shows $350 which is a bit more expensive but does include shipping.

As with most of these cheap CNC machines, one could argue that it’s more of an engraver than a full mill. But on the plus side, you can mount other tools and spindles to get different results. You can even turn one of these into a diode laser cutter, but you might be better off with something purpose-built unless you think you’ll want to switch back and forth often.

This reminded us of a CNC we’ve used a lot, the LinkSprite. It does fine for about the same price but we are jealous of the enclosure. Of course, half the fun of owning something like this is hacking it and there are plenty of upgrades for these cheap machines.

Laser Etching Stainless Steel With Mustard

[Brain] wanted to mark some scissors with his Ortur laser engraver. The problem? The laser won’t cut into the hard metal of the scissors. His solution? Smear the scissors with mustard. No kidding. We’ve heard of this before, and apparently, you can use vinegar, as well, but since the mustard is a paste it is easier to apply. You can see the result in the video, below.

In case you think you don’t need to watch because we’ve already told you the trick, you should know that [Brian] also goes into a lot of detail about preparing single line fonts to get a good result, among a few other tips like improvements to his air assist setup. On a laser cutter, the air assist blows away charred material leaving a clear field of view between the laser and the remaining uncut material. Using a proper air assist can really expand the capabilities of these inexpensive laser cutters — something we recently saw upgraded with a 3D-printed air assist nozzle.

You can buy a commercial marking solution called CerMark Black, but you probably already have mustard. If you are super cheap, you can probably pick up a packet next time you buy a burger somewhere. After all, you don’t need much. Although the video talks about the Ortur, this technique would work with any engraver. We’ve also heard you can do something similar with plaster and alcohol.

Continue reading “Laser Etching Stainless Steel With Mustard”