Thanks to 3D printing, most of us are familiar with the concept of additive manufacturing, and by extension, subtractive manufacturing. But what is it when you’re neither adding material nor taking it away to create something? Generally speaking, that’s called forming, and while there are tons of ways to do it, one you might not have heard of is single-point incremental forming (SPIF), and it’s pretty cool.
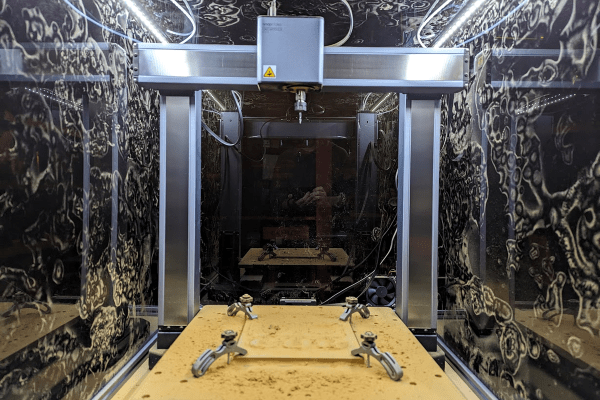
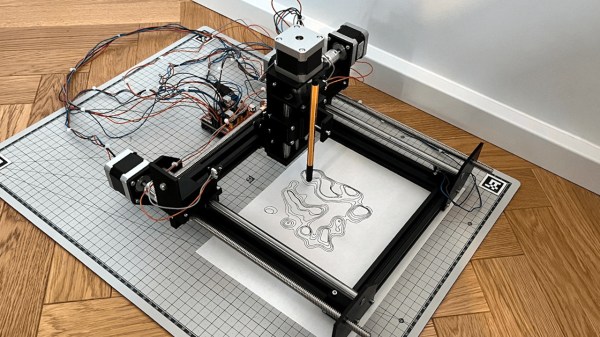
To explore SPIF as a method for making small parts, [Russell Makes] gave it a go on a small CNC mill. The idea is pretty simple, and the video below makes it pretty clear what’s going on. A forming tool is moved over a sheet metal blank that’s held very securely to the mill’s table. The tool has no cutting edges, just a smooth, hard, spherical tip — [Russell] made his own by brazing a carbide ball to a piece of drill rod. The tool is driven slightly into the blank along the Z-axis, while simultaneously tracing out a tool path in the XY plane. The tool spins, but very slowly; ideally, the spindle speed is controlled to keep a single point of contact with the metal as the tool works around its tool path. The tool steps downward incrementally, drawing the metal down with it as it forms the desired shape.
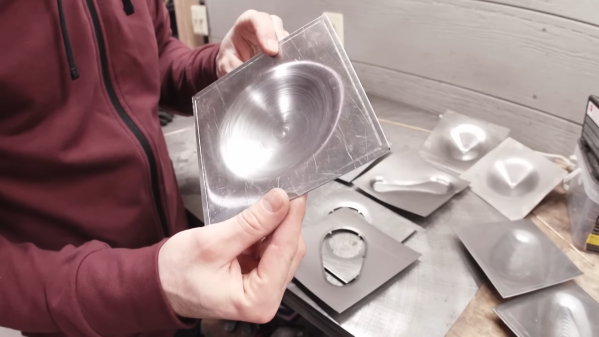
[Russell]’s experiments were pretty promising. He started with titanium sheet, which behaved pretty well except for some galling thanks to lack of lubrication. Aluminum and stainless worked pretty well too, at least for simple hemispherical and cone shapes. More complex shapes proved trickier, but with time he was able to figure out the correct speeds and feeds to keep the metal intact. The amount of tension built up in the metal is impressive, though, and is especially evident when cutting the finished part free from the blank.
Could this work with a hobbyist-grade machine? Possibly, but we’d be afraid that the forces involved might be a bit much for light-duty machines, especially in the Z-axis. And it’s a slow process, so it’s probably only good for one-offs and low-volume work. Once you’ve got a prototype, die stamping might be a more efficient way to go.