We’re still coming off the Hackaday Belgrade conference right now. If you were there, you know it was the greatest hardware conference ever. If you weren’t there, you missed out. Sorry. (Make sure you get in on the Hackaday Superconference in November.)
One of the many highlights of the Belgrade conference was, of course, the badge. The 2018 Hackaday Belgrade Badge is a masterpiece of hardware with a 55-key keyboard, RGB TFT LED, speaker, and a BASIC interpreter.
This badge is a masterpiece of electronic design by Voja Antonic. Just to take one small example from the design, check out the placement of the buttons. Think the slightly rotated buttons that make up the keyboard is only a stylistic choice? It’s not; by carefully rotating each button, the legs of each switch can fit in between each other. It’s brilliant.
Starting hardware this good, adding amazing software by Jaromir Sukuba to bring it to life, and distributing a badge to each hacker through the door is the perfect recipe for some amazing hacks. What were the best badge hacking tricks we saw at the 2018 Hackaday Belgrade conference? Check out the video of the badge hacking ceremonies and then join us below for a few of our favorites.
Check it out, the Hackaday YouTube channel just passed 100,000 Subscribers! Thank you to everyone who has been following the great stream of videos on our channel. If you’re not yet following us, now’s the time!
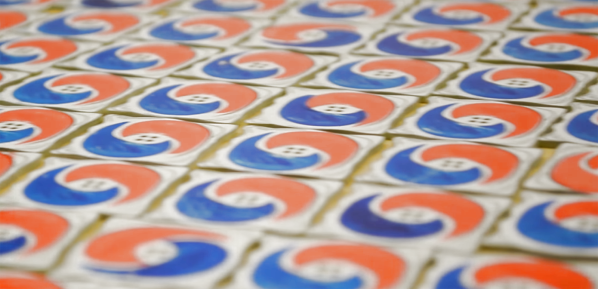
I’ve done a few experiments in adding color to printed circuit boards. These experiments used a process known as pad printing, and so far all indications are that pad printing is a viable process for truly multicolor artistic PCBs. For this year’s DEF CON, I’m stepping things up and taking them to their logical conclusion. I’m making true multicolor PCBs with orange and blue ink. This is, I believe, the first time this has ever been done with printed circuit board art, and it is certainly the first time it has ever been documented.
You may be wondering why I need more color on my boards. It’s that time of year again where PCB artisans all around the world are gearing up for badgecon DEF CON. For the last few years, independent badge makers have come together to form a demoscene of hardware creation. This year, add-ons for badges are a thing, and everyone is getting in on the game. Tindie is filled with amazing electronic badges and add-ons that will be found at this year’s DEF CON. There are badges featuring the Cromulon from Rick and Morty, baby Benders from Futurama, pikachus, and glowing tacos.
This is all about badge art, but when it comes to rendering an image in fiberglass and soldermask, everyone is working with a limited palette. Yes, you can get pink and orange soldermask, but I can’t find a place that will do it inexpensively. For any PCB, your choice of colors are only green, red, yellow, blue, purple, black, or white. No, you can’t mix them.
But I want both orange and blue, on the same board, cheaply and easily — here’s how I did it.
With all the talk of SpaceX and Blue Origin sending rockets to orbit and vertically landing part or all of them back on Earth for reuse you’d think that they were the first to try it. Nothing can be further from the truth. Back in the 1990s, a small team backed by McDonnell Douglas and the US government vertically launched and landed versions of a rocket called the Delta Clipper. It didn’t go to orbit but it did perform some extraordinary feats.
Origin Of The Delta Clipper
The Delta Clipper was an unmanned demonstrator launch vehicle flown from 1993 to 1996 for testing vertical takeoff and landing (VTOL) single-stage to orbit (SSTO) technology. For anyone who watched SpaceX testing VTOL with its Grasshopper vehicle in 2012/13, the Delta Clipper’s maneuvers would look very familiar.
Initially, it was funded by the Strategic Defence Initiative Organization (SDIO). Many may remember SDI as “Star Wars”, the proposed defence system against ballistic missiles which had political traction during the 1980s up to the end of the Cold War.
Ultimately, the SDIO wanted a suborbital recoverable rocket capable of carrying a 3,000 lb payload to an altitude of 284 miles (457 km), which is around the altitude of the International Space Station. It also had to return with a soft landing to a precise location and be able to fly again in three to seven days. Part of the goal was to have a means of rapidly replacing military satellites should there be a national emergency.
The plan was to start with an “X” subscale vehicle which would demonstrate vertical takeoff and landing and do so again in three to seven days. A “Y” orbital prototype would follow that. In August 1991, McDonnell-Douglas won the contract for the “X” version and the possible future “Y” one. The following is the story of that vehicle and its amazing feats.
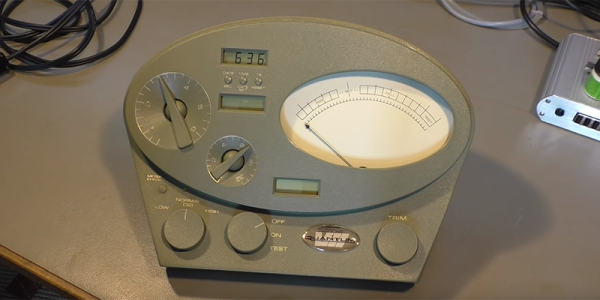
This is something we’ve been waiting a very long time for. The Church of Scientology uses devices called E-Meters to measure Thetans in the body. We’re not going to discuss this further, because we don’t want to be murdered. In reality, the E-Meter is simply a device that costs five thousand dollars and only measures the resistance of the human body. It does this by having the subject hold two copper cylinders and a simple Wheatstone bridge. Why does the E-Meter cost five thousand dollars? As [Play With Junk] found out, it’s an exquisitely engineered piece of hardware.
[Play With Junk] acquired this E-Meter from eBay for something around $100, and from a system-level analysis, it’s really not anything special. There’s a fancy analog meter, yes, but most of this wouldn’t be out of place in any 90s-era piece of test equipment. There’s an 8051 microcontroller reading what are probably some fancy ADCs, and there’s an LCD driver on board. Slap it in a fancy injection-molded case, and you have an E-Meter.
What’s most impressive is the quality of the components that go into a machine that effectively only measures the resistance of the human body. The ‘trim’ pot is a Vishay wire-wound precision potentiometer that costs somewhere between $20 and $60. The power switch is an over-specced switch that probably costs $5. The control pots look and feel great, and the wiring is wrapped around chokes.
This is an exceptionally well-engineered device, and it shows. There’s an incredible amount of work that went into the electronics, and a massive amount of money that went into the fancy injection molded enclosure. If you’re looking for an example of a well-engineered tool, price be damned, you need only look at an E-Meter.
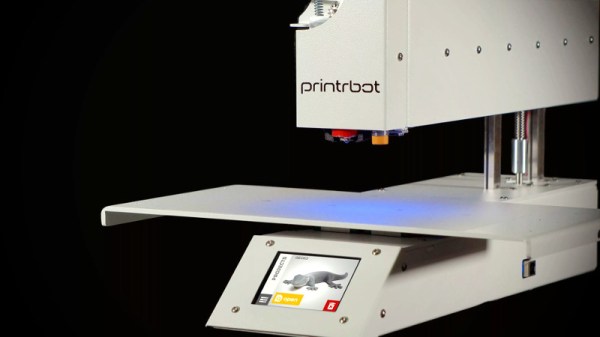
It’s with a heavy heart that we must report Printrbot has announced they are ceasing operations. Founded in 2011 after a wildly successful Kickstarter campaign, the company set out to make 3D printing cheaper and easier. Their first printer was an amalgamation of printed parts and wood that at the time offered an incredible deal; when the Makerbot CupCake was selling for $750 and took 20+ hours to assemble, the Printrbot kit would only run you $500 and could be built in under an hour.
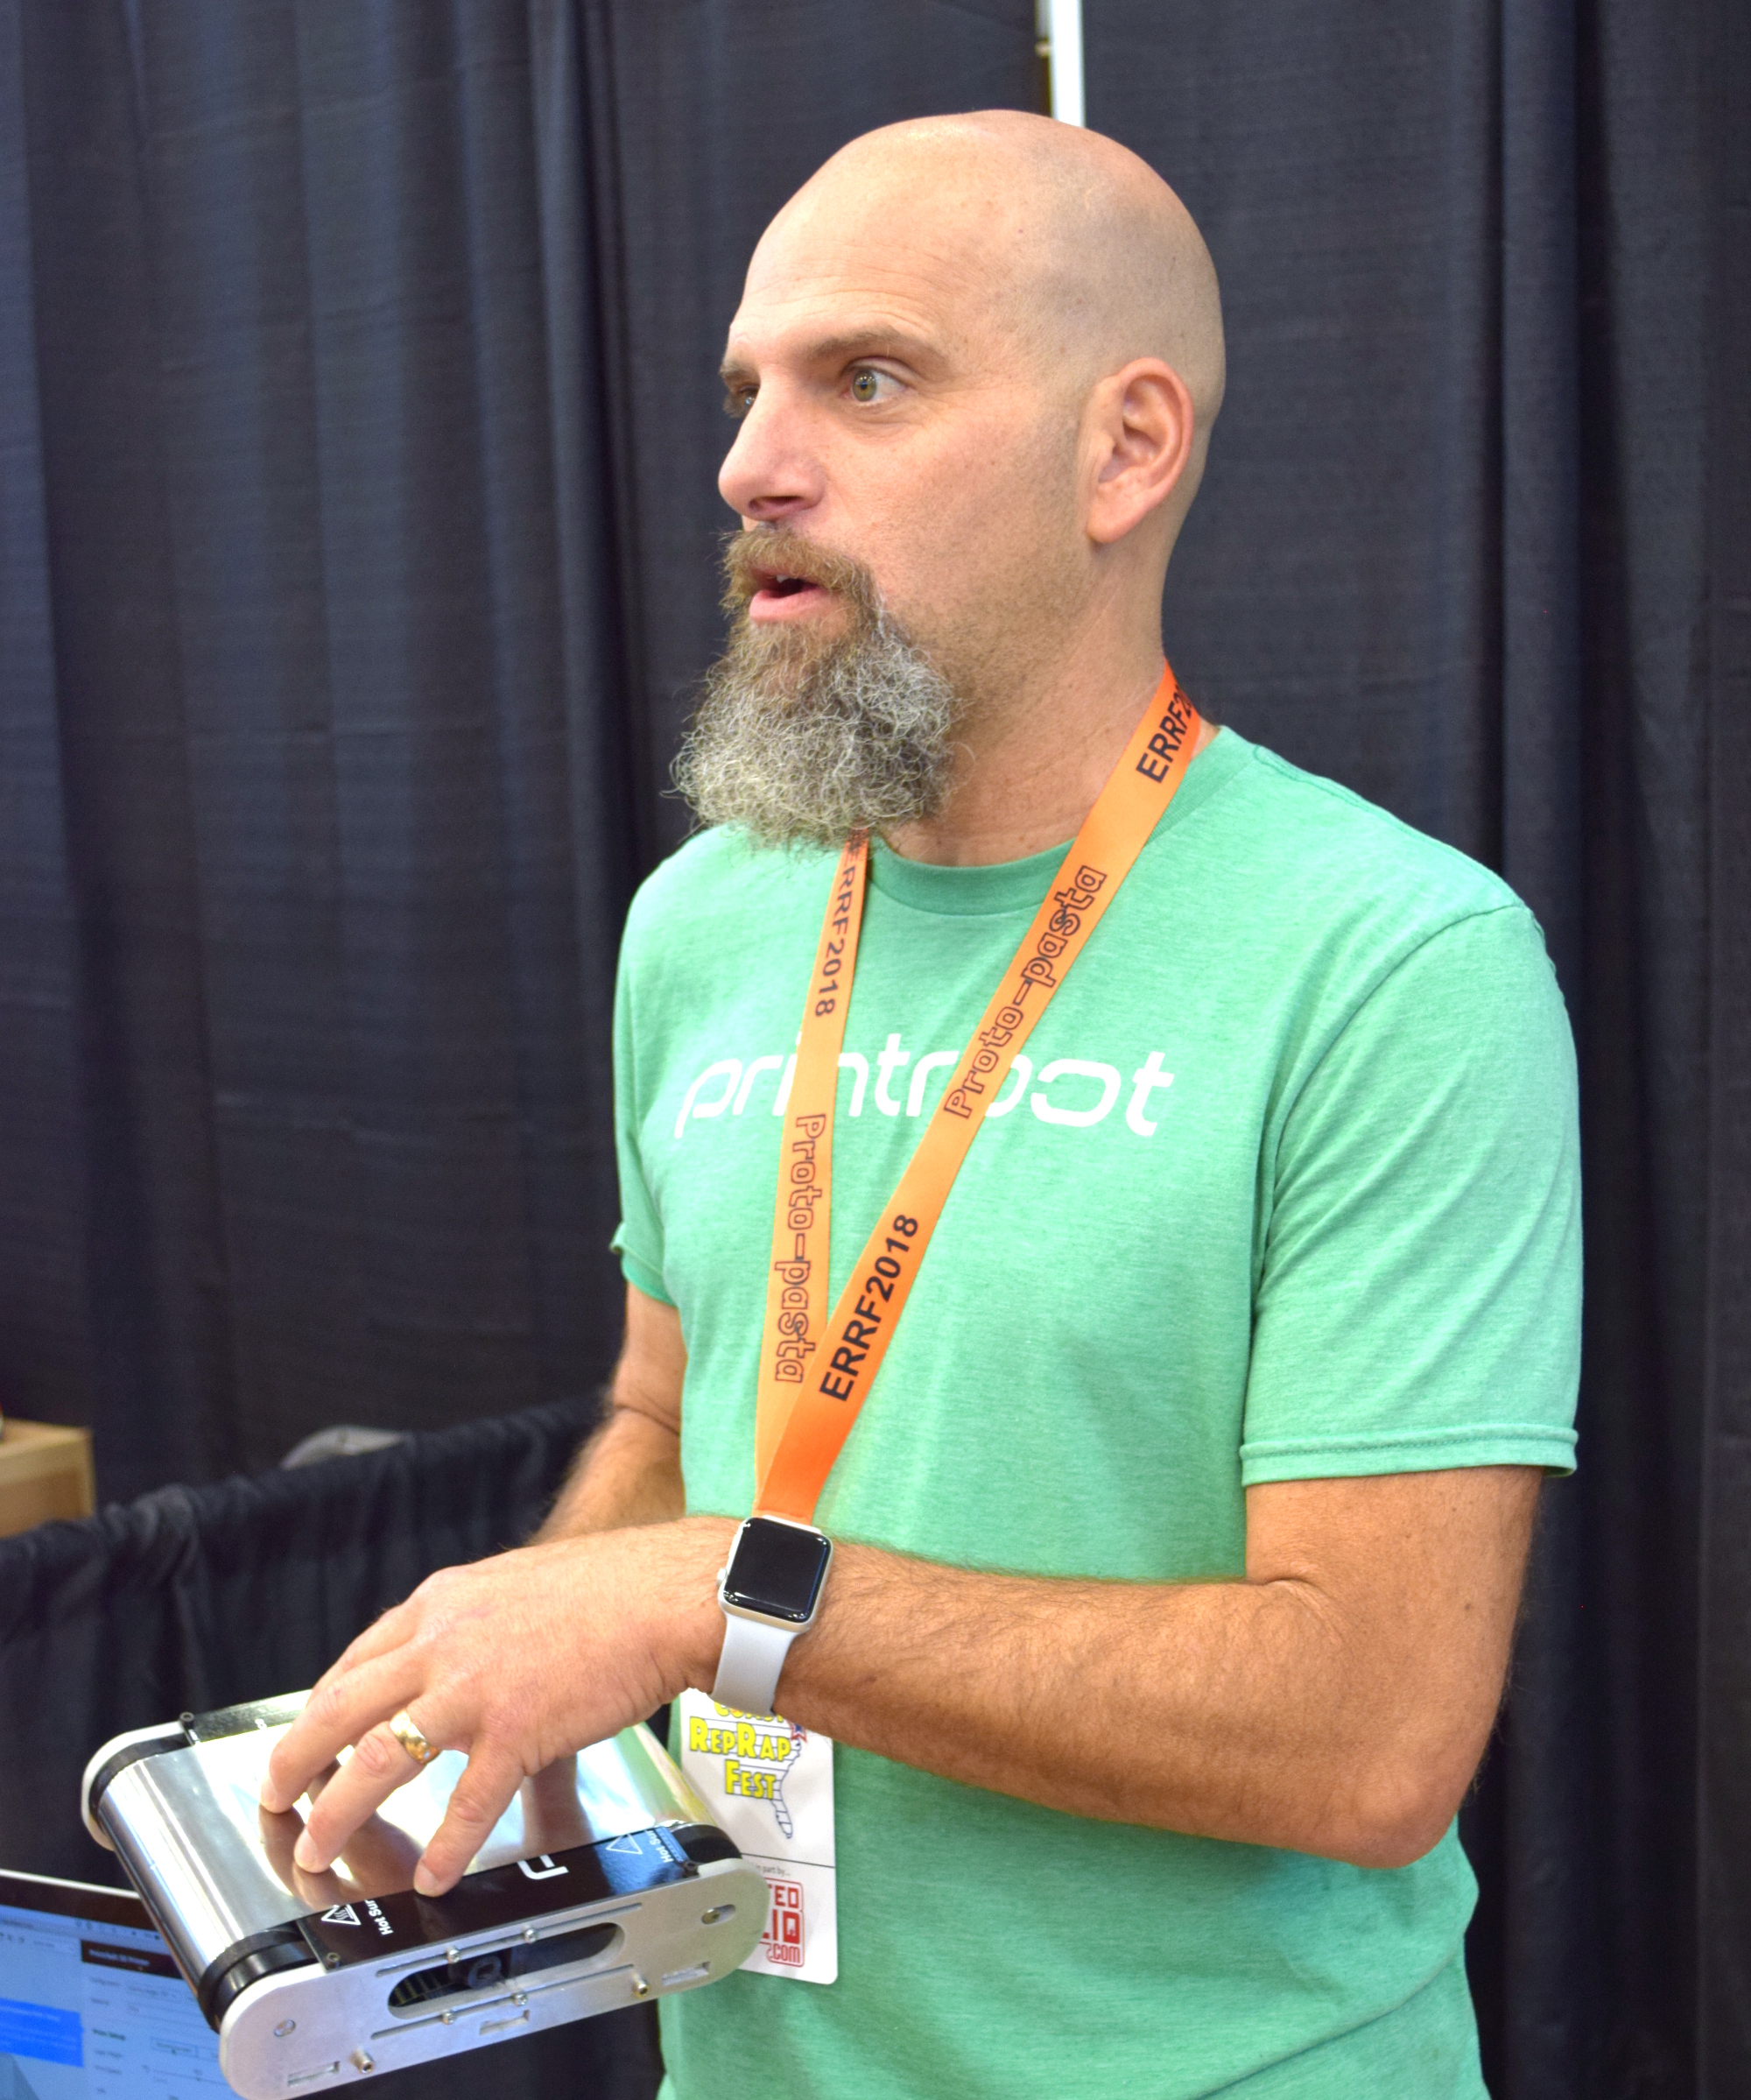
Brook Drumm, Founder of Printrbot
Printrbot got their foot in the door early, but the competition wasn’t far behind. The dream of Star Trek style replicators fueled massive investment, and for a while it seemed like everyone was getting into the 3D printing game. Kit built machines gave way to turn-key printers, and the prices starting coming down. Printrbot’s products evolved as well, dropping wood in favor of folded steel and pioneering impressive features like automatic bed leveling. In 2014 they released the Printbot Simple Metal, which ultimately became their flagship product and in many ways represents the high water mark for the company.
Eventually, overseas manufacturers saw an opportunity and started flooding the market with 3D printers that were cheaper than what many would have believed possible only a few years earlier. Today you can go online and buy a perfectly serviceable starter printer for under $200, even less if you’re still willing to build it yourself. For an American company like Printrbot, competing at this price point was simply an impossibility.
Rather than give up, Brook decided to take things in a different direction. If he couldn’t compete with imported machines on price, he would start building high end printers. A new version of the Simple Metal was introduced in 2016 with premium features such as linear rails and cloud-based slicing, complete with a premium price. From that point on, most new Printrbot products would release at over $1,000; putting them more in line with “prosumer” machines from companies like Ultimaker. For hacker types who got their first taste of 3D printing thanks to a cheap wooden Printrbot kit, this was something of a bittersweet moment.
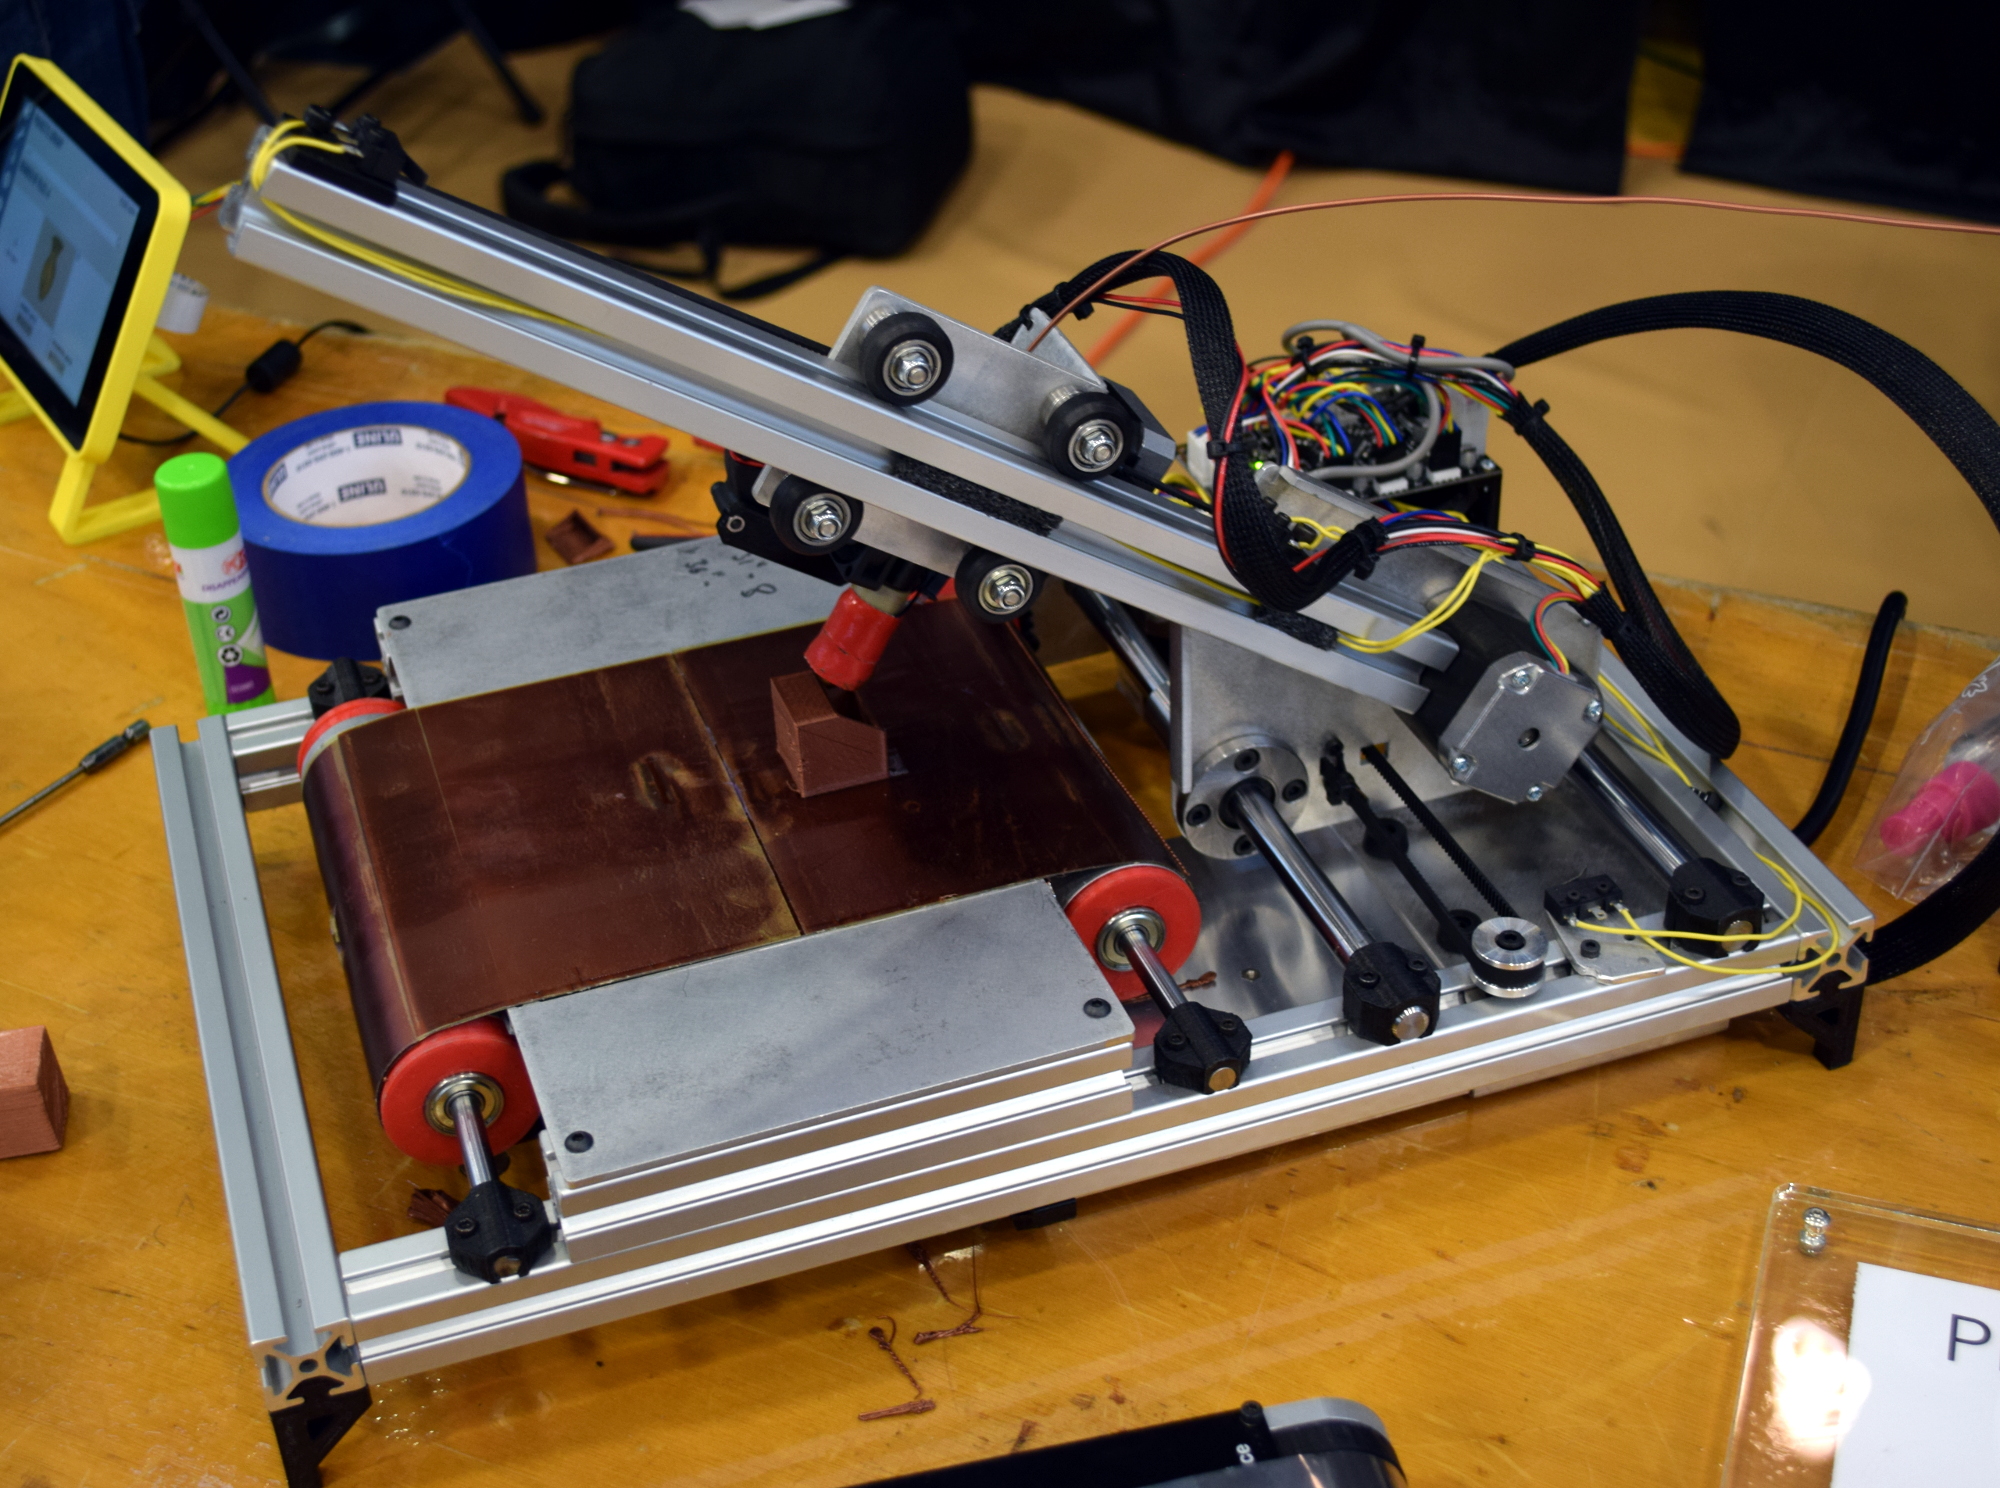
At the same time, Brook’s natural hacker spirit and love of the open source community lead to a number of interesting side projects that never quite got off the ground. Most recently, he’d been putting the finishing touches on the Printrbelt, a 3D printer with a conveyor belt in place of a traditional bed. Such a machine could finally bridge the gap between desktop 3D printing and true small scale production capability.
When we saw Brook at the East Coast RepRap Festival, he brought along a new machine that the more cynical observer might have taken as foreshadowing. The Printrbot Easy was going to be a modified and rebranded FlashForge Finder, a final acknowledgement that the only way to compete with the Chinese manufactured 3D printers was to sell one of your own.
It’s always sad to see a tech company go under, but seeing the end of Printrbot is especially hard. Built in America with locally sourced components and with a commitment to keeping their machines open source, there was a lot to love about the plucky little 3D printer company from Lincoln, California. Printrbot was the quintessential hacker success story, and we’re proud to say we’ve been in their corner from the start. Here’s to wishing Brook Drumm and the entire Printrbot team success in their future endeavors; we’ll be keeping an eye out.
When word first broke that Elon Musk was designing a kid-sized submarine to help rescue the children stuck in Thailand’s Tham Luang cave, it seemed like a logical thing for Hackaday to cover. An eccentric builder of rockets and rocket-launched electric sports cars, pushing his engineering teams and not inconsiderable financial resources into action to save children? All of that talk about Elon being a real life Tony Stark was about to turn from meme into reality; if the gambit paid off, the world might have it’s first true superhero.
With human lives in the balance, and success of the rescue attempt far from assured (regardless of Elon’s involvement), we didn’t feel like playing arm-chair engineer at the time. Everyone here at Hackaday is thankful that due to the heroics of the rescuers, including one who paid the ultimate price, all thirteen lives were saved.
Many said it couldn’t be done, others said even saving half of the children would have been a miracle. But Elon’s submarine, designed and built at a breakneck pace and brought to Thailand while some of the children were still awaiting rescue, laid unused. It wasn’t Elon’s advanced technology that made the rescue possible, it was the tenacity of the human spirit.
Now, with the rescue complete and the children well on their way to returning to their families, one is left wondering about Elon’s submarine. Could it have worked?



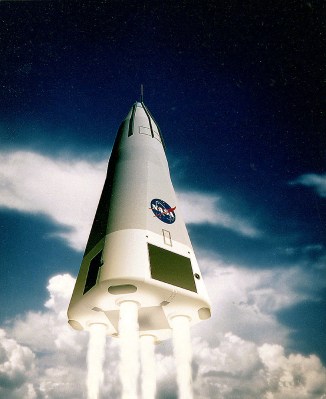 The Delta Clipper was an unmanned demonstrator launch vehicle flown from 1993 to 1996 for testing vertical takeoff and landing (VTOL) single-stage to orbit (SSTO) technology. For anyone who watched SpaceX testing VTOL with its