TiLDA MKπ, The EMF Camp 2016 Badge

The Scottish Consulate has stamped its last passport, the Dutch fire tower has belched its final flame, and the Gold Members Lounge has followed the Hacienda and the Marquee into clubland oblivion. EMF Camp 2016 is over, so all the 1500 or so attendees have left are the memories, photographs, and festival diarrhoea to remind them of their three days in the Surrey countryside.

Well, not quite all, there is the small matter of the badge.

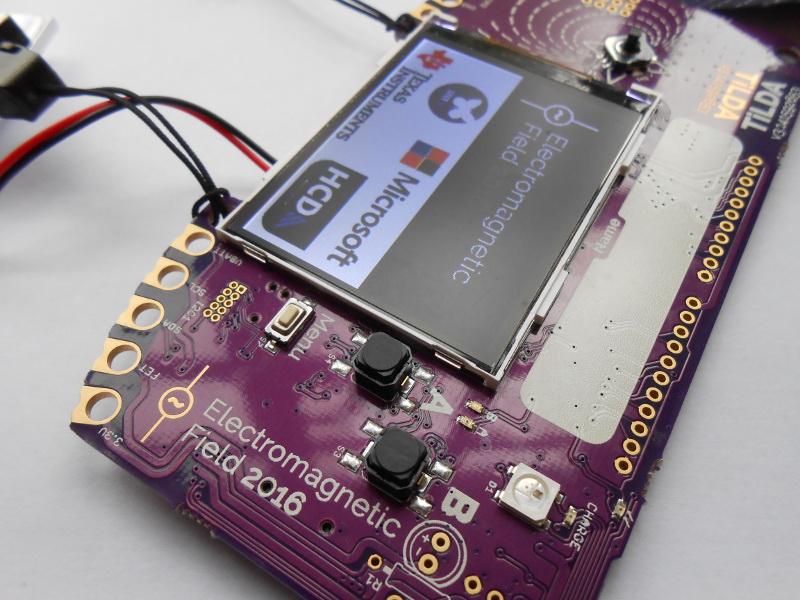
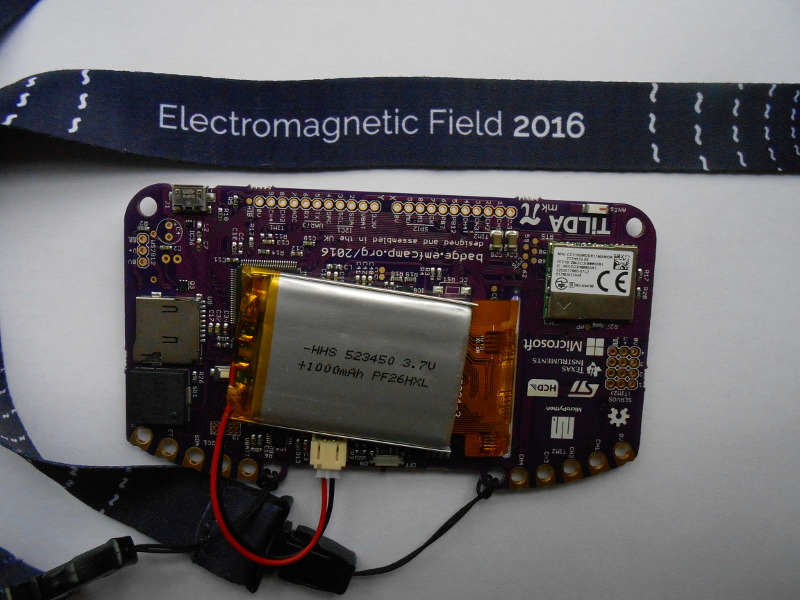
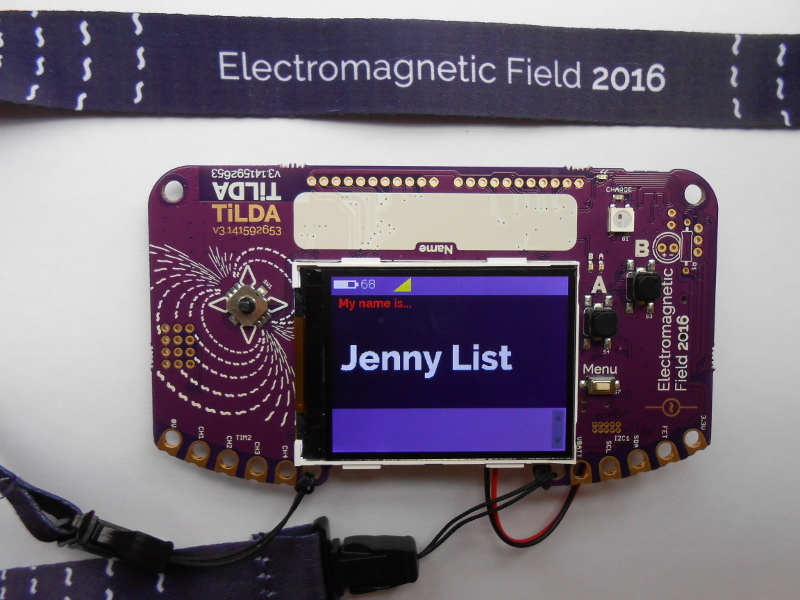
In the case of EMF 2016 it was called TiLDA MKπ, and since there was a point earlier in the year when it seemed the badge might never see the light of day it represents a significant achievement from the EMF badge team.

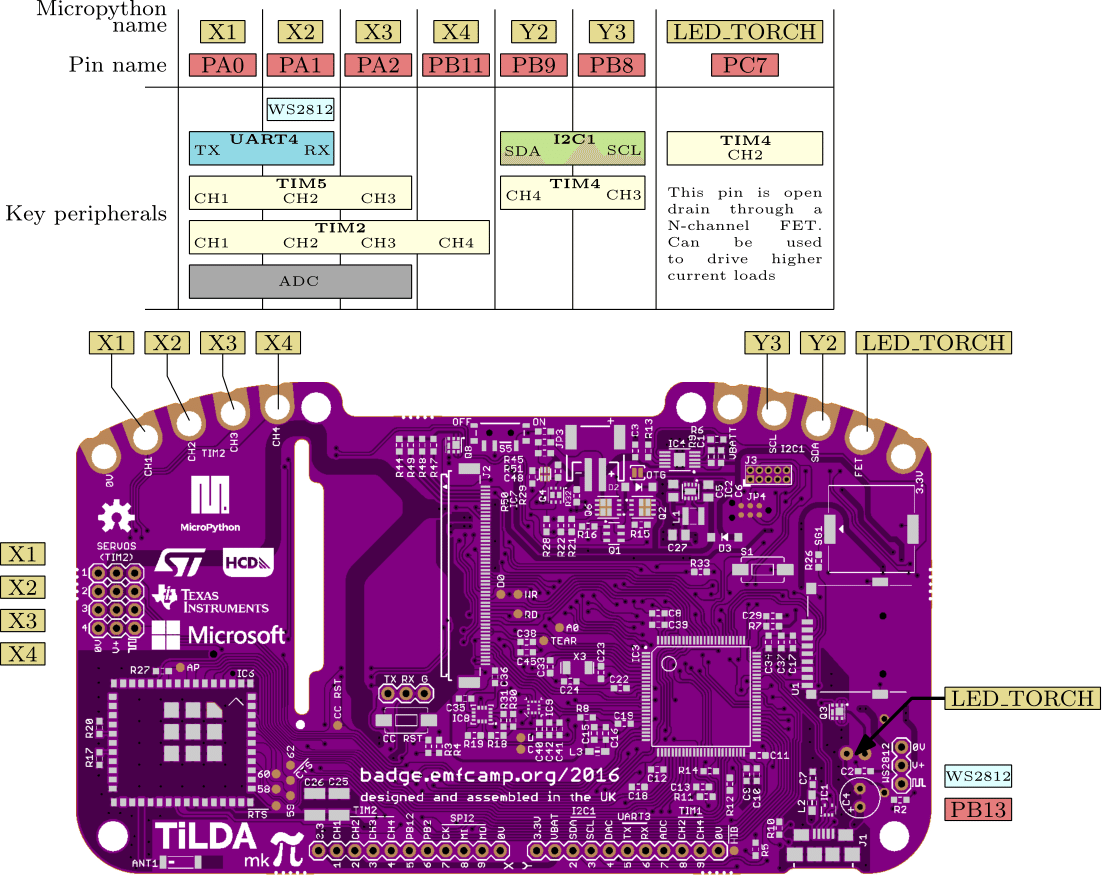
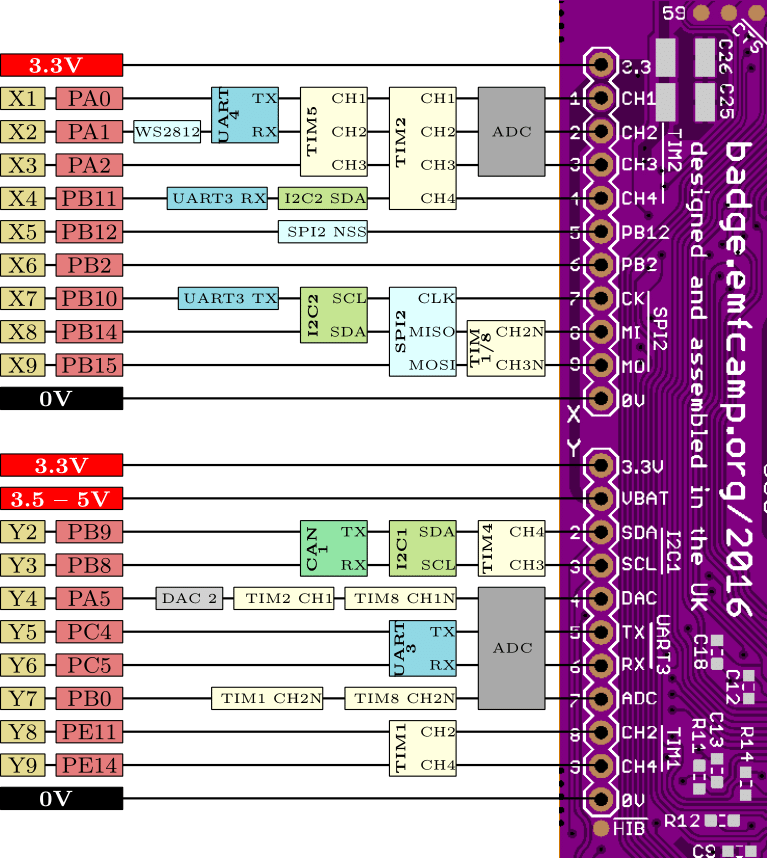
The badge features an STM32L486VGT6 ARM Cortex M4 running at 80MHz, a 320×240 pixel colour LCD, magnetometer and accelerometer, and a CC3100 WiFi processor. The firmware provides a simple interface to an app store containing an expanding array of micropython apps from both the EMF Camp team and submitted by event attendees. As shipped the badge connects to one of the site networks, but this can be adjusted to your own network after the event. It’s been designed for ease of hacking, requiring only a USB connection and mounting as a disk drive without need for special software or IDE. A comprehensive array of I/O lines are brought out to both 0.1″ pitch pins and 4mm edge-mounted holes. At the EMF Camp closing speeches there was an announcement of a competition with a range of prizes for the best hardware and software uses for the badge.

shane-tweetThe TiLDA causes a sticky moment for our colleague, Tindie scribe Shane.
The TiLDA causes a sticky moment for our colleague, Tindie scribe Shane.

As is so often the case the badge was not without its teething troubles, as the network coped with so many devices connecting at once and the on-board Neopixel turned out to have been mounted upside down. Our badge seemed to have a bit of trouble maintaining a steady network connection and apps frequently crashed with miscellaneous Python errors, though a succession of firmware updates have resulted in a more stable experience. But these moments are part of the badge experience; this is after all an event whose attendees are likely to have the means to cope with such problems.

All the relevant files and software for the badge are fully open-source, and can be found in the EMF Camp GitHub repositories. We’ve put a set of images of the board in a gallery below if you are curious. The pinout images are courtesy of the EMF badge wiki.
We’ve featured EMF badges before, here’s our look at the EMF 2014 device.

Editor Wars: The Revenge Of Vim

Rarely on these pages have I read such a fluff piece! Al Williams’ coverage of Emacs versus Vim was an affront to the type of in-depth coverage our Hackaday readers deserve. While attempting to be “impartial” he gave a seven-sentence summary of Vim, the Ultimate Editor. Seven sentences! Steam is pouring out of my ears like Yosemite Sam.

yosemite+samAl, like a lot of you out there, thinks that he “knows how to use vi”. I’m here to tell you that he doesn’t. And unless you’ve spent the last few years alone in a cave high in the Himalayas, with only food, drink, a laptop, and Vim Golf, you probably don’t either. Heck, I don’t consider myself a Vim master, but I’m going to write this overwrought essay praising it (using Vim, naturally).

The reason I’m writing this is not to perpetuate the vi-versus-Emacs war. That idea is silly anyway, and was probably invented by Emacs folks to steal some of vi’s limelight. You see, vi-versus-Emacs is a red herring. Vi and Vim are so strange, so different from any other editor you might use, that it makes Emacs look simply boring in comparison: it’s just a normal editor with decent extensibility (if you can stand Lisp), horrible key combinations that may or may not cause carpal tunnel syndrome, and code bloat that rivals Microsoft Word. If you’re comfortable using Pico or Nano or Joe or Notepad++ or Gedit or Kate, or anything else for that matter, you can be comfortable using Emacs in a month or so. It’s really just another editor. Yawn.

Vi is something else. It’s a programming language for editing text that’s disguised as an editor. If you try to use it like a normal text editor, you will suffer. If you approach your text editing chores like factoring code into functions, you’re starting to understand Vi.

Continue reading “Editor Wars: The Revenge Of Vim”

The Terrible Security Of Bluetooth Locks

Bluetooth devices are everywhere these days, and nothing compromises your opsec more than a bevy of smartphones, smart watches, fitbits, strange electronic conference badges, and other electronic ephemera we adorn ourselves with to make us better people, happier, and more productive members of society.

Bluetooth isn’t limited to wearables, either; deadbolts, garage door openers, and security systems are shipping with Bluetooth modules. Manufacturers of physical security paraphernalia are wont to add the Internet of Things label to their packaging, it seems. Although these devices should be designed with security in mind, most aren’t, making the state of Bluetooth smart locks one of the most inexplicable trends in recent memory.

At this year’s DEF CON, [Anthony Rose] have given a talk on compromising BTLE locks from a quarter-mile away. Actually, that ‘quarter mile’ qualifier is a bit of a misnomer – some of these Bluetooth locks are terrible locks, period. The Kwikset Kevo Doorlock – a $200 deadbolt – can be opened with a flathead screwdriver. Other Bluetooth ‘smart locks’ are made of plastic.

The tools [Anthony] used for these wireless lockpicking investigations included the Ubertooth One, a Bluetooth device for receive-only promiscuous sniffing, a cantenna, a Bluetooth USB dongle, and a Raspberry Pi. This entire setup can be powered by a single battery, making it very stealthy.

The attacks on these Bluetooth locks varied, from sniffing the password sent in plain text to the lock (!), replay attacks, to more advanced techniques such as decompiling the APK used to unlock these smart locks. When all else fails, brute forcing locks works surprisingly well, with quite a few models of smart lock using eight digit pins. Even locks with ‘patented security’ (read: custom crypto, bad) were terrible; this patented security was just an XOR with a hardcoded key.

What was the takeaway from this talk? Secure Bluetooth locks can be made. These locks use proper AES encryption, a truly random nonce, two factor authentication, no hard-coded keys, allow the use of long passwords, and cannot be opened with a screwdriver. These locks are rare. Twelve of the sixteen locks tested could be easily broken. The majority of Bluetooth smart locks are not built with security in mind, which, by the way, is the entire point of a lock.

[Anthony]’s work going forward will concentrate expanding his library of scripts to exploit these locks, and evaluate the Bluetooth locks on ATMs. Yes, ATMs also use Bluetooth locks. The mind reels.

From Project To Kit: Getting The Hardware Right

In the previous article in this series on making a personal electronic project into a saleable kit, we looked at the broader picture of the kit market for a new entrant, the importance of gauging whether or not your proposed kit has a viable niche and ensuring that it has a good combination of buildability, instructions, and quality. In this article we will look at specifying and pricing the hardware side of a kit, illustrating in detail with an example project. The project we’ve chosen is a simple NE555 LED flasher which we haven’t built and have no intention of assembling into a kit for real, however it provides a handy reference project without the circuit itself having any special considerations which might distract from the job at hand.

Continue reading “From Project To Kit: Getting The Hardware Right”

DEF CON’s X86 Badge

This year’s DEF CON badge is electronic, and there was much celebrating. This year’s DEF CON badge has an x86 processor, and there was much confusion.

These vias are connected to something.

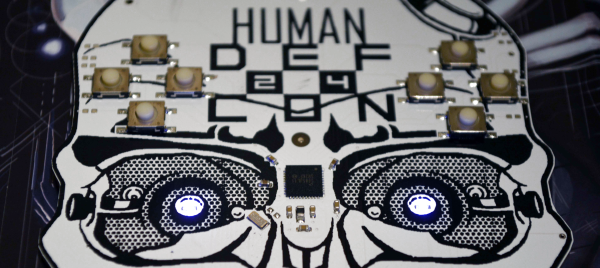
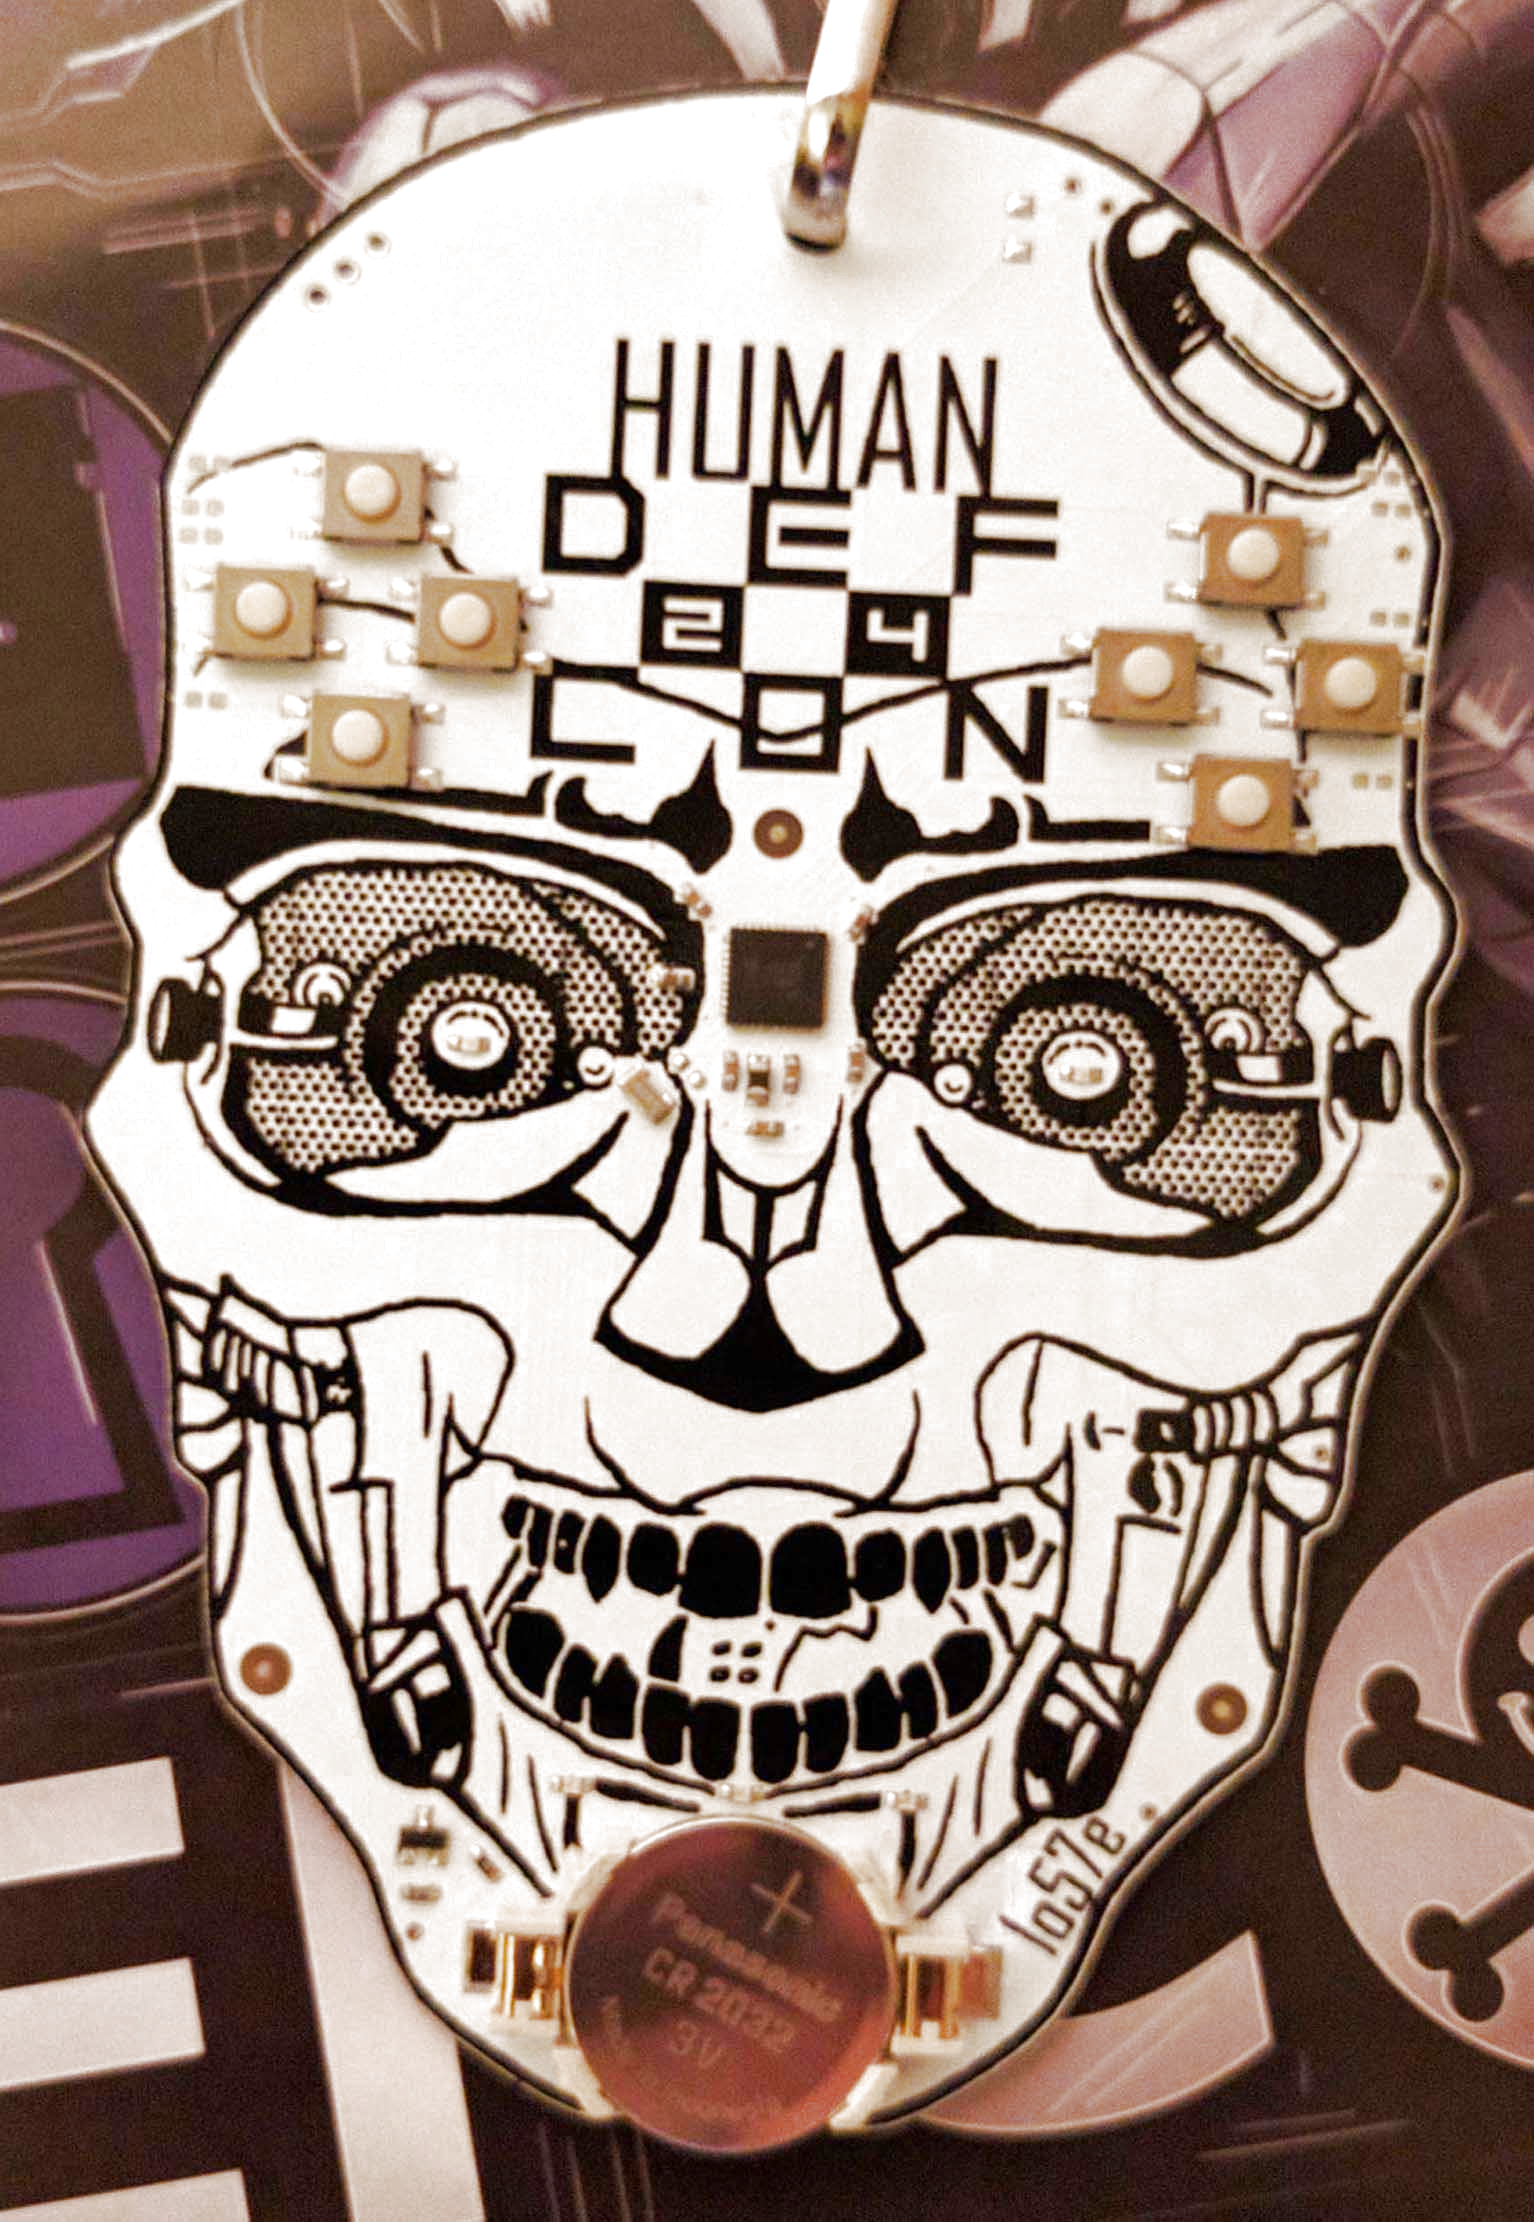
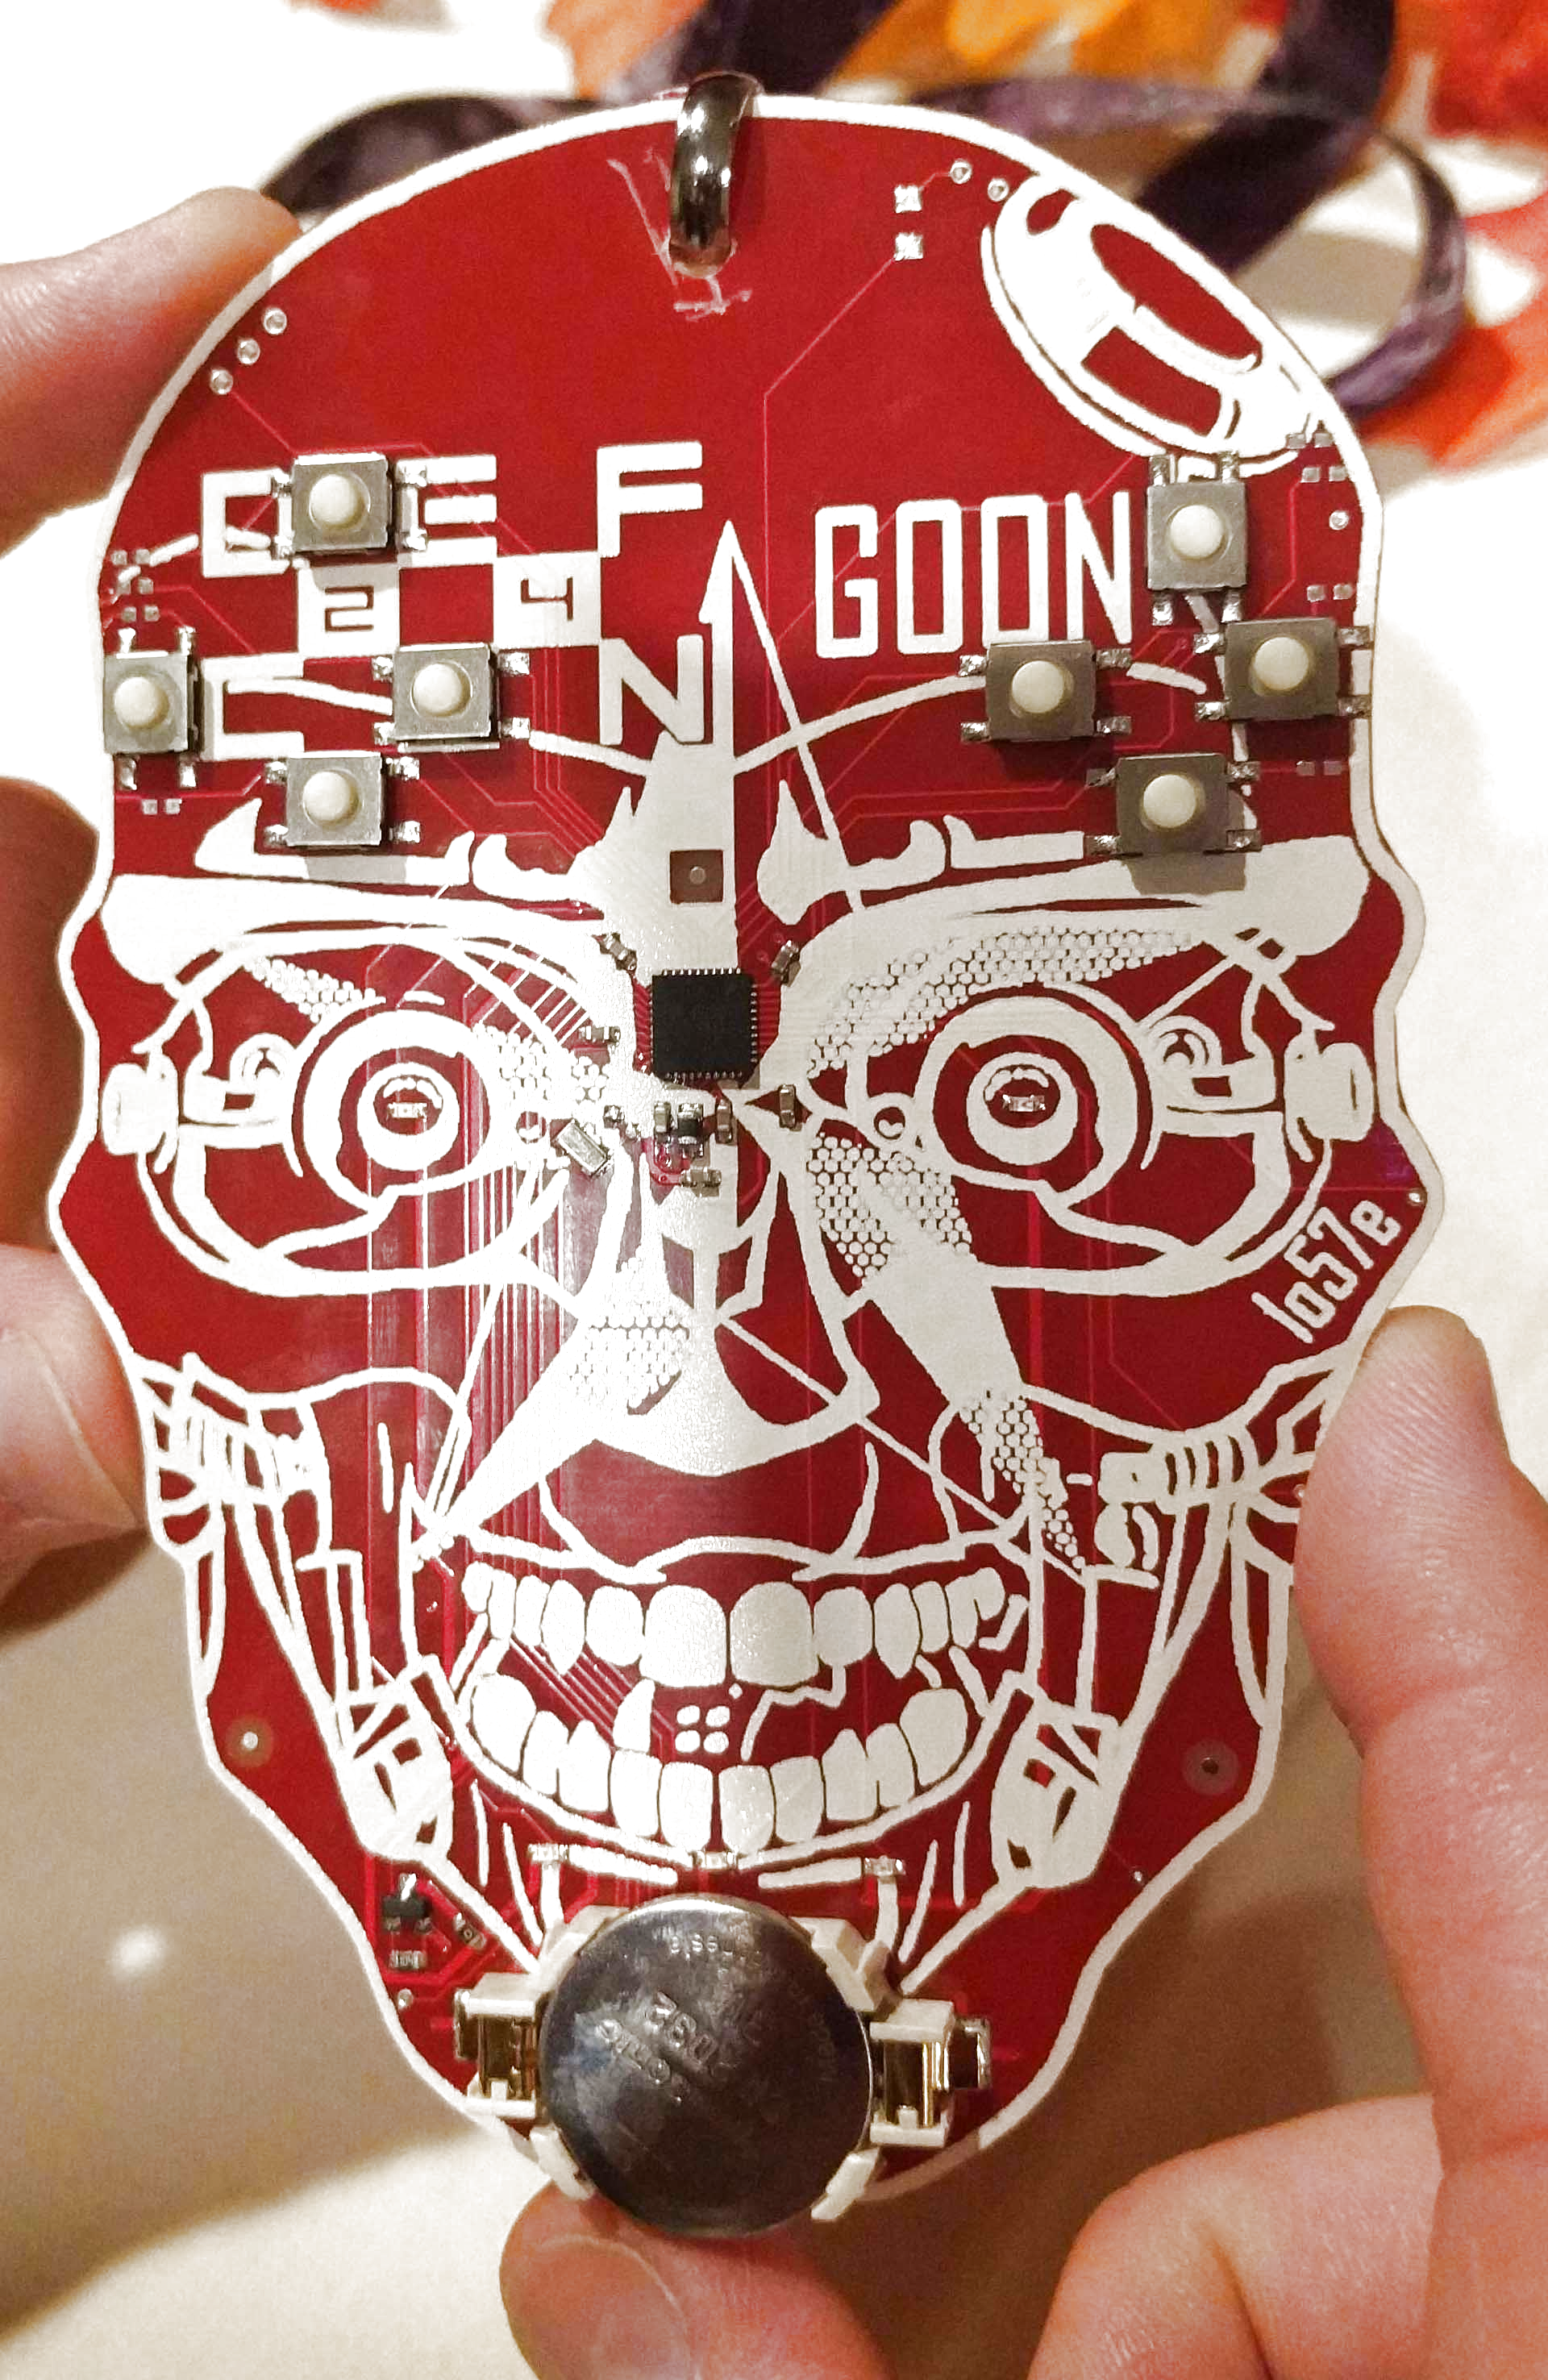
The badge this year, and every year, except badges for 18, 17, 16, 15, and 14, designed by [Joe Grand], and badges from pre-history designed by [Dark Tangent] and [Ping], was designed by [1057], and is built around an x86 processor. Specifically, this badge features an Intel Quark D2000 microcontroller, a microcontroller running at 32MHz, with 32kB of Flash and 8kB of RAM. Yes, an x86 badge, but I think an AT motherboard badge would better fulfill that requirement.

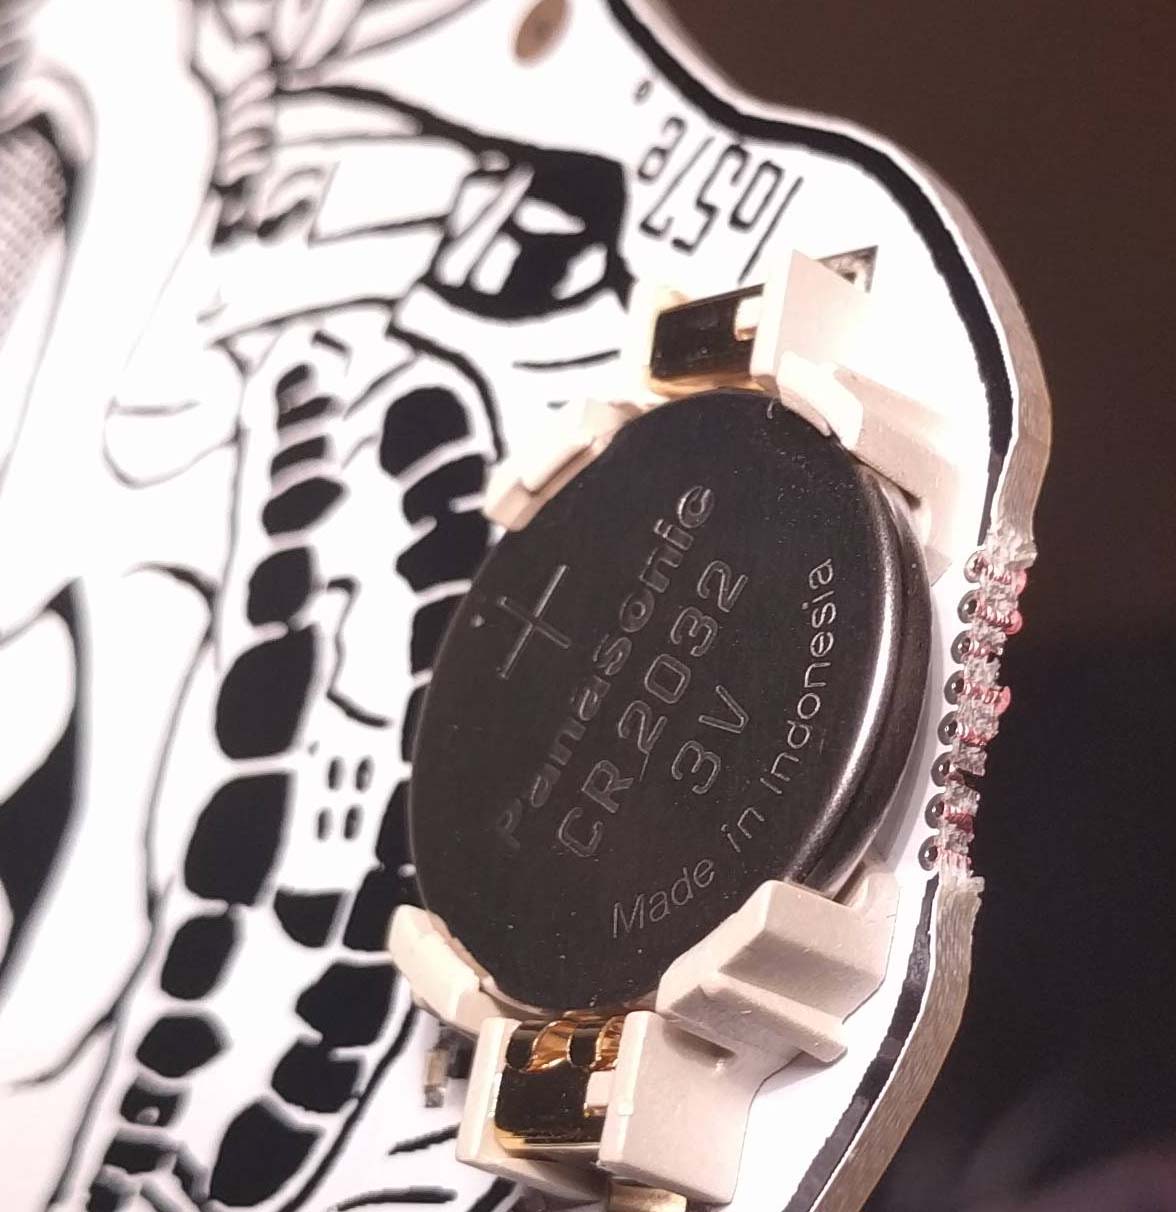
As far as buttons, sensors, peripherals, and LEDs go, this badge is exceptionally minimal. There are eight buttons, laid out as two directional pads, five LEDs, and a battery. There’s not much here, but with a close inspection of the ‘chin’ area of the badge, you can see how this badge was programmed.

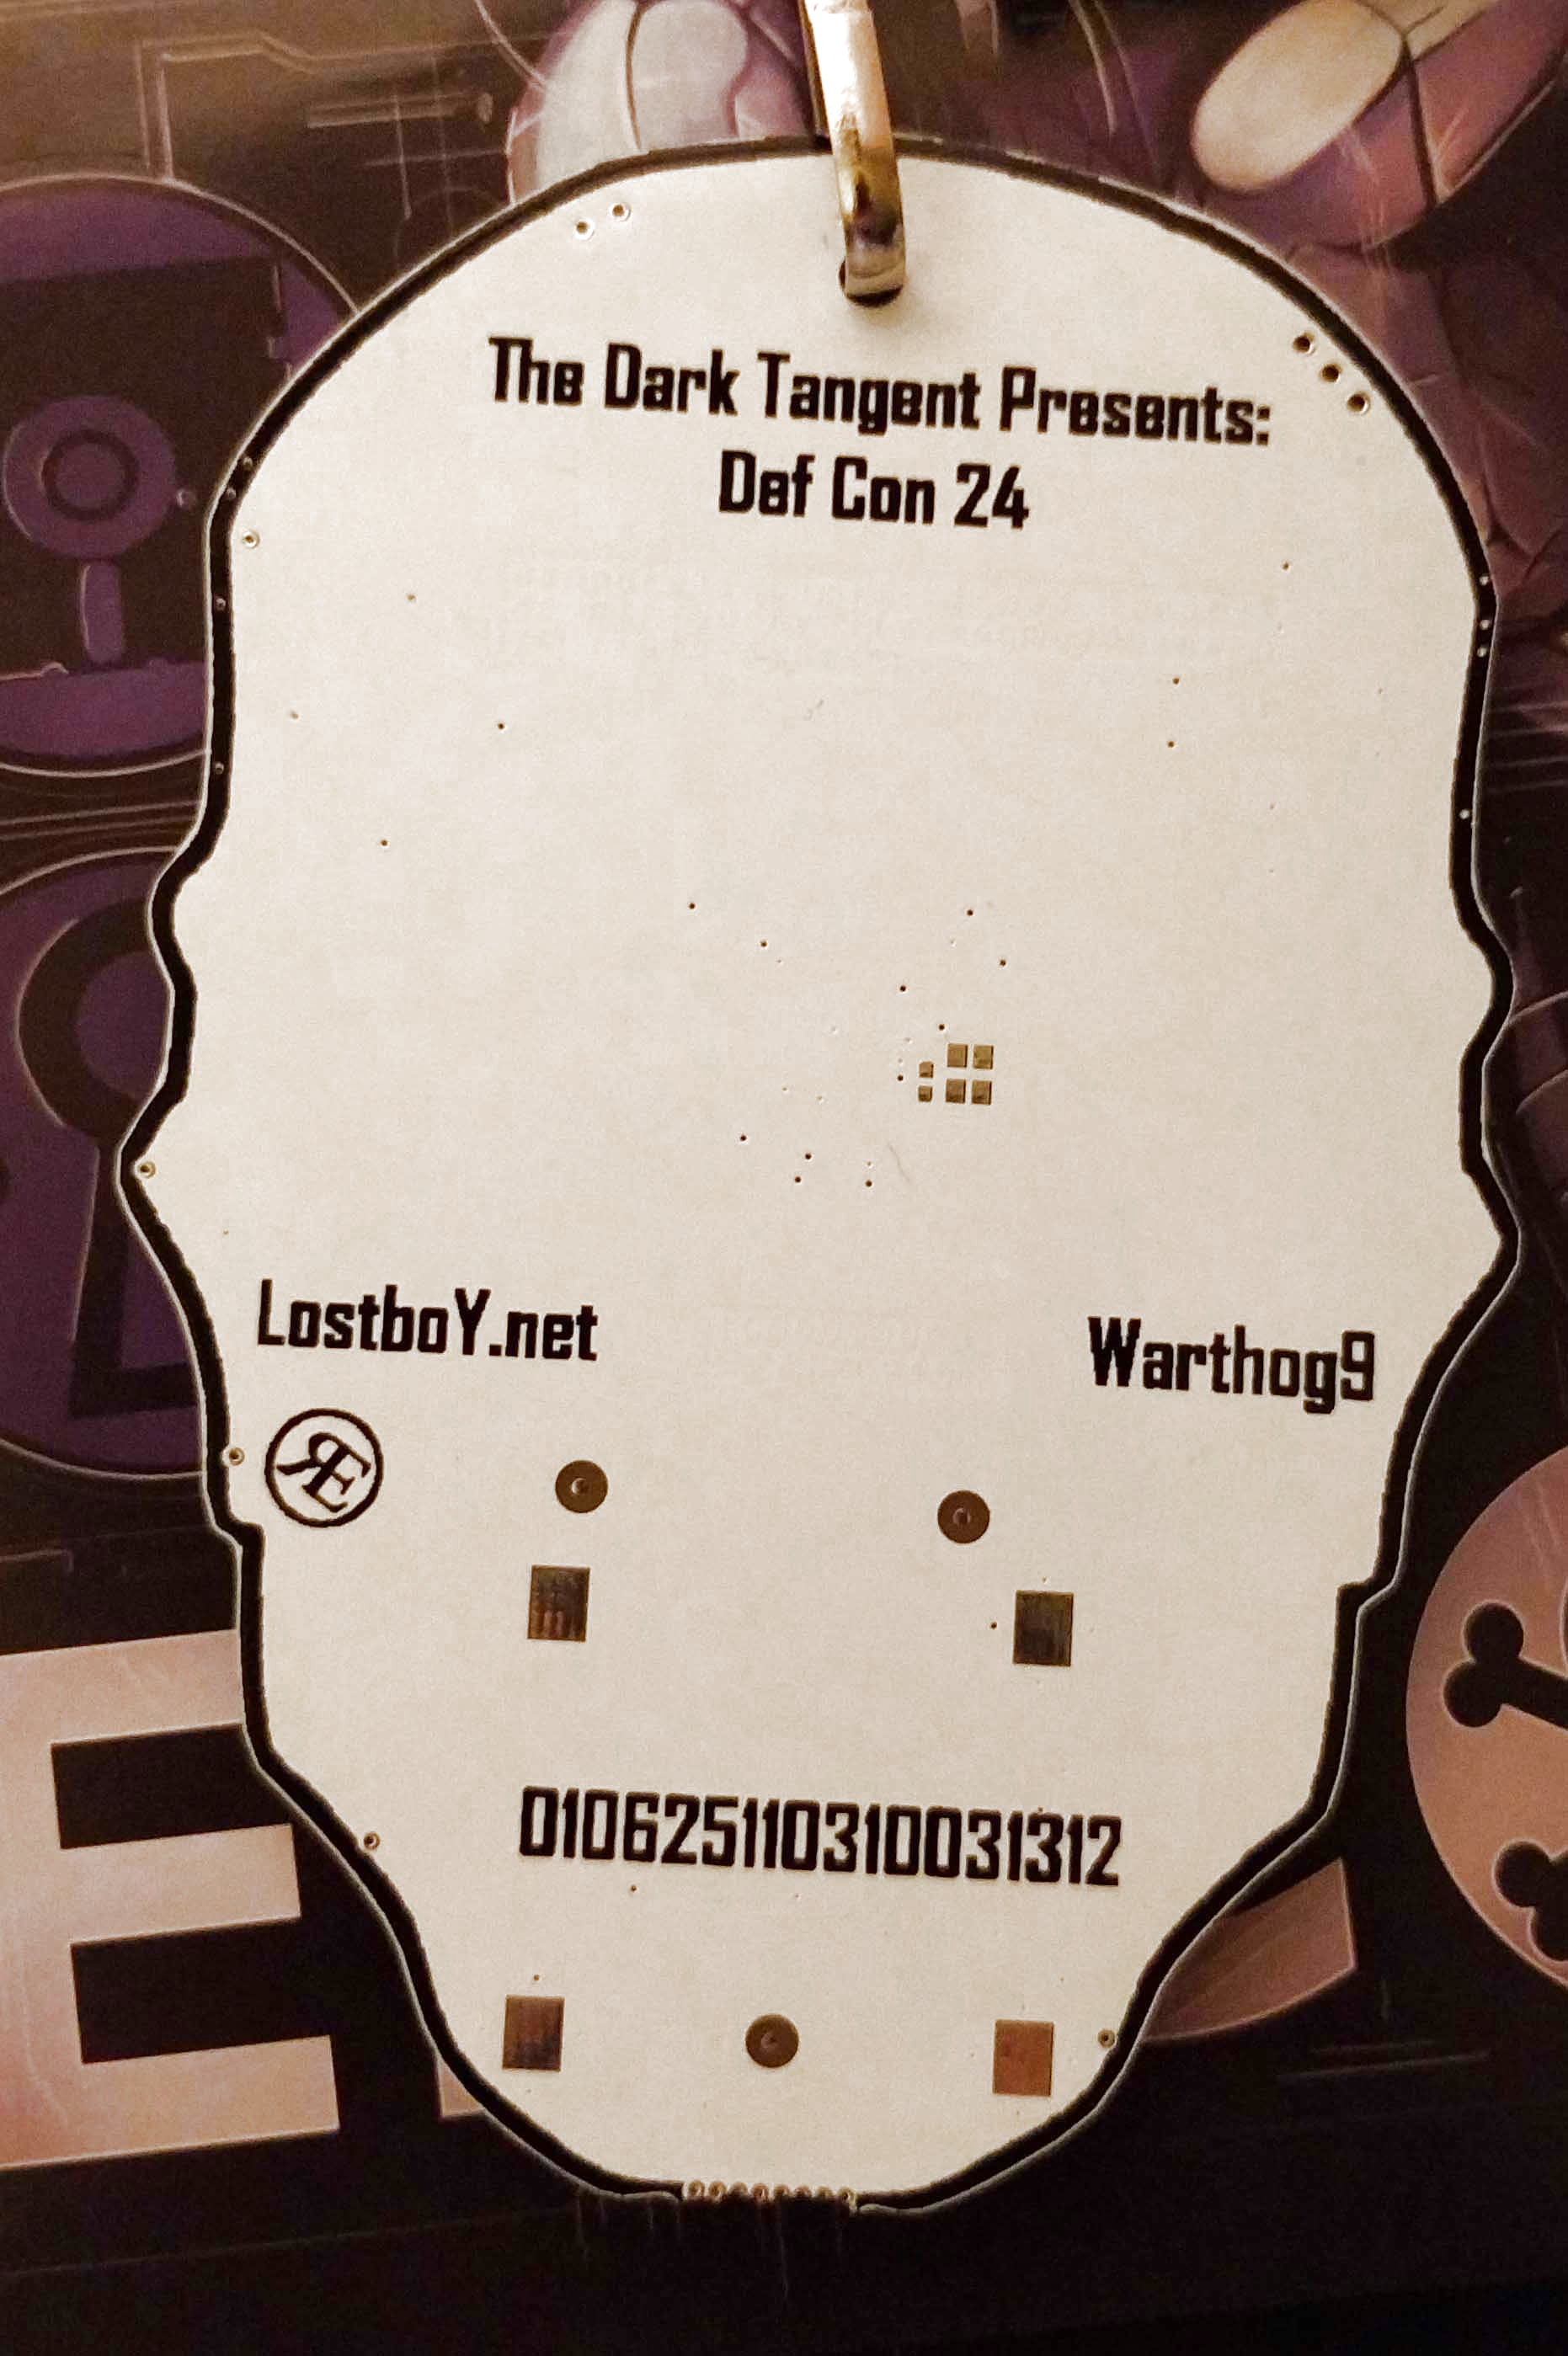
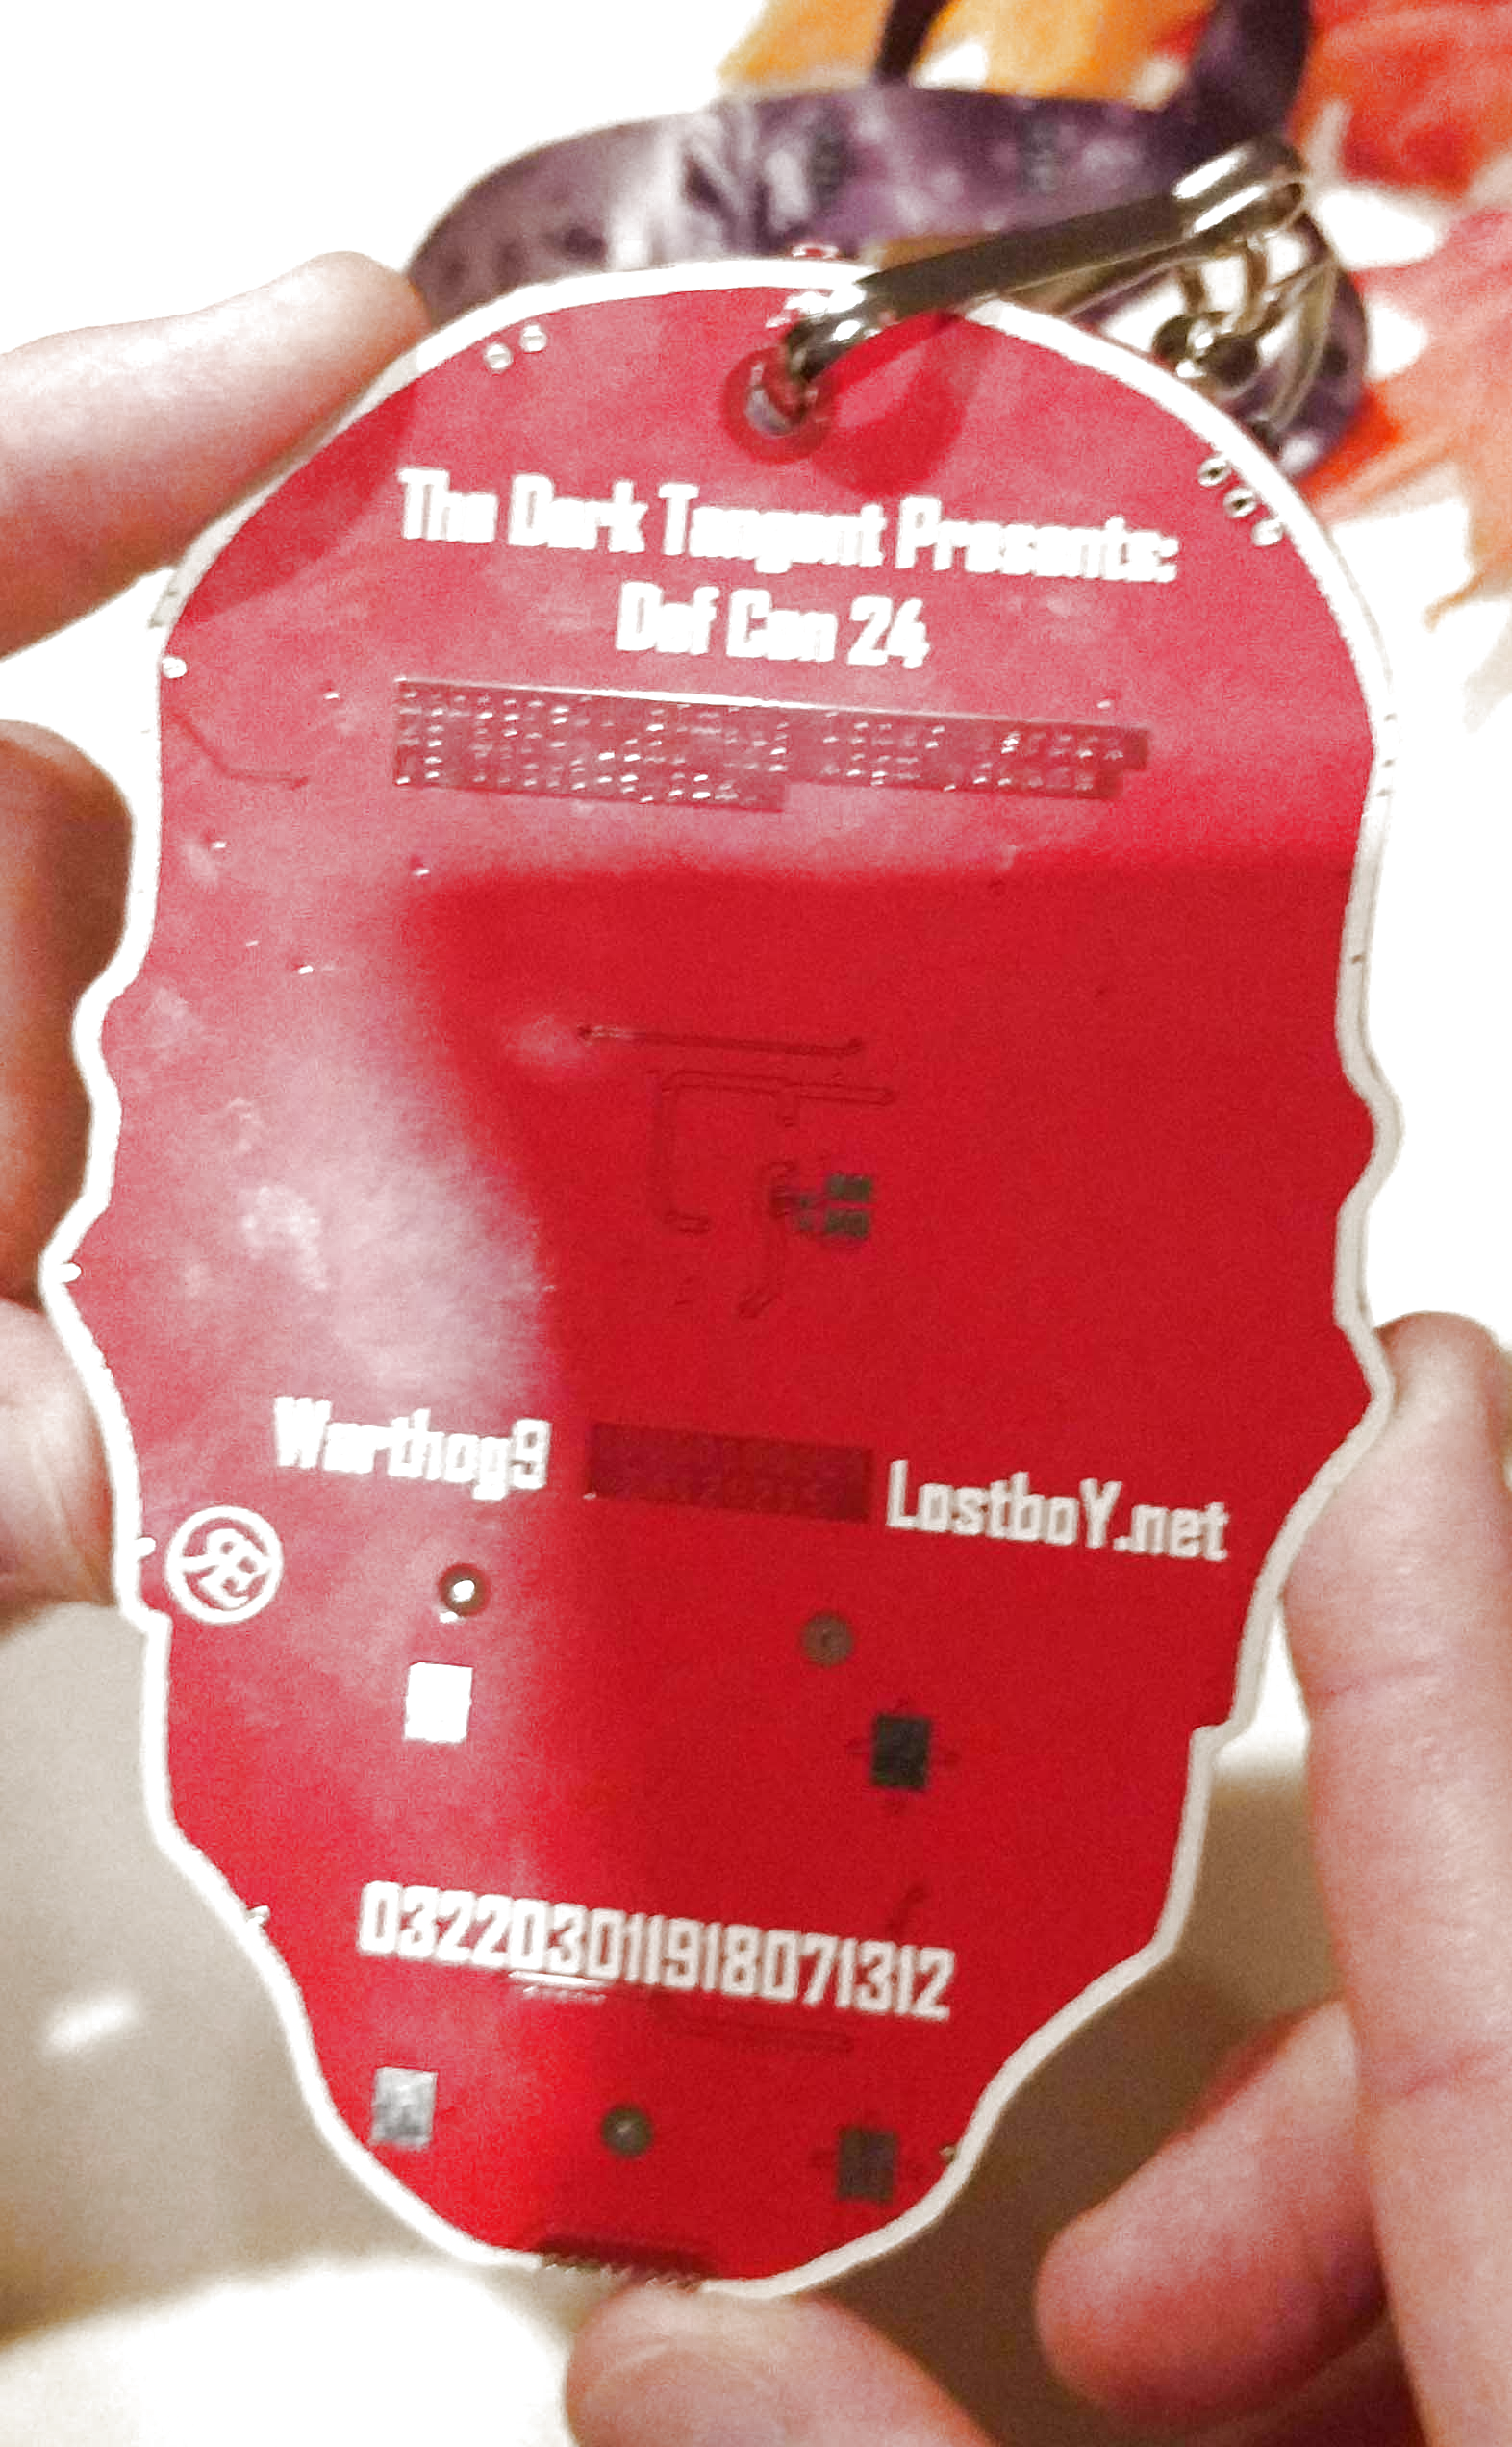
As with any [1057] joint, this badge features puzzles galore. One of these puzzles is exceptionally hard to photograph as it is in the bottom copper layer. It reads, “nonpareil bimil: Icnwc lsrbcx kc htr-yudnv ifz xdgm yduxnw yc iisto-cypzk”. Another bottom copper text reads, “10000100001 ΣA120215”. Get crackin’.

A gallery of the Human and Goon badges follows, click through for the best resolution we have.

This post has been updated to correct the record of who designed badges for previous cons.

Raspberry Pi 3 Gets USB, Ethernet Boot

The Raspberry Pi is a great computer, even if it doesn’t have SATA. For those of us who have lost a few SD cards to the inevitable corruption that comes from not shutting a Pi down properly, here’s something for you: USB Mass Storage Booting for the Raspberry Pi 3.

For the Raspberry Pi 1, 2, Compute Module, and Zero, there are two boot modes – SD boot, and USB Device boot, with USB Device boot only found on the Compute Module. [Gordon] over at the Raspberry Pi foundation spent a lot of time working on the Broadcom 2837 used in the Raspberry Pi 3, and found enough space in 32 kB to include SD boot, eMMC boot, SPI boot, NAND flash, FAT filesystem, GUID and MBR partitions, USB device, USB host, Ethernet device, and mass storage device support. You can now boot the Raspberry Pi 3 from just about anything.

The documentation for these new boot modes goes over the process of how to put an image on a USB thumb drive. It’s not too terribly different from the process of putting an image on an SD card, and the process will be streamlined somewhat in the next release of rpi-update. Some USB thumb drives do not work, but as long as you stick with a Sandisk or Samsung, you should be okay.

More interesting than USB booting is the ability for the Pi 3 to boot over the network. Booting over a network is nothing new – the Apple II could do it uphill both ways in the snow, but the most common use for the Pi is a dumb media player that connects to all your movies on network storage. With network booting, you can easily throw a Pi on a second TV and play all that media in a second room. Check out the network booting tutorial here.

Electrostatic Loudspeakers: High End HiFi You Can Build Yourself

If you have an interest in audio there are plenty of opportunities for home construction of hi-fi equipment. You can make yourself an amplifier which will be as good as any available commercially, and plenty of the sources you might plug into it can also come into being on your bench.

There will always be some pieces of hi-fi equipment which while not impossible to make will be very difficult for you to replicate yourself. Either their complexity will render construction too difficult as might be the case with for example a CD player, or as with a moving-coil loudspeaker the quality you could reasonably achieve would struggle match that of the commercial equivalent. It never ceases to astound us what our community of hackers and makers can achieve, but the resources, economies of scale, and engineering expertise available to a large hi-fi manufacturer load the dice in their favour in those cases.

The subject of this article is a piece of extreme high-end esoteric hi-fi that you can replicate yourself, indeed you start on a level playing field with the manufacturers because the engineering challenges involved are the same for them as they are for you. Electrostatic loudspeakers work by the attraction and repulsion of a thin conductive film in an electric field rather than the magnetic attraction and repulsion you’ll find in a moving-coil loudspeaker, and the resulting very low mass driver should be free of undesirable resonances and capable of a significantly lower distortion and flatter frequency response than its magnetic sibling.
Continue reading “Electrostatic Loudspeakers: High End HiFi You Can Build Yourself”