Lasers work by emitting light that is “coherent” in that it doesn’t spread out in a disorganized way like light from most sources does. This makes extremely focused beams possible that can do things like measure the distance from the Earth to the Moon. This behavior isn’t just limited to electromagnetic waves, though. [Gigs] via [CodeParade] was able to build a device that produces a tightly focused sound wave, essentially building an audio laser.
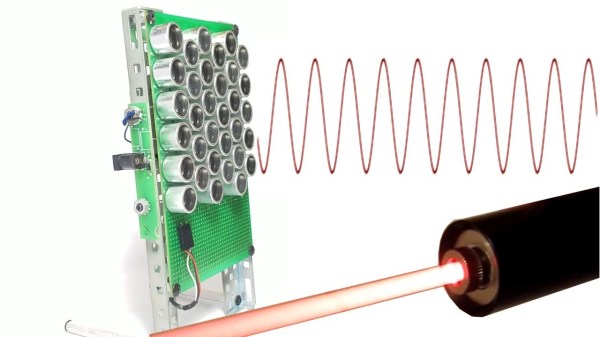
Curiously enough, the device does not emit sound in the frequency range of human hearing. It uses a set of ultrasound speakers which emit a “carrier wave” in the ultrasound frequency. However, with a relatively simple circuit a second signal in the audible frequency range is modulated on top of it, much the same way that an AM radio broadcast has a carrier wave with an amplitude modulated signal on top of it. With this device, though, the air itself acts in a nonlinear way and demodulates the signal, producing the modulated signal as audible sounds.
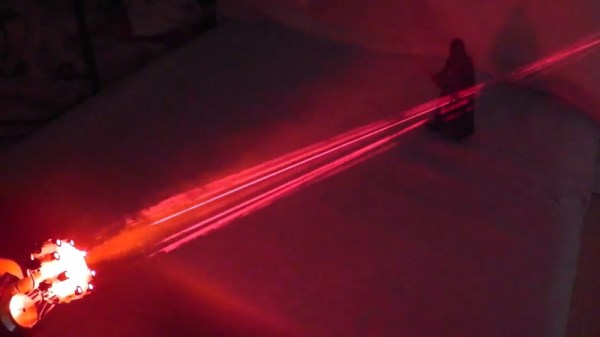
There are some interesting effects of using this device. First, it is extremely directional, so in order to hear sound from the device you would need to be standing directly in front of it. However, once the ultrasound beam hits a solid object, the wave is instantly demodulated and reflected from the object, making it sound like that object is making the sounds and not the device. It’s obvious that this effect is hard to experience via video, but it’s interesting enough that we’d like to have one of our own to try out. It’s not the only time that sound waves and electromagnetic waves have paired up in interesting ways, either.
Thanks to [Setvir] for the tip! Continue reading “Creating Coherent Sound Beams, Easily”