LED Matrix Takes You Down To Nixieland

It’s said that imitation is the sincerest form of flattery. Sure, there are some who might simply sugarcoat blatant plagiarism with fancy quotes, but there are still cases that come from well-intended, genuine admiration. The Nixie tube with its ember-like glow is a component that definitely gets a lot of such admiration, and being a fond LED enthusiast, [tuenhidiy] saw a perfect opportunity to imitate them with a RGB LED Matrix and build a virtual Nixie clock from it.

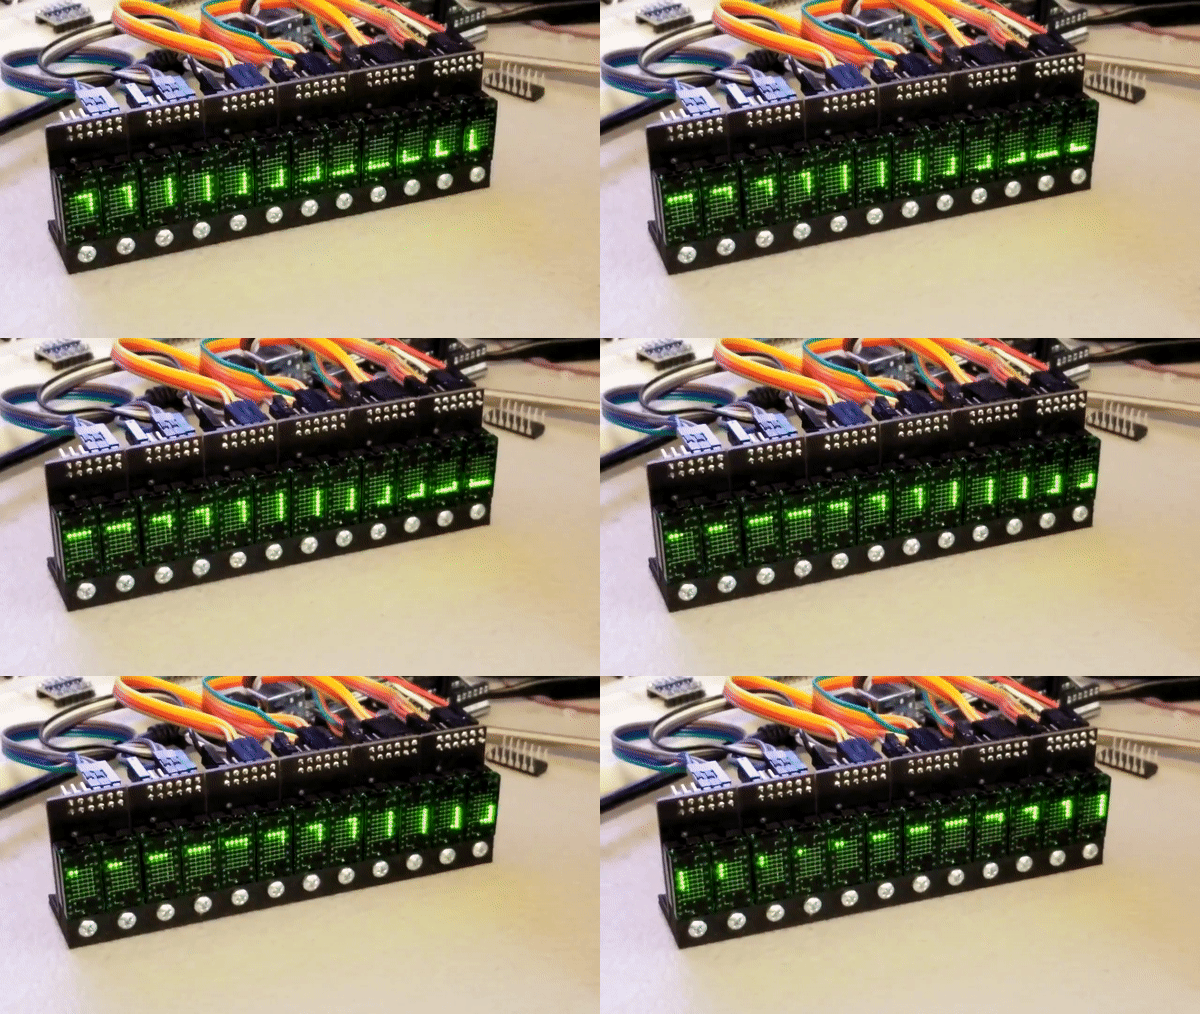
What may sound like just displaying images of Nixie tubes on a LED matrix, is actually exactly that. Using the UTFT library and converter, [tuenhidiy] turned pictures of individually lit-up Nixie tube digits into arrays of 16bit RGB values, and shows the current time on an ESP32-controlled 64×64 matrix with them. Providing two different image sizes, you can either place two tubes next to each other, or in a 3×2 arrangement, and of course have plenty of flexibility for future extensions. In the demo video after the break, you can see the two options in action while displaying both the full time, and only the seconds.

Unfortunately, it’s always difficult to judge an LED project through the lens of a camera, especially when looking for the characteristic color of a Nixie tube, but we take [tuenhidiy]’s word that it resembles it a lot better in reality. On the other hand, the pixelated look certainly adds its own charm, so you might as well go completely overboard with the colors — something we’ve seen with a different LED-themed Nixie alternative a little while back.

Continue reading “LED Matrix Takes You Down To Nixieland”

Weather Display Is Cloudy With A Chance Of ESP8266

[Mukesh Sankhla] writes in to share this unique weather display that looks to be equal parts art and science. Rather than show the current conditions with something as pedestrian as numbers, this device communicates various weather conditions to the user with 25 WS2812B LEDs embedded into the 3D printed structure. It also doubles as a functional planter for your desk.

So how does this potted plant tell you if it’s time to get your umbrella? Using a NodeMCU ESP8266 development board, it connects to openweathermap.org and gets the current conditions for your location. Relative temperature is conveyed by changing the color of the pot itself; going from blue to red as things heat up. If there’s rain, the cloud over the plant will change color and flash to indicate thunder.

[Mukesh] has made all of the STL files for the printed components available, as well as the source code for the ESP8266. You’ll need to provide your own soil and plant though, there’s only so much you can send over the Internet. Incidentally, if the clever way he soldered these WS2812B modules together in the video catches your eye, you’ll really love his “RGB Goggles” project that we covered earlier.

Continue reading “Weather Display Is Cloudy With A Chance Of ESP8266”

Jumbo LED Matrix Brings Classic Sprites To Life

Despite all the incredible advancements made in video game technology over the last few decades, the 8-bit classics never seem to go out of style. Even if you weren’t old enough to experience these games when they were new, it’s impossible not to be impressed by what the early video game pioneers were able to do with such meager hardware. They’re a reminder of what can be accomplished with dedication and technical mastery.

The grid has been split up for easier printing.

If you’d like to put a little retro inspiration on your desk, take a look at this fantastic 16 x 16 LED matrix put together by [Josh Gerdes]. While it’s obviously not the only thing you could use it for, the display certainly seems particularly adept at showing old school video game sprites in all their pixelated glory. There’s something about the internal 3D printed grid that gives the sprites a three dimensional look, while the diffused glow reminds us of nights spent hunched over a flickering CRT.

The best part might be how easy it is to put one of these together for yourself. You’ve probably got most of what you need in the parts bin; essentially it’s just a WS2812B strip long enough to liberate 256 LEDs from and a microcontroller to drive them. [Josh] used an Arduino Nano, but anything compatible with the FastLED library would be a drop-in replacement. You’ll also need a 3D printer to run off the grid, and something to put the whole thing into. The 12×12 shadowbox used here looks great, but we imagine clever folks such as yourselves could make do with whatever might be laying around if you can’t nip off to the arts and crafts store right now.

Beyond looking great, this project is a fantastic reminder of how incredibly handy WS2812 LEDs really are. Whether you’re recreating iconic game sprites or fashioning your own light-up sunglasses, it’s hard to imagine how we managed before these little wonders hit the scene.

Continue reading “Jumbo LED Matrix Brings Classic Sprites To Life”

PCB Jewelry Never Looked So Good

[Gautchh] wanted to make something nice for his girlfriend. Being the DIY enthusiast he is, he thought a hand-made gift would resonate with her better than something he could pick up from the store. Enter NeckLight, a glow in the dark PCB necklace. He was first inspired by another project he ran across on Instructables, then decided to put his own little spin on the design. It’s cool how that works. Interestingly enough, it was his first time using Fusion 360, but you probably wouldn’t know that if you took a look at the results.

Aside from soldering, the trickiest part of this project was trying to get the LED intensities just right. [Gautchh] found the best way to do this was experimentally by testing each LED color with a series of resistors. He wanted to ensure he could get the color intensity and the LED current just right. Finally, with a touch of acetone, he was done (though he might want to try some alternatives to acetone next time).

[Gautchh] also thinks that this project would be a really nice way for beginners to learn surface mount (SMD) soldering. We’ve seen a few cool SMD LED projects before. Who could forget those competitive soldering challenges over at DEF CON?

Anyway. Thanks, [Gautchh]. We hope your girlfriend, and your dog, enjoyed their gifts.

Reverse Engineering Saves Trashed LED Panels

While out riding his bike, [Hammond Pearce] came across a dumpster overflowing with large LED panels. Despite the fact that the model numbers didn’t reveal anything helpful after some online searching, he decided to pedal off with as many as he could safely carry. The COVID-19 lockdown left him with only a limited set of tools, be he still managed to crack the protocol used to control his e-waste score and document it for our reading pleasure.

Between the helpful labels on the PCB silkscreen and the advice of a friend that used to work on digital road signs, it didn’t take [Hammond] long to get a general idea of what the panels were looking for in terms of power and control. Especially once he noticed the MBI5024 shift registers dotting the board.

The next step was to take an ATmega328PB based development board and start throwing data at the panel’s input lines to see if he could elicit a response. With careful attention and some custom code, he eventually figured out that each byte of data sent down the line would control a 4 x 2 section of LEDs.

Once he had the basics down, the next step was to start expanding his code to handle things like shapes, text, and daisy-chained panels. After posting some of his work to Reddit, cyber-sleuths determined that the protocol appeared to be some variation of HUB75, which gave [Hammond] hints on what some of the other pins in the connector might be used for. He’s released all of his code online for anyone who might find it useful, but since he still doesn’t know who made these panels and why there’s really no telling how many of them are actually floating around out there.

Figuring out how to talk to an unknown or undocumented piece of hardware can be intimidating, but success stories like these are reminders of why it’s worth putting the effort in. As we’ve seen, the difference between trash and treasure is often a keen eye and a few lines of code.

These LED Shades Will Blind You With Science

Unless you’re particularly fond of looking at the back of 88 individual WS2812B LEDs, these “RGB Goggles” from [Mukesh Sankhla] won’t offer you much of a view. But from an outsider’s perspective, the smartphone-controlled glasses certainly make a statement. Just don’t try to operate any heavy machinery while wearing them.

The build starts off with a pair of shades dark enough that the lights won’t be obvious until they’re powered up. [Mukesh] then carefully aligned the LEDs into a grid pattern on a piece of clear tape so they could be soldered together with the fewest number of jumper wires possible. Even if you’re not in the market for some technicolor eyewear, this clever arrangement of WS2812B modules could come in handy if you’re looking to make impromptu LED panels.

To control the LEDs, [Mukesh] is using an Arduino Nano and an HC-06 Bluetooth module that’s linked to an application running on an Android smartphone. The software, developed with the MIT App Inventor, allows the user to easily switch between various patterns and animations on the fly. With such an easy-to-use interface, the RGB Goggles don’t look far off from a commercial product; other than the whole not being able to actually see through the thing.

We’ve actually seen a number of custom glasses projects over the years, as it seems that a cheap pair of shades make an ideal platform for head-mounted hacks. We’ve even found what may be the ideal power source for them.

Continue reading “These LED Shades Will Blind You With Science”

Break Time Is Calling On The Rainbow Connection

Like some of us, [Mister M] is prone to staying glued to his seat too long in this new era of working from home. And you know what they say about a body at desk — it tends to stay at desk until it absolutely must rise up to find food or use the restroom.

Thanks to this nifty new break time reminder, [Mister M] has a third call to answer that demands he get up. Every hour, the NeoPixel ring in this old dial-deficient phone fills up completely and switches over to an attention-getting rainbow animation. If [Mister M] stays seated, playtime is over. All the lights start flashing red, and the phone starts beeping incessantly until he walks across the room and either pushes the momentary button or lifts the handset to reset the timer.

We love that [Mister M] incorporated all of the phone’s original inputs and outputs into this project, because it’s such a cool old dog and bone. No need to drop a dime, just whistle at the break button to check out the build video.

This grille-faced phone was probably part of an intercom system. Incidentally, you can make an intercom system with two standard-style phones of this vintage.

Continue reading “Break Time Is Calling On The Rainbow Connection”