LED Matrix And A Phototransistor Make A Reverse Camera

A digital camera has an array of sensors that captures light reflected or transmitted onto it. This build is something closer to a reverse camera – a single sensor that makes images on a matrix of LEDs. And we think it’s pretty neat.

We have to admit to being a little confused by [marciot]’s LED matrix scanner when we first stumbled upon it. From the video below we thought that the LEDs in the matrix were being used both to detect incident light and as a display. We’ve seen LEDs used as photodiodes before, so such a contraption could work, but that’s not what’s going on here. A phototransistor is wired to an Arduino Uno and positioned above a 32×32 RGB LED matrix. A scanning routine rasters over the LEDs in the matrix while the sensor watches, and then the program turns on the LEDs that the sensor saw during the scan. Positioned far above the matrix, a large disc of light results, making it look like the phototransistor is beaming light down onto the matrix. The effect is reinforced by placing something between the sensor and the matrix, which casts a virtual shadow. Used close to the LEDs the sensor acts more like a light pen.

It’s a cool effect and it looks like a fun project to throw together. Refresh time could perhaps be a bit snappier, though; maybe an ESP32 could help with that.

Continue reading “LED Matrix And A Phototransistor Make A Reverse Camera”

Star Wars Electrostaff Effect, Done With Spinning LEDs

[Bithead] wanted to make a prop replica of an Electrostaff from Star Wars, but wasn’t sure how best to create the “crackling arcs of energy” effect at the business ends. After a few false starts, he decided to leverage the persistence of vision effect by spinning LEDs in more than one axis to create helical arcs of light and it seems that this method has some potential.

Many multi-axis persistence of vision devices use a component called a slip ring in order to maintain electrical connections across rotating parts, but [Bithead] had a simpler plan: 3D print a frame and give each axis its own battery. No centralized power source means a quicker prototype without any specialized parts, and therefore a faster proof of concept to test the idea.

[Bithead] already has improvements planned for a new version, but you can see the current prototype in action in the short video embedded after the break.

Continue reading “Star Wars Electrostaff Effect, Done With Spinning LEDs”

Utterly Precise Light Painting, Thanks To CNC And Stop Motion

Light painting is the process of moving a light while taking a long-exposure photograph, which creates a sort of drawing from the path of the light source. It’s been done in one way or another since at least the early-to-mid 1900s, but modern hardware and methods have allowed for all kinds of new spins on this old idea. [Josh Sheldon] demonstrates just how true this is with the light painting he did for a gum ad, showing what’s possible with a single multicolor LED under CNC control combined with stop-motion animation techniques. The rest of the magic comes from the software. [Josh] designs the animations in Blender, and the paths are then exported and used as the instructions for his self-made Light Painting Machine. The machine therefore recreates the original animation with lights and camera and not a single computer-generated graphic.

[Josh] is no stranger to light painting in this way. We’ve seen his fantastic machine at work before and we’re glad he shared the details behind his latest work. Embedded below is a concise video that shows the whole process, but if you’re in a hurry and just want to see the end product, here’s a shortcut to the results.

For those of you who would like to know more, there are plenty of details on [Josh]’s Light Painting Machine on GitHub along with a more in-depth description of the workflow and software, so check it out.

Continue reading “Utterly Precise Light Painting, Thanks To CNC And Stop Motion”

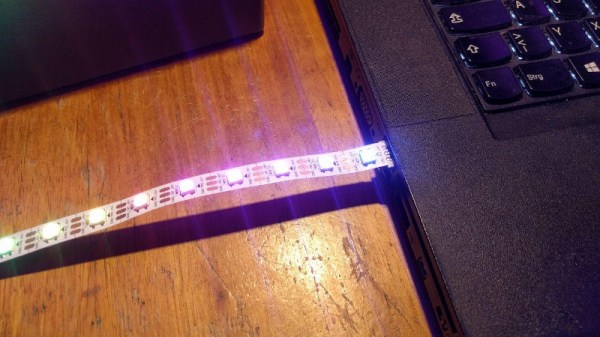
How-To: Mapping Server Hits With ESP8266 And WS2812

It has never been easier to build displays for custom data visualization than it is right now. I just finished one for my office — as a security researcher I wanted a physical map that will show me from where on the planet my server is being attacked. But the same fabrication techniques, hardware, and network resources can be put to work for just about any other purpose. If you’re new to hardware, this is an easy to follow guide. If you’re new to server-side code, maybe you’ll find it equally interesting.

I used an ESP8266 module with a small 128×32 pixel OLED display connected via an SSD1306 controller. The map itself doesn’t have to be very accurate, roughly knowing the country would suffice, as it was more a decorative piece than a functional one. It’s a good excuse to put the 5 meter WS2812B LED strip I had on the shelf to use.

The project itself can be roughly divided into 3 parts:

  1. Physical and hardware build
  2. ESP8266 firmware
  3. Server-side code

It’s a relatively simple build that one can do over a weekend. It mashes together LED strips, ESP8266 wifi, OLED displays, server-side code, python, geoip location, scapy, and so on… you know, fun stuff.

Continue reading “How-To: Mapping Server Hits With ESP8266 And WS2812”

Jumbo LEDs Make For A Handy ATtiny Beacon

Inspiration can come from anywhere. Sometimes it’s just a matter of seeing an interesting part that you want to fiddle around with badly enough that you end up developing a whole idea, and potentially product, around it. That’s how [Bobricius] found himself creating this very slick little warning beacon, and looking at the end result, we think he made the right decision.

The Kingbright DLC-6SRD “jumbo” LED is actually six individual emitters built into a plastic diffuser. Interfacing with the device is simple enough; each LED has its normal anode and cathode leg, all you need to do is power them up. What [Bobricius] has created is a simple PCB design that the DLC-6SRD can plug right into, complete with a 2032 coin cell holder on the opposite side.

Of course, just lighting up all six elements at the same time wouldn’t be very interesting. [Bobricius] is controlling them individually right off of the digital pins of an ATtiny10 with the help of some Charlieplexing. This makes all kinds of interesting patterns possible, and as demonstrated in the video after the break, the current iteration of the project uses some very simple code to “rotate” the LED as if it was the flasher on an emergency vehicle.

The addition of a few blinking LEDs can make a world of difference in terms of nighttime visibility, so a cheap stick-on module that adds such a distinctive light pattern could be a very important safety device. It could also be useful for UAVs, following the FAA’s new rules which would mandate anti-collision lights for night flying.

Continue reading “Jumbo LEDs Make For A Handy ATtiny Beacon”

OpenGL Shaders And An LED Cube

Back in February at the Hacker Hotel camp in the Netherlands, among the many pieces of work around the venue was a rather attractive LED cube. Very pretty, but LED cubes have been done many times before.

If a casual attendee had taken the time to ask though, they might have found something a little more interesting, for while the cube in question might have had the same hardware as the others it certainy didn’t have the same software. [Polyfloyd] had equipped his LED cube with OpenGL shaders to map arbitrary images to the cube’s pixels in 3D space.

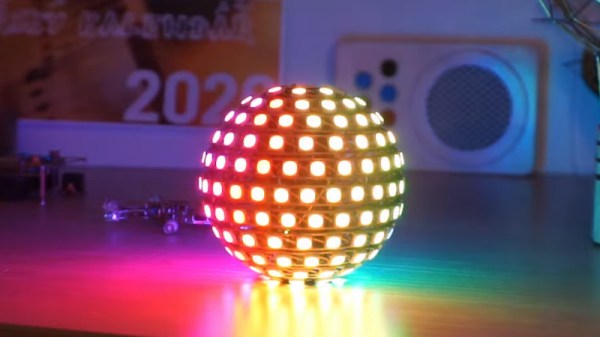
Hardware-wise it’s the same collection of AliExpress LED panels and Raspberry Pi driver board that the other cubes use, in this case mounted on a custom laser-cut frame. Driver software comes from an open-source library round which he’s put a wrapper allowing input through a UNIX pipe. This can take the RGB output of an OpenGL shader, of which he has created both 2D to 3D and spherical projection versions. The must-see demo is a global map of light pollution, and the result is a rather impressive piece of work.

If LED cubes are your thing, don’t forget this recent Hackaday Prize entry.

A Chrome Extension For Configuring RGB LEDs

Like pretty much all of us, [Andy Schwarz] loves RGB LEDs. Specifically he likes to put them on RC vehicles, such as navigation lights on airplanes or flashers and headlights on cars. He found himself often rewriting very similar Arduino code for each one of these installations, and eventually decided he could save himself (and all the other hackers in the world) some time by creating a customizable Arduino firmware specifically for driving RGB LEDs.

The software side of this project, which he’s calling BitsyLED, actually comes in two parts. The first is the firmware itself, which is designed to control common RGB LEDs such as the WS2812 or members of the NeoPixel family. It can run on an Arduino Pro Mini with no problems, but [Andy] has also designed his own open hardware control board based on the ATtiny84 that you can build yourself. Currently you need a USBASP to program it, but he’s working on a second version which will add USB support.

With your controller of choice running the BitsyLED firmware, you need something to configure it. For that, [Andy] has developed a Chrome extension which offers a very slick user interface for setting up colors and patterns. The tool even allows you to create a visual representation of your LEDs so you can get an idea of what it’s going to look like when all the hardware is powered up.

RGB LEDs such as the WS2812 are some of the most common components we see in projects today, mainly because they’re so easy to physically interface with a microcontroller. But even though it only takes a couple of wires to control a large number of LEDs, you still need to write the code for it all. BitsyLED takes a lot of the hassle out of that last part, and we’re very interested to see what the hacker community makes of it.

Continue reading “A Chrome Extension For Configuring RGB LEDs”