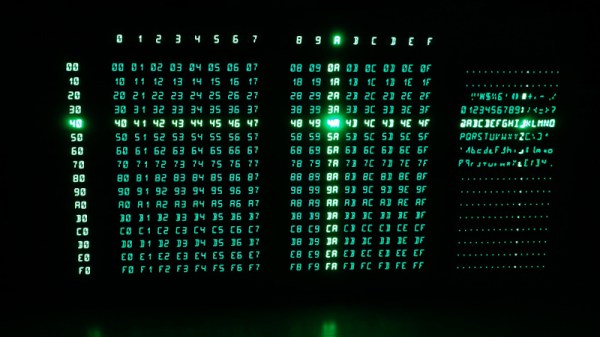
Over the years, the media has managed to throw together some pretty ridiculous visual depictions of computer hacking. But perhaps none have gone as far down the road of obfuscation as The Matrix, where the most experienced hackers are able to extract information from a display of cascading green glyphs like a cyberpunk version of reading tea leaves. It’s absolutely ridiculous, with zero basis in reality.
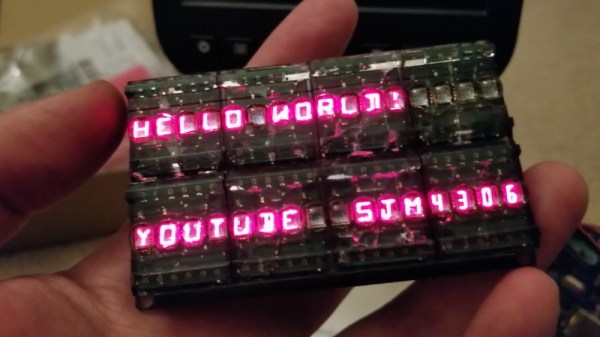
Well, maybe not anymore. Taking a page from these outlandish visions of hacking, [Erik Bosman] has constructed a dedicated hex dump display out of fourteen segment alphanumeric LEDs that looks like it could be pulled from a movie set. But make no mistake, it’s more than just a pretty face. By cleverly varying the brightness of the individual characters, he’s managed to make his so-called “hexboard” completely usable despite the fact that everything’s the same color.
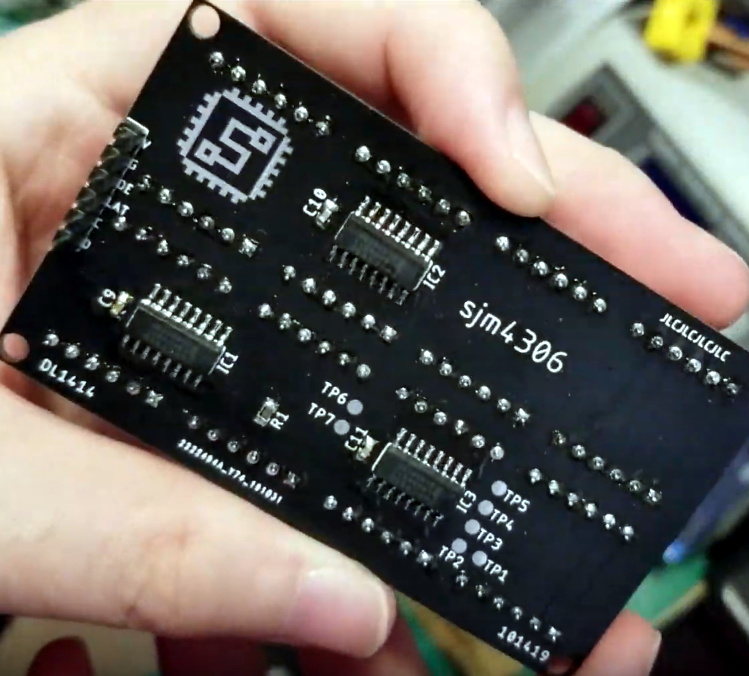
 While he says the project is not quite at 100% yet, he’s already released the firmware, computer-side software, and even the PCB design files for anyone who might want to build their own version. Though as you might imagine, it’s quite a tall order.
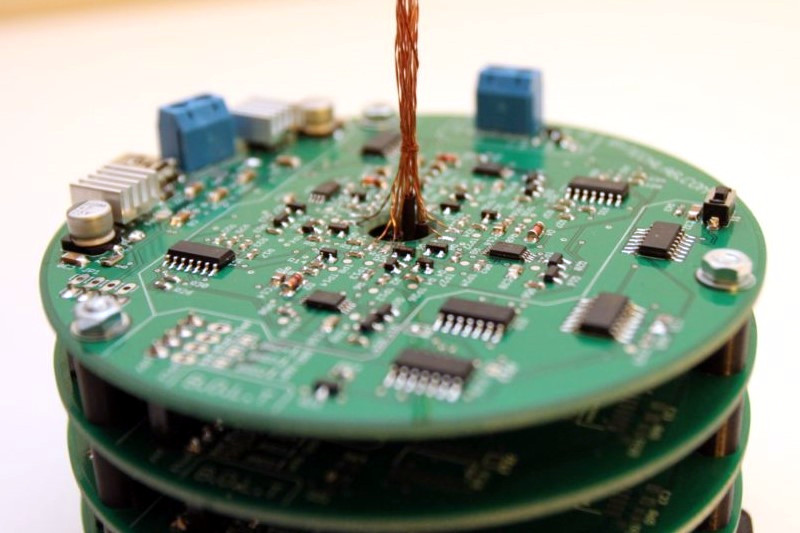
The display is broken up into segments holding eight Houkem-5421 LED modules apiece, each with its own STM32F030F4 and two TC7258E LED controllers. The bill of materials on this one is a bit intimidating, but when the end result look this good it’s hard to complain.
To build a somewhat smaller version that also features a more retro vibe, you might consider doing something similar by chaining together vintage LED “bubble” displays.