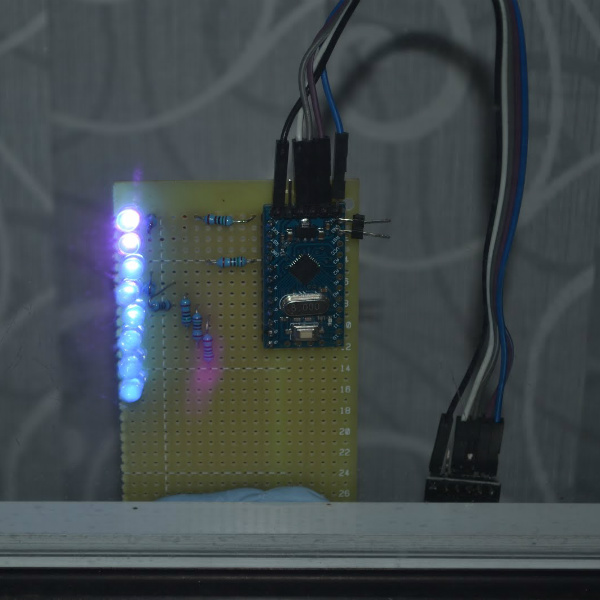
LEDs are now a mature technology, with all manner of colors and flavors available. However, back in the 1970s, it was early days for this fledgling display tech, and things looked very different. [IMSAI Guy] happened to work at the optoelectronics division of Hewlett-Packard during their development of LED displays, and has a handful of prototypes from those heady days.
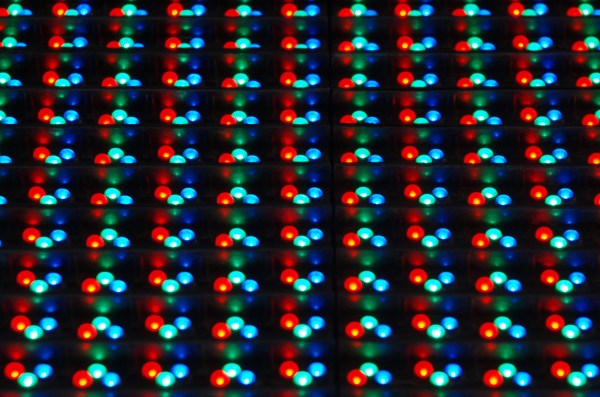
The video is a great look at not only vintage display hardware, but also rarely seen prototypes that seldom left the HP offices. Matrix, 7-segment and even 16-segment devices are all in attendance here. There’s great macro photography of the packages, including the now-forgotten bubble displays as well as hermetically sealed glass packages. The parts all have a uniquely 1970s look, drenched in gold plating and otherwise just looking very expensive.
The followup video breaks out the microscope and powers up the displays. [IMSAI Guy] shares some useful tips on how to best tinker with unknown LED parts, as well as knowledge about the chemical compounds and manufacturing processes involved in LED production. If you don’t know your III-V compounds from your II-VI compounds, prepare to learn.
It’s always interesting to take a look back, and even better to get a peek at the experiments of engineers of the past.
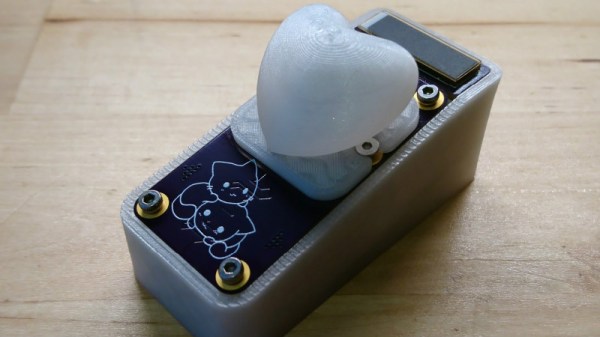
If you’re wondering about applications of this hardware, we’ve seen messageboards and watches before. Video after the break.