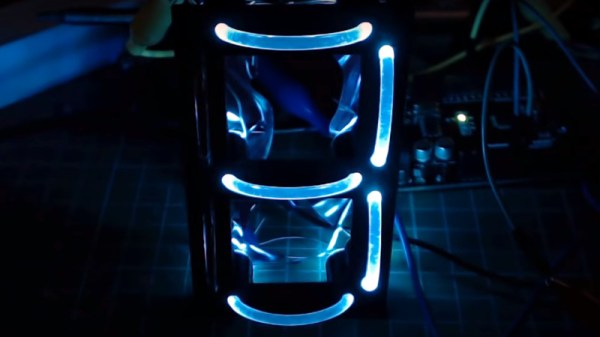
In our time here at Hackaday, we have seen many display builds, but this one from [Brian Lough] has to be a first. He’s created a 7-segment display made from shoelaces, and it works rather well.
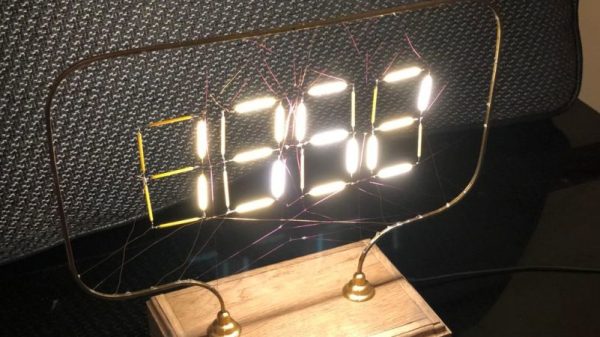
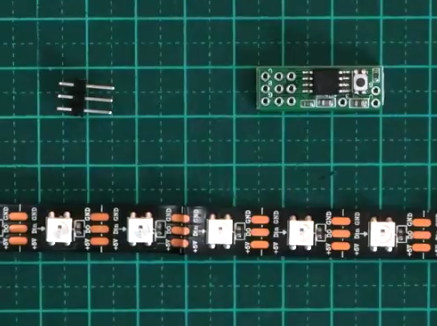
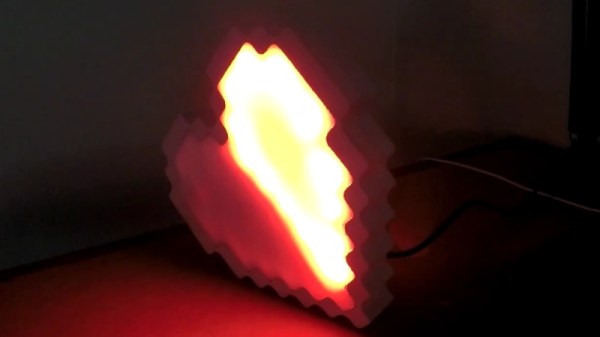
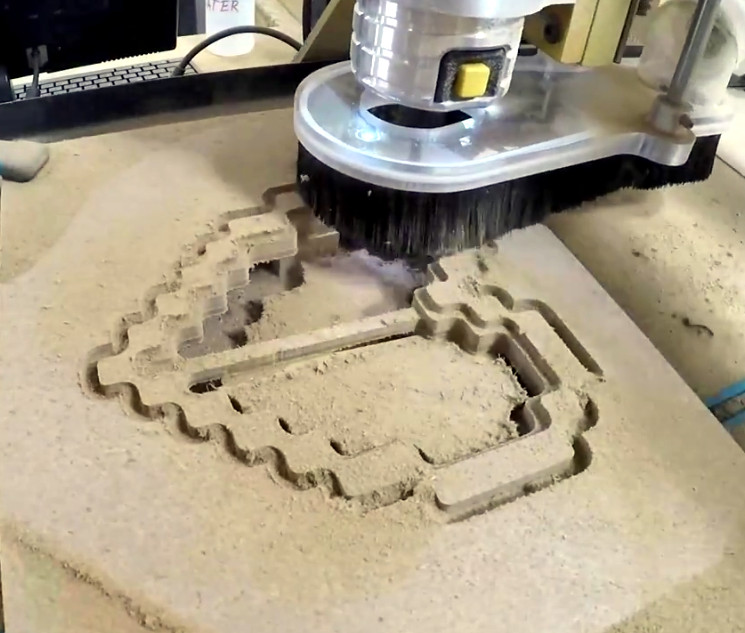
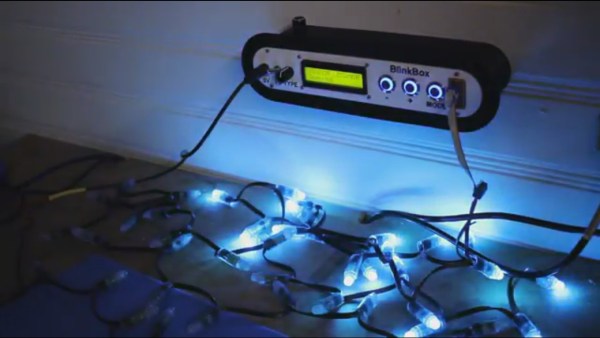
Before you imagine the fabric cords you’re used to with your trainers, it’s worth explaining that these aren’t shoelaces in the traditional sense, but transparent light pipe taken from commercially available light-up shoelaces. He’s created a 3D-printed frame with receptacles for each end of the light pipe sections he’s used as segments, and spaces for addressable LEDs on the rear. He makes no bones about his soldering job being less than perfect, but the result when hooked up to an Arduino is very impressive. A large 7-segment LED display that’s visible in the glare of his bench lighting and not just in subdued illumination. Future plans include replacing the messy wiring with stripboard sections for a better result.
This isn’t the first 7-segment display using a light pipe that we’ve seen here at Hackaday, a previous effort used a more novel substance. But perhaps this Nixie-inspired take on the same idea also deserves a mention.