PC users with long memories will recall the days when the one-megabyte barrier was a significant problem, and the various tricks of extended and expanded memory used to mitigate it. One of them was to install a driver that mapped surplus graphics card memory as system memory when the display was in DOS text mode, and it was this that was brought to mind when we read about [Frank D]’s microcontroller implementation of Conway’s Game Of Life.
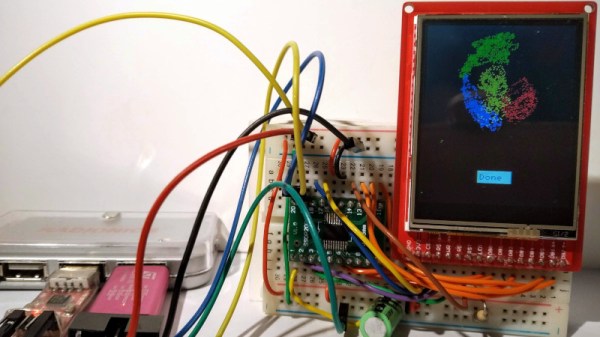
The components were those he had to hand; an STM32F030F4P6 and an RM68130 176 × 220 TFT board. The STM is not the most powerful of chips, with only 16 kB of Flash and 4 kB of RAM. The display has enough on-board memory to support 18 bits of colour information, but when it is running in eight-colour mode it only uses three of them. The 15 bits that remain are thus available to be used for other purposes, and though the arcane format in which they are read required some understanding they could be used to provide a very useful extra 38720 bytes of RAM for the microcontroller just as once happened with those DOS PC graphics cards of old. Interestingly, the same technique should work with other similar displays.
Though this isn’t a new technique by any means we can’t recall seeing it used in a microcontroller project such as this one before. We’ve brought you many Games of Life though, as well as marking John Conway’s passing earlier this year.
Continue reading “Stealing RAM For A Microcontroller From A TFT Display”