From the sound of reports in the press, graphene is the miracle material that will cure all the world’s ills. It’ll make batteries better, supercharge solar panels, and revolutionize medicine. While a lot of applications for the carbon monolayer are actually out in the market already, there’s still a long way to go before the stuff is in everything, partly because graphene can be very difficult to make.
It doesn’t necessarily have to be so hard, though, as [Zachary Tong] shows us with his laser-induced graphene supercapacitors. His production method couldn’t be simpler, and chances are good you’ve got everything you need to replicate the method in your shop right now. All it takes is a 405-nm laser, a 3D-printer or CNC router, and a roll of Kapton tape. As [Zach] explains, the laser energy converts the polyimide film used as the base material of Kapton into a sort of graphene foam. This foam doesn’t have all the usual properties of monolayer graphene, but it has interesting properties of its own, like extremely high surface area and moderate conductivity.
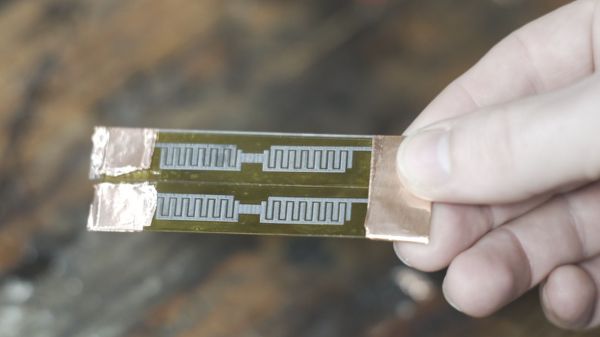
To make his supercaps, [Zach] stuck some Kapton tape to glass slides and etched a pattern into with the laser. His pattern has closely spaced interdigitated electrodes, which when covered with a weak sulfuric acid electrolyte shows remarkably high capacitance. He played with different patterns and configurations, including stacking tape up into layers, and came up with some pretty big capacitors. As a side project, he used the same method to produce a remarkable effective Kapton-tape heating element, which could have tons of applications.
Here’s hoping that [Zach]’s quick and easy graphene method inspires further experimentation. To get you started, check out our deep-dive into Kapton and how not every miracle material lives up to its promise.
Continue reading “Laser-Induced Graphene Supercapacitors From Kapton Tape”