Over on Hackaday.io we have a lot of people playing around with the possibilities presented by cheap printed circuit boards. Whether that means making a quadcopter from fiberglass or a speaker from etched copper, we’ve seen just about everything. Now, finally, we have a miniature magnetic racetrack. It’s an ant highway, or a linear motor wrapped around into a circle. Or a tiny-scale model railroad. Either way it’s very, very cool.
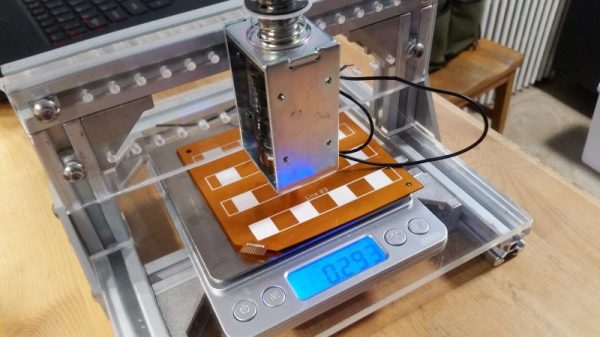
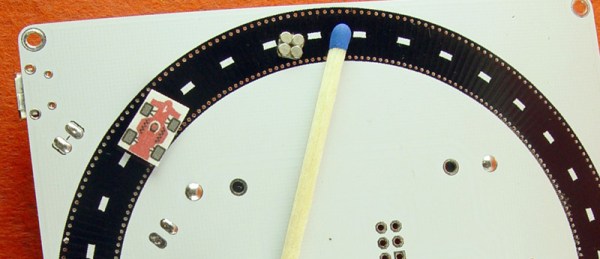
The ant highway comes from [bobricius], one of the many makers tinkering around with coils and traces. This time he’s built a ten centimeter square board that is, effectively, a linear motor. It’s a three-phase motor made out of PCB coils, with a small magnetic ‘car’ that’s pushed forward. These coils are controlled by an ATtiny10 and a trio of MOSFETs. Wrap that linear motor into a circle and you have a neat little circular track that’s the smallest model car raceway you’ve ever seen.
As with all of [bobricius]’ circuit boards, this one demands a video, and that’s available below. This is an interesting bit of technology, and it’s more than just a raceway for tiny magnetic cars. This could be the beginnings of an analog clock with a digital heart, or the start of the smallest model train layout you’ve ever seen. There’s impressive work being done with PCB motors now that printed circuit boards are so cheap, and we can’t wait to see what’s next.
A quick Hackaday search will reveal [bobricius] as a prolific source of projects whose work we’ve featured multiple times. Favorites include a brushless PCB motor, and an FR4 cell phone.
Continue reading “Circular Linear Motor Becomes A Micro Motor Raceway”