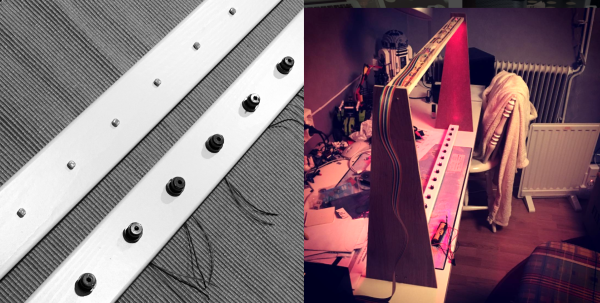
[Johan] has slipped down the rabbit hole of making musical instruments. His poison? Laser harp MIDI controllers. Having never made one before, he thought he would start small and then iterate using what he learned. Fortunately for us, [Johan] documented the process over on .io, essentially creating a step-by-step guide for building a simple but powerful 16-note laser harp.
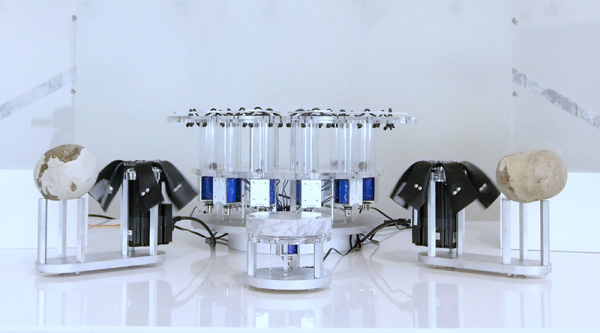
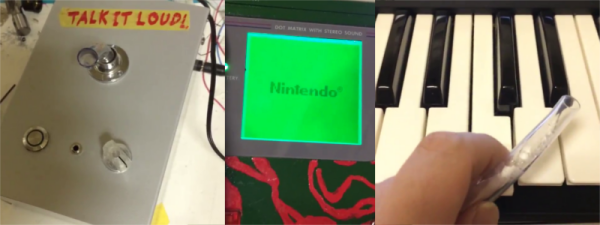
Laser Harp I is built around a Teensy 3.2 and, of course, lasers pointed at LDRs. [Johan] used fairly low-power laser modules, which are slightly less blinding if you accidentally look at them for a second, but should still be taken seriously. He added four potentiometers to control the sensitivity, scale, octave, and the transposition. The sensitivity pot essentially accounts for the ambient light in the room. Although it only has 16 notes, Laser Harp I is ready to rock with over 30 different scales to choose from. Check out the brief demo that [Johan] put up on his Instagram.
If you try to build your own laser harp and get lost trying to follow [Johan]’s instructions, don’t worry. His well-commented code and lovely schematic will undoubtedly save you. Then you can move on to open-beam designs.