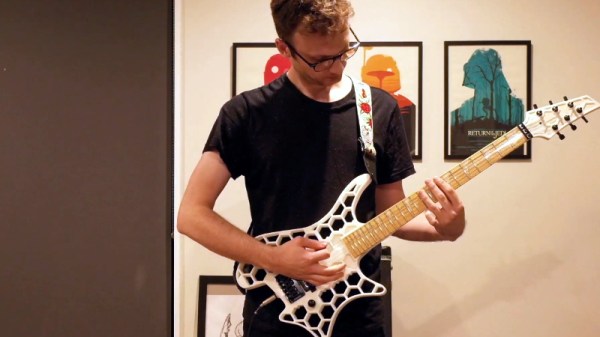
Modular synthesizers, with their profusion of knobs and switches and their seemingly insatiable appetite for patch cables, are wonderful examples of over-complexity — the best kind of complexity, in our view. Play with a synthesizer long enough and you start thinking that any kind of sound is possible, limited only by your imagination in hooking up the various oscillators, filters, and envelope generators. And the aforementioned patch cables, of course, which are always in short supply.
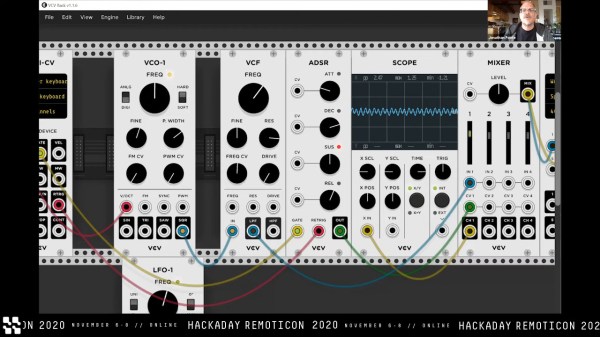
Luckily, though, patch cables and the modules they connect can be virtualized, and in his 2020 Remoticon workshop, Jonathan Foote showed us all the ways VCV Rack can emulate modular synthesizers right on your computer’s desktop. The workshop focused on VCV Rack, where Eurorack-style synthesizer modules are graphically presented in a configurable rack and patched together just like physical synth modules would be.
Continue reading “Remoticon Video: Intro To Modern Synthesis Using VCV Rack”