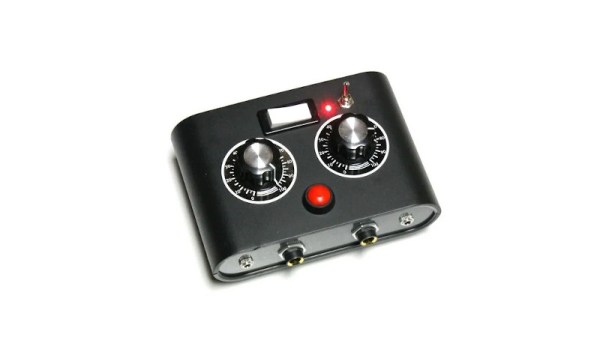
Synths are a ton of fun no matter how good or bad they sound. Really, there are no bad-sounding ones, it’s just that some are more annoying to listen than others to if you’re not the one making the beep boops. [Clem] had built a tiny LDR-based synth into a watch case a few years back and took it to many a Maker Faire, where it delighted and annoyed until it ultimately broke.
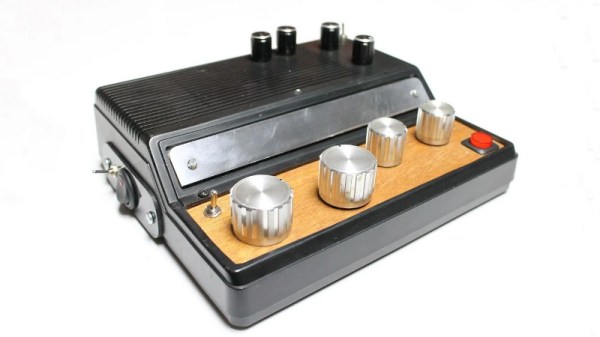
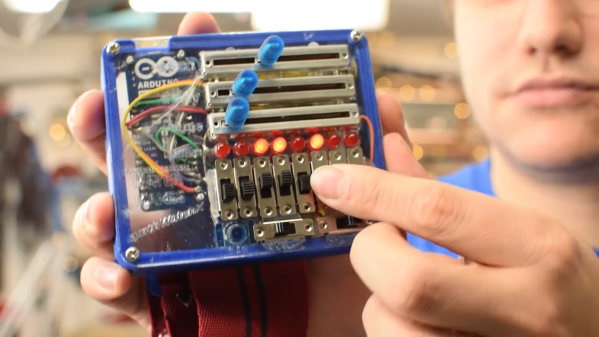
Naturally, it was time to make a new version that’s more capable. Whereas the first one was Atari-punk-console-meets-light-Theremin, this one has a bunch of inputs and can be programmed on the fly to record and play back bendable tones. It’s driven by an Arduino MKR, and the inputs are managed by an impressively squash bug-wired shift register. [Clem] used beefy switches this time in the hopes that this one will last longer. We think the slide pots are a great touch, as are the candy-colored knobs printed in PMMA.
Our favorite part is that [Clem] took advantage of the random states the microcontroller pins are in when it’s first powered on. If you don’t want to program any notes, you can use the ones generated at boot and just play around with those. Be sure to check out the build video after the break.
We’ve seen our share of synths, but few as delicious-looking as KELPIE from this year’s Hackaday Prize.
Continue reading “Programmable Wrist Synth Pushes The Envelope”