After the Nintendo 3DS saw various Nintendo 64-era titles like Super Mario 64, Ocarina of Time and Majora’s Mask ported to it, there was a lot of speculation that the GameCube/Wii title of Twilight Princess might soon make its way to this handheld gaming system too. Unfortunately no official release happened, but with the recently decompiled source code of the game in hand, [Tobi] set out to see whether such a port was realistic.
Compared to the somewhat scruffy Nintendo DS and DSi handhelds, the 3DS hardware is decidedly more beefy, both in the processor department as well as in terms of RAM with 128 MB of FCRAM (Fast Cycle DRAM). This puts it within batting distance of the game’s original two consoles.
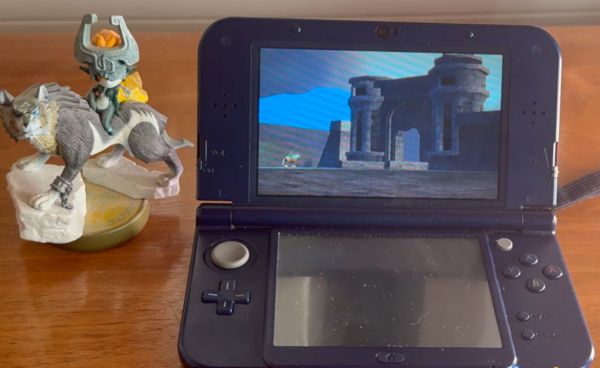
In the video the current status of the porting effort is demonstrated, with the game actually running surprisingly well despite the early state of the porting project. Even with the rather impressive graphical glitches and overall instability that one would expect at this early stage, the game is essentially already playable.
As noted by [Tobi], the next steps will involve fixing these bugs and above all actually optimizing the so far quick-and-sloppy port. Along with the possibility of actually having Twilight Princess rendered in 3D, this is a rather exciting development that demonstrates that an official version of the game for the 3DS would have been easily possible.
Continue reading “Porting The Legend Of Zelda: Twilight Princess To The 3DS”