As the original hardware from the golden era of 8-bit computer gaming becomes a bit long in the tooth, keeping it alive has become something of a concern for enthusiasts. There have been a succession of remanufactured parts for many of the major platforms of the day, and now thanks to [Redherring32] it’s the turn of the NES console.
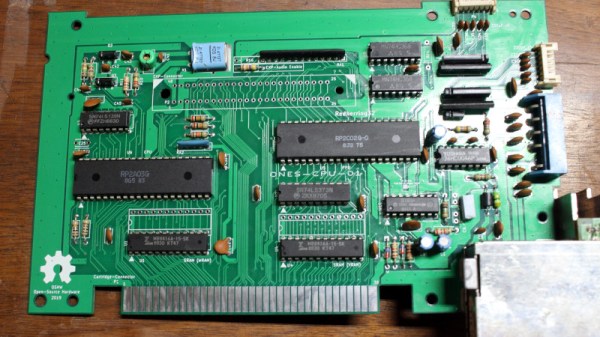
The OpenTendo is a completely open-source replacement for an original front-loading Nintendo Entertainment System motherboard, using both original or after-market Nintendo CPU and PPU chips, and other still readily available components. It doesn’t incorporate Nintendo’s CIC lockout chip — Drew Littrell wrote a great article on how that security feature worked — but if you really need the authenticity there is also the NullCIC project that can simulate that component.
It’s an interesting exercise in reverse engineering as well as a chance to look at the NES at the chip level. Also for Nintendo-heads, it provides all the component footprints and schematic items in KiCAD format. Will many be built? Given that the NES was the best-selling console of its time there should be no shortage of originals to be found, but that in no way invalidates the effort put into this project. There will be NES consoles somewhere running for decades to come because of work such as this, simply remember that you don’t need to blow in the slot to make it work!