New Part Day: ESP32-P4 Espressif RISC-V Powerhouse

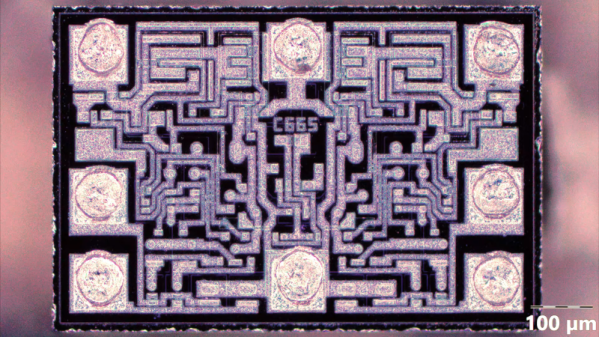
It seems every day there’s a new microcontroller announcement for which the manufacturer is keen to secure your eyeballs. Today it’s the turn of Espressif, whose new part is the ESP32-P4, which despite being another confusingly named ESP32, is a high-performance addition to their RISC-V line-up.

On board are dual-core 400 MHz and a single-core low power 40 MHz RISC-V processors, and an impressive array of hardware peripherals including display and camera interfaces and a hardware JPEG codec alongside the ones you’d expect from an ESP32 part. It’s got a whopping 768 KB of on-chip SRAM as well as 8 K of very fast cache RAM for intensive operations.

So after the blurb, what’s in it for us? It’s inevitable that the RISC-V parts will over time displace the Tensilica parts over time, so we’ll be seeing more on this processor in upcoming Hackaday projects. We expect in particular for this one to be seized upon by badge developers, who are intent on pushing extra functionality out of their parts.So we look forward to seeing the inevitable modules with this chip on board, and putting them through their paces.

Thanks [Renze] for the tip.

DIY GameTank Game Console Gets Upgraded Cartridge

Over the summer, you might recall seeing a homebrew 6502 game console called the GameTank grace these pages. The product of [Clyde Shaffer], the system was impressively complete, very well documented, and even had a budding library of games.

Recently, [Clyde] took to the r/electronics subreddit to show off the latest improvement to the GameTank: a revised removable cartridge. The biggest change this time around is the addition of 32 KB of battery-backed SRAM that gives games (or any other software that might be on the cartridge) some persistent storage to work with. Continue reading “DIY GameTank Game Console Gets Upgraded Cartridge”

A Practical Glue Stick Oscillator

A few months ago we brought you some experiments from [Bill Meara, N2CQR], in which he investigated the use of a glue stick as the former for a permeability tuned inductor. His set-up was very much in the spirit of experimentation, and we’re very pleased to now see [Nick, M0NTV] has taken the idea and demonstrated it for the 7 MHz, or 40 meter, amateur radio band.

The result can be seen in the video below the break, and is housed in a tin enclosure that we’re guessing once contained toffees. The oscillator circuit comes courtesy of [Ashar Farhan VU2ESE] of BitX transceiver fame, but we’re most interested in the glue stick coil former which makes use of a small bracket for stability. With the glue removed, he’s mounted a ferrite ring in its glue carrier which is moved in and out of the coil. We’re guessing this could also be done with other permeability-altering materials, for example we’d follow [VU2ESE]’s lead and try a piece of brass.

The knurled glue feed knob protrudes through a hole in the tin, and we’re guessing there’s enough separation for an operator’s hand not to drag the frequency too much. All in all given that variable capacitors are now something of a rarity, it makes for a useful demonstration of a very cheap replacement. Meanwhile, you can read our notes on [N2CQR]’s work here.

Continue reading “A Practical Glue Stick Oscillator”

Get To Know Touch With This Dev Board

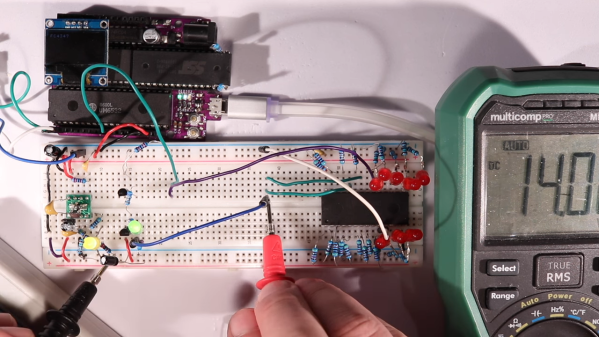
In the catalogue of the Chinese parts supplier LCSC can be found many parts not available from American or European suppliers, and thus anyone who wants to evaluate them can find themselves at a disadvantage. [Sleepy Pony Labs] had just such a part catch their eye, the Sam&Wing AI08 8 channel capacitive touch controller. How to evaluate a chip with little information? Design a dev board, of course!

The chip tested is part of a family all providing similar functionality, but with a variety of interface options. The part tested has eight touch inputs and a BCD output. Said output is used to feed a 74 series decoder chip and drive some LEDs. The touch pads were designed with reference to a Microchip application note which incidentally makes for fascinating reading on the subject as it covers far more than just simple touch buttons.

Whether or not you’ll need this touch chip is a matter for your own designs, however, what this project demonstrates is that with the ready availability of cheap custom PCBs and unexpected parts it’s not beyond reason to create boards just for evaluation purposes.

Perhaps the subject of a previous Hackaday piece would have found this board useful.

All About USB-C: Illegal Adapters

Let’s be clear – it’s not enough to have USB-C to USB-C cables. There’s a lot of cables that we might want to acquire for our day-to-day use, perhaps, for a transition period while we still own some amount of devices not adorned with a USB-C connector. However, the USB-C specification only accounts for a limited amount of kinds of cables, explicitly or implicitly excluding a range of cables that you might want to buy or make.

It’s my firm belief that, as a hacker, you should be able to buy any USB-C contraption that you could ever need. Hackers don’t need restrictions driven by marketing – they need understanding of how a piece of tech can or cannot be used, based on how it operates internally. I would like you to provide with such understanding, so that you can make informed decisions.

On the other hand, USB-C is designed to be used by less-than-skilled people, even if it often fails at that. (Cable labelling, anyone?) Clear definitions of what complies to a standard can help enforce it. Here’s the notorious story of a USB-C cable that killed a Chromebook, and launched a career of explaining USB-C specifics online for [Benson Leung]. There’s many such failure stories, in fact. Today, we’ll go through USB-C contraptions which might or might not fail you, depending on how you use them. Continue reading “All About USB-C: Illegal Adapters”

Working With I2S-Compatible FM Tuners

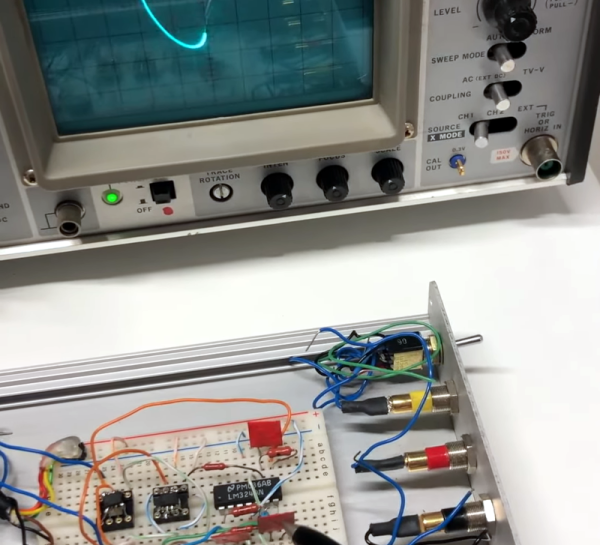
While the Internet is a great place to get access to any music or audio you can dream of, there’s still a place for broadcast radio. [mit41301] has recently been exploring implementing a simple FM tuner chip in various projects.

The chip in question is the RDA7088, which is designed to require the bare minimum in external components, and is available in a compact SOP16 package. As per the datasheet, it was intended for use in applications like portable radios, PDAs, cell phones, and MP3 players.

[mit41301]’s first attempt involved using the chip as a simple tuner, hooked up to a PIC10F200 for control. Investigation revealed it was capable of outputting digital audio via I2S, while being commanded via I2C. By default, it spits out audio at a low sample rate of 8 kHz, but reconfiguration will jump that up to 44.1 or 48 kHz. Piping that digital I2S stream out to a DAC then delivers analog output that can be fed to an amplifier. The build also got remote control, with the PIC handling decoding IR signals and outputting commands to the radio chip.

Following this success, [mit41301] then went further, hooking up an ESP-01 to the chip to try and get RDS going. If you’re unfamiliar with the Radio Data System, it’s a way for short textual messages to be sent out by FM broadcasters. In addition to the duties carried out by the PIC module, the ESP-01 is also charged with receiving RDS data from the RDA7088, and outputting it to a display.

While using such chips is routine in industry, it’s always great to see a DIY guide to interfacing with specific hardware. If you want to integrate FM radio into your own projects, the RDA7088 is a simple and easy way to do so. We’ve seen similar work before, adding FM radio to the Raspberry Pi.

Continue reading “Working With I2S-Compatible FM Tuners”

All About USB-C: Connector Mechanics

There’s two cases when hackers have to think about USB-C connector mechanics. The first is when a USB-C connector physically breaks, and the second is when we need to put a connector on our own board. Let’s go through both of them.

Clean That Connector

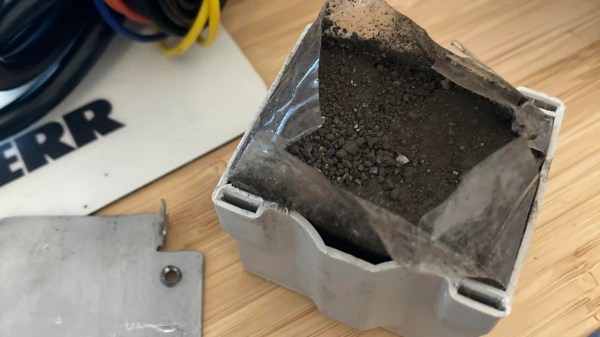
What if a socket on your phone or laptop fails? First off, it could be due to dust or debris. There’s swabs you can buy to clean a USB-C connector; perhaps adding some isopropyl alcohol or other cleaning-suitable liquids, you can get to a “good enough” state. You can also reflow pins on your connector, equipped with hot air or a sharp soldering iron tip, as well as some flux – when it comes to mechanical failures, this tends to remedy them, even for a short period of time.

How could a connector fail, exactly? Well, one of the pins could break off inside the plastic, or just get too dirty to make contact. Consider a device with a USB-C charging and data socket, with USB 2.0 but without high-speed pairs – which is to say, sadly, the majority of the phones out there. Try plugging it into a USB-A charger using a USB-A to USB-C cable. Does it charge, even if slowly? Then, your VBUS pins are okay.

Plug it into a Type-C charger using a Type-C cable, and now the CC pins are involved. Does it charge in both orientations? Then both of your CC pins are okay. Does it charge in only one orientation? One of the CC pins has to be busted. Then, you can check USB 2.0 pins, used for data transfer and legacy charging. Plug the phone into a computer using a USB-A to USB-C cable. Does it enumerate as a device? Does it enumerate in both orientations? If not, you might want to clean D- and D+ pins specifically, maybe even both sets. Continue reading “All About USB-C: Connector Mechanics”