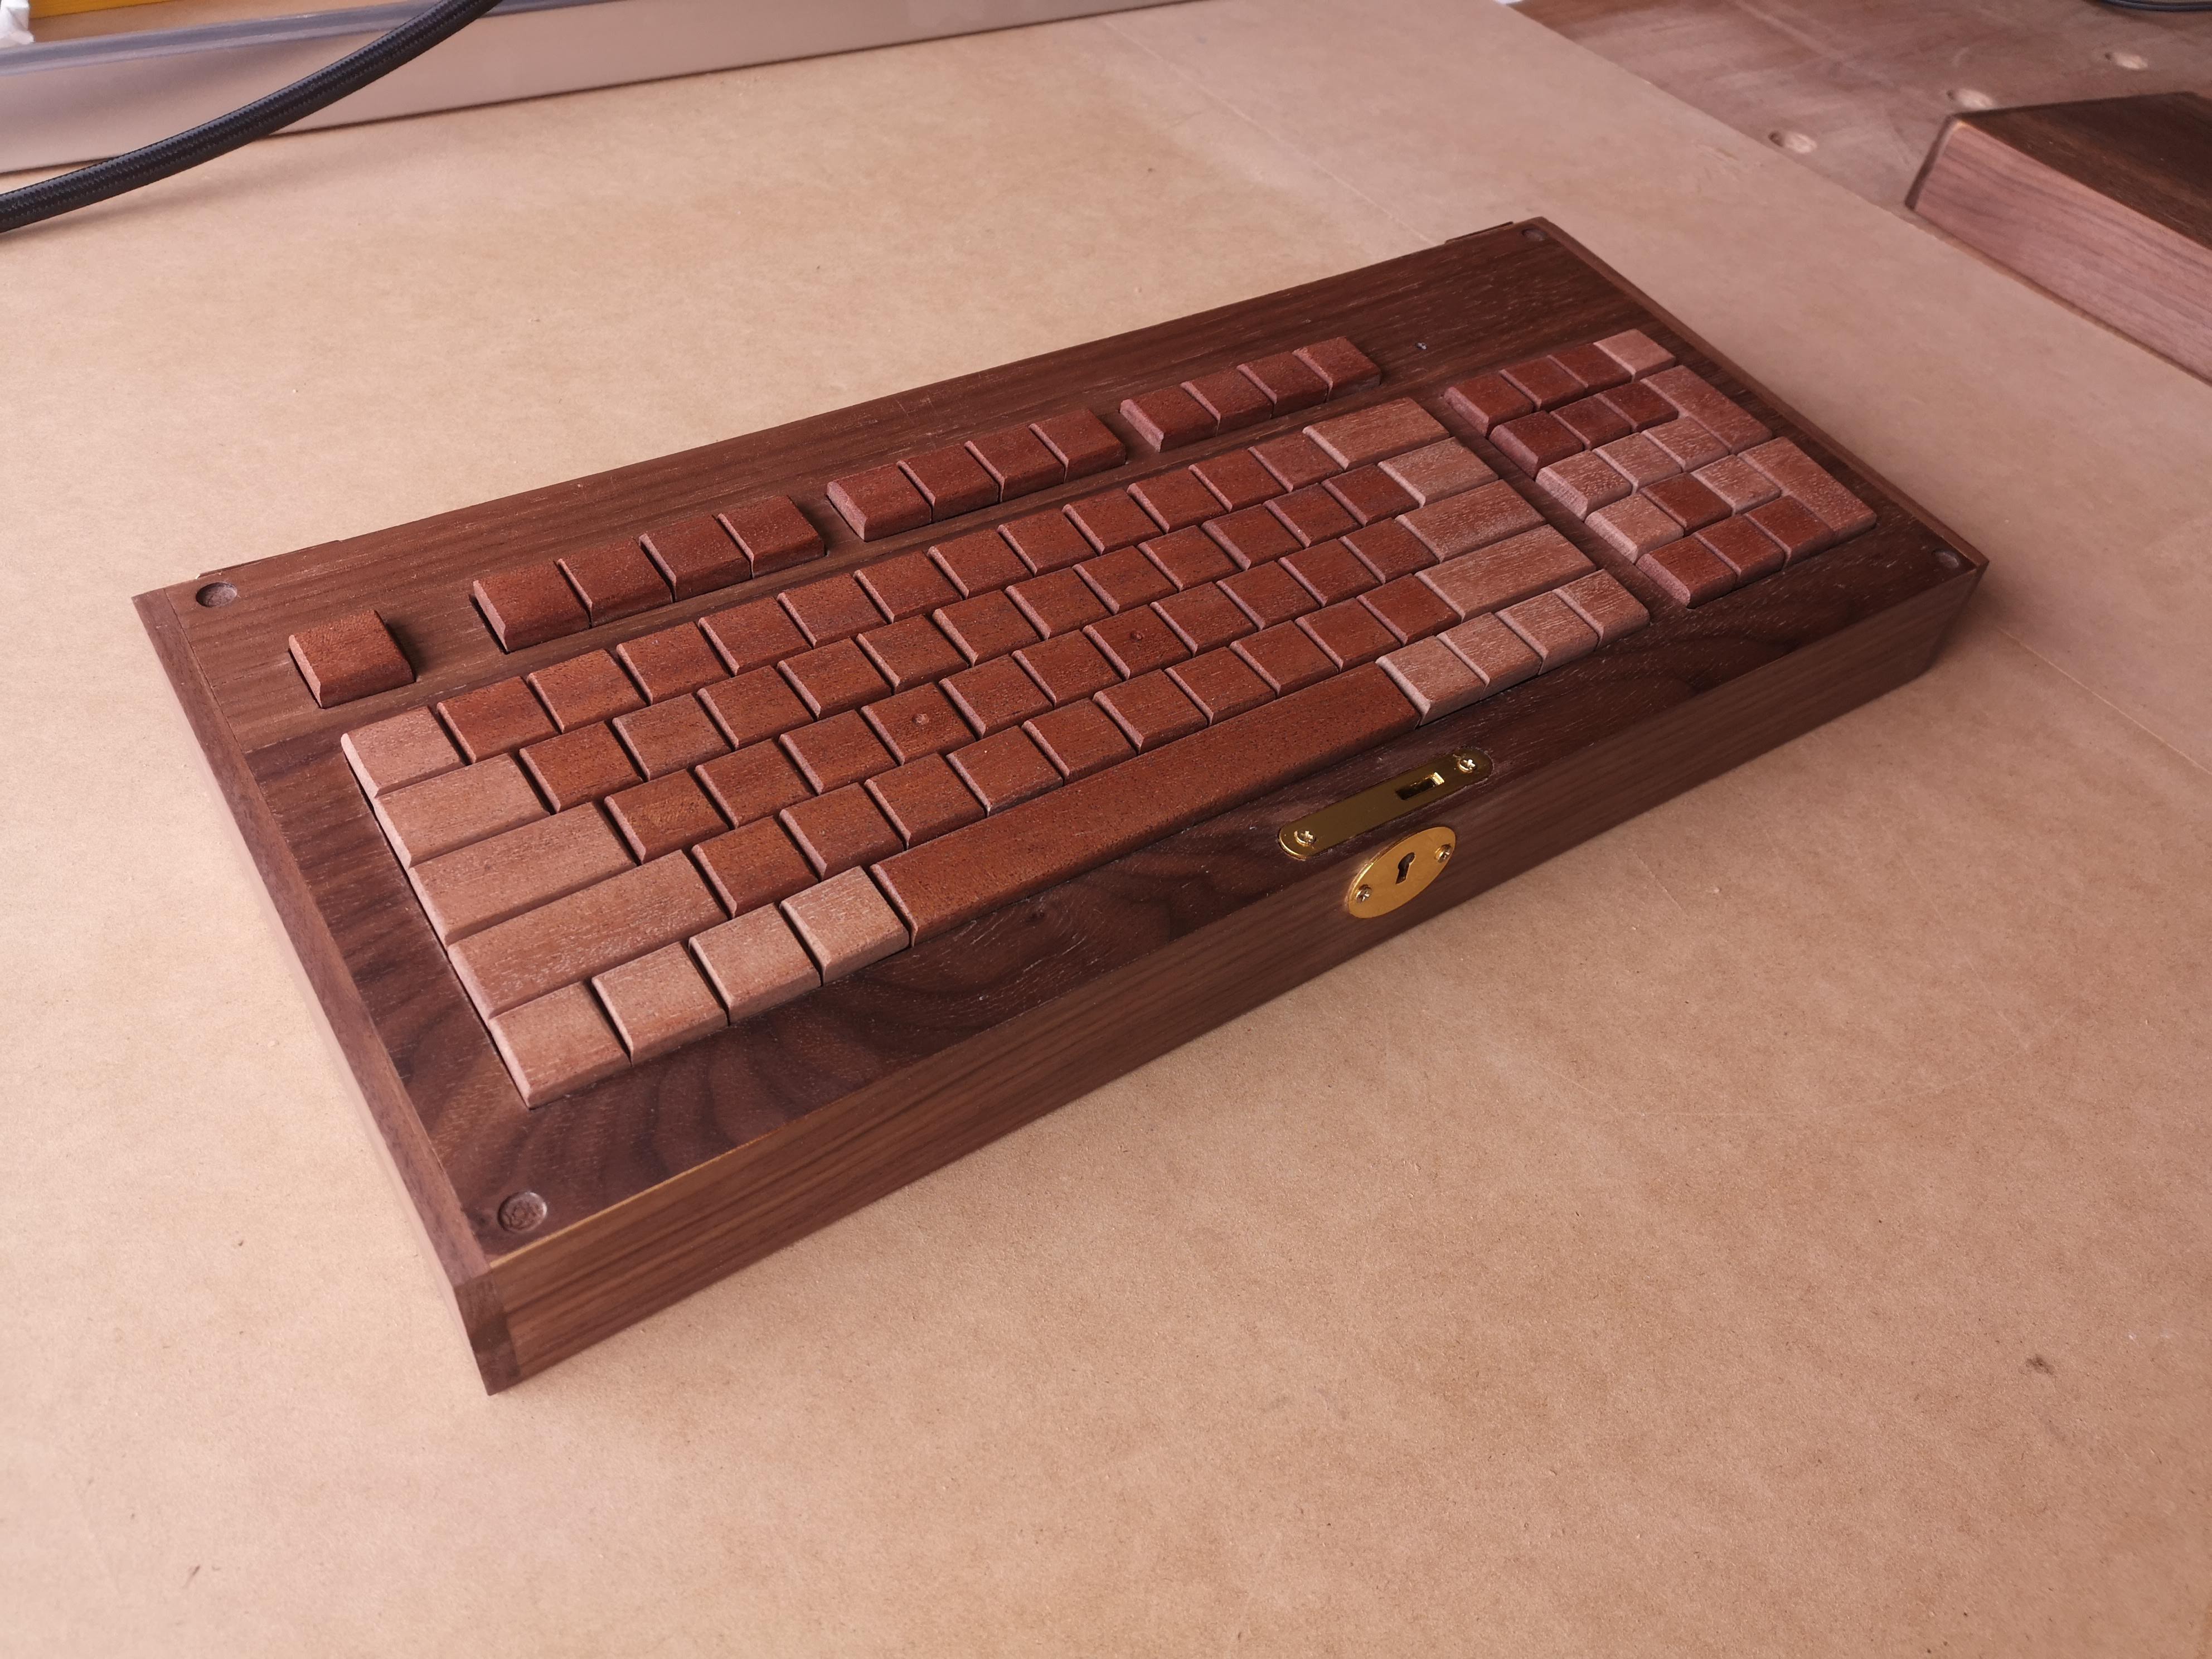
[Sergei Silnov] was quite attached to the Microsoft Natural Ergonomic 4000 keyboard, an updated version of their Natural keyboard that brought so many into the split fold. But once [Sergei] started writing notes in coffee shops, it was time for something portable.
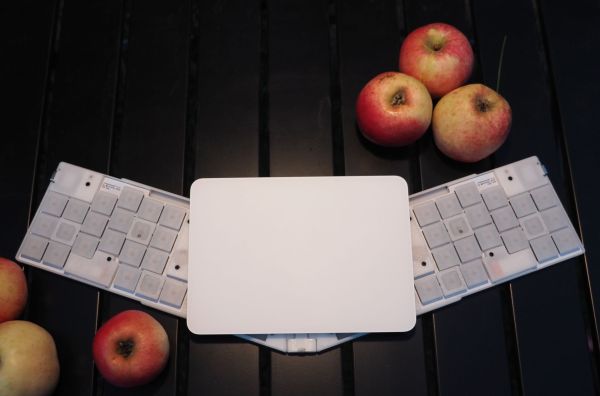
 The trouble with many portable keyboards, especially folding ones, is that they’re not often comfortable to type on. However, the Crabapplepad, a sleek, elegant offering, looks as though it begs to differ.
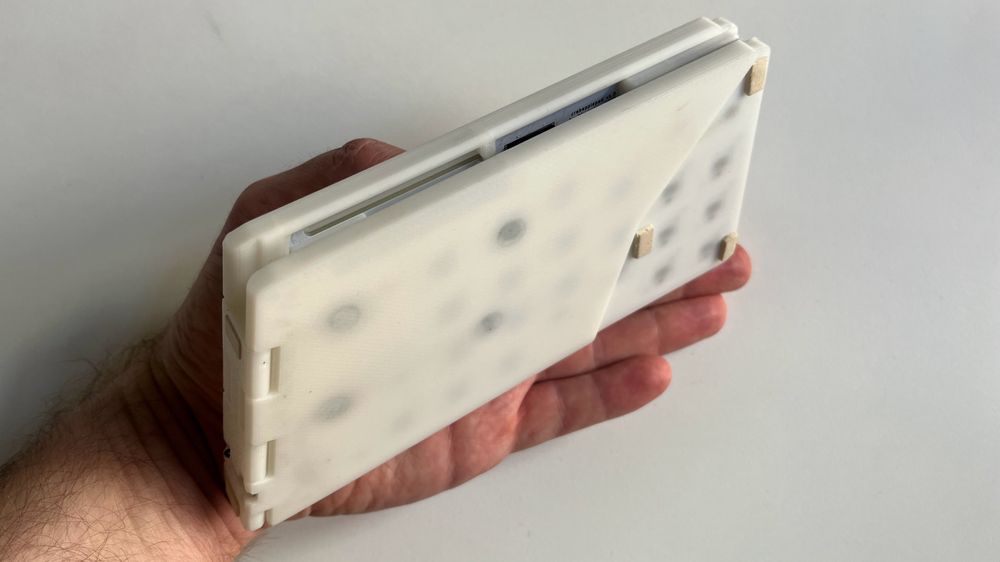
[Sergei] truly thought of everything and packed it into this 2cm thick wonder. There’s a little kickstand to hold your phone, or you can just throw an Apple trackpad between the halves and it magnetically attaches. Inside there’s a Seeed Studio XIAO nRF52840, and the switches are the extremely thin and hard-to-find Kailh PG1425 X, a sweet-looking scissor switch.
The only problem with X-switches is that there is only one type of keycap for them at the moment, and there aren’t any homing bums for F and J. To get around this, [Sergei] designed some 3D-printed frames to go around the keycaps and make them more distinct. Yes, this beauty it is open source, so go forth and be comfortable in absolute style. Don’t forget to check out the demo after the break.
To be honest, there once was a pretty good folding keyboard — the Palm Portable. Don’t worry; someone made a Bluetooth adapter for them.
Continue reading “Crabapplepad Folding Keyboard Is Actually Pretty Sweet”