It’s been an exciting few weeks for me personally on the clacking front. I got a couple of new-to-me keyboards including my first one with ALPS switches, an old TI/99A keyboard with Futaba MD switches, and a couple of what are supposed to be the original Cherry switches (oh man they clack so nicely!) But enough about my keyboard-related fortuitousness, and on to the hacks and clacks!
Putting My Pedals to the Metal
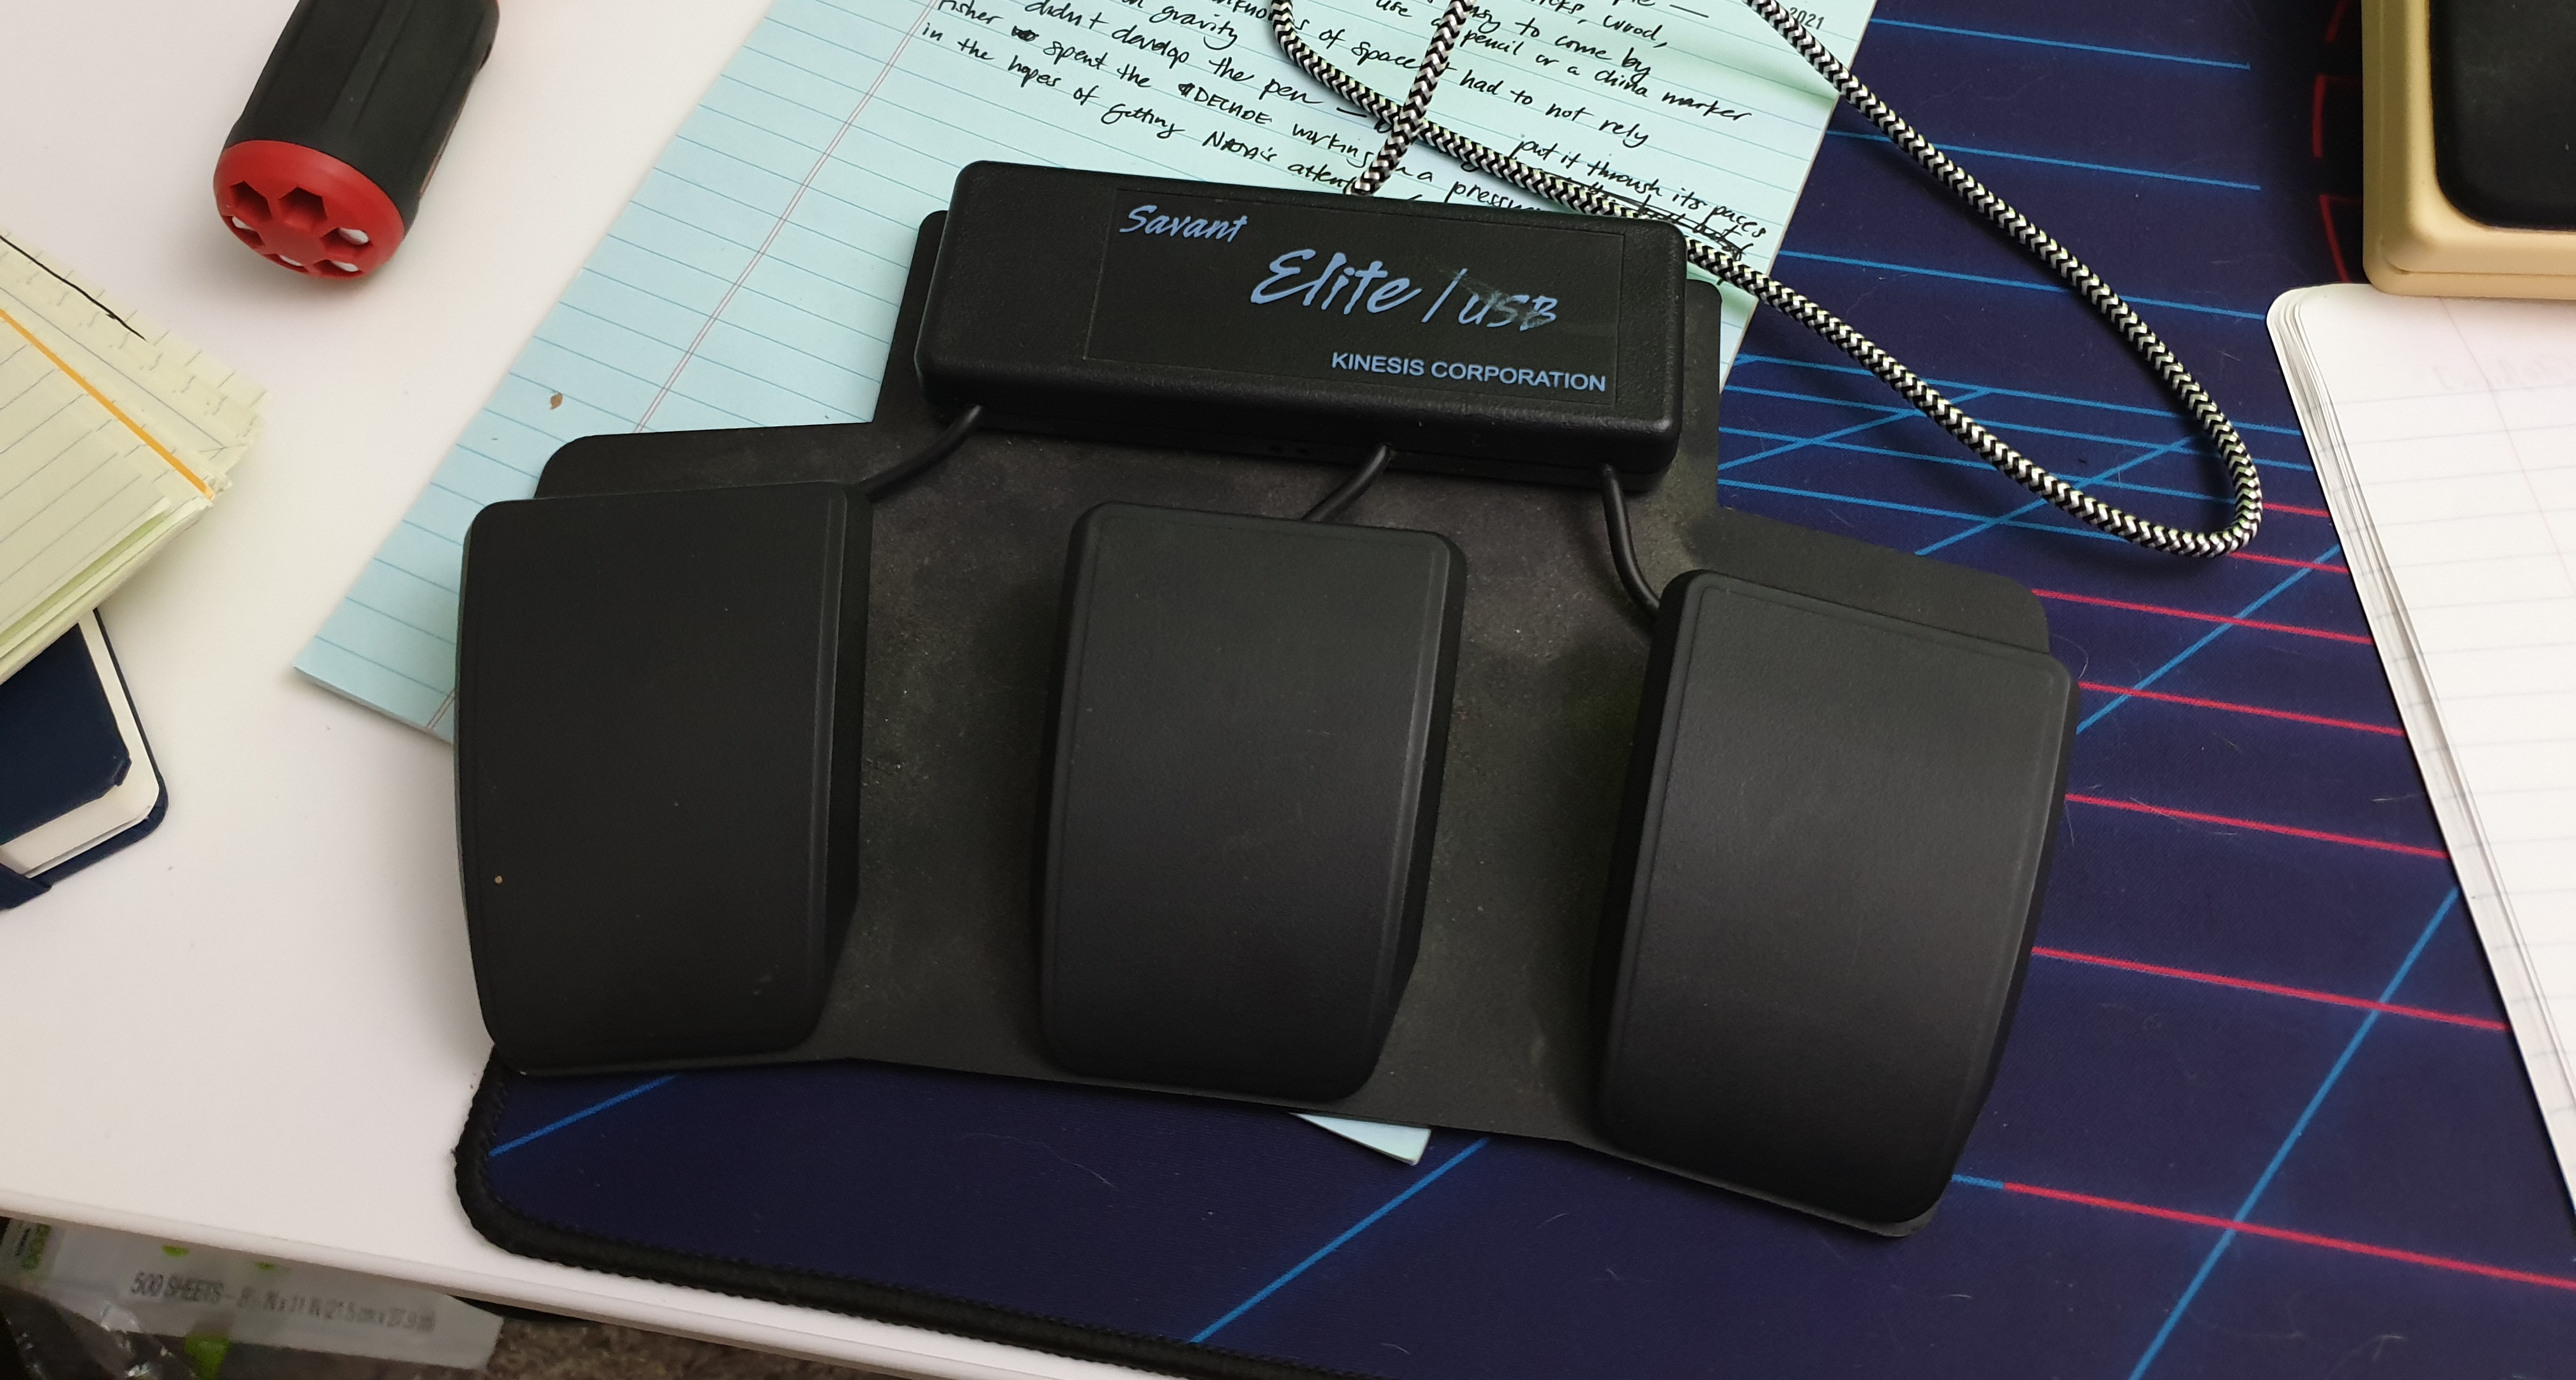 I picked up this Kinesis Savant Elite triple foot pedal from Goodwill. It works fine, but I don’t like the way it’s programmed — left arrow, right arrow, and right mouse click. I found the manual and the driver on the Kinesis website easily enough, but I soon learned that you need a 32-bit computer to program it. Period. See, Kinesis never wrote an updated driver for the original Savant Elite pedal, they just came out with a new one and people had to fork over another $200 or figure something else out.
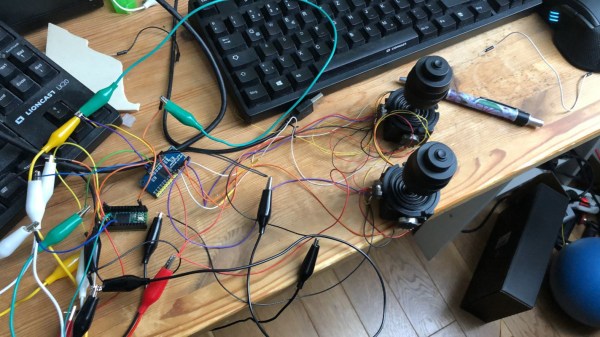
I’m fresh out of 32-bit computers, so I tried running the program in XP-compatibility mode like the manual says, but it just doesn’t work. Oh, and the manual says you can brick it if you don’t do things correctly, so that’s pretty weird and scary. It was about this time that I started to realize how easy it would be to open it up and just replace the controller with something much more modern. Once I got inside, I saw that all three switches use JST plugs and right angle header. Then I though hey, why not just re-use this set-up? I might have to make a new board, but it how awesome would it be to plug these pedals’ JSTs into my own board?
Continue reading “Keebin’ With Kristina: The One Where Shift Happens”