No matter how clicky your keyboard is, nothing compares to the sensory experience of using a typewriter. The sounds that a typewriter makes, from the deep clunk of hitting the spacebar to the staccato of keys striking paper to the ratchety kerchunk of returning the carriage, are a delight compared to the sterile, soulless clicks of even the noisiest computer keyboard. Oh, and the bell — who doesn’t love the bell?
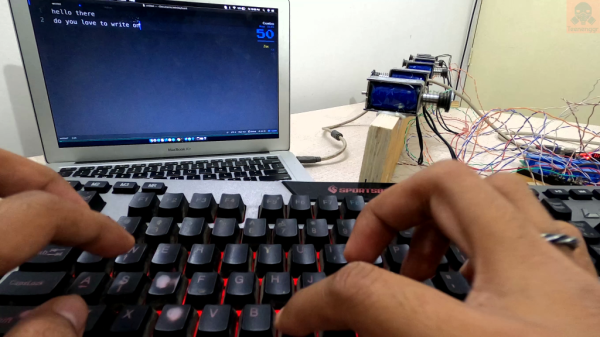
Unwilling to miss out on the feel of real typing, [Jatin Patel] whipped up this solenoid-powered typewriter simulator. The first version had the core functionality, with a line of six solenoids mounted to a strip of wood. The coils are connected to an Arduino through a relay board; a Python program running on his PC reads every keypress and tells the Arduino which solenoid to fire. Each one sounds different somehow, perhaps due to its position on the board, or maybe due to differences in mounting methods. Whatever the cause, the effect is a realistic variability in the sounds, just like a real typewriter.
Version two, shown in the video below, ups the simulation with a motor that moves the solenoid rack one step with each keypress, to simulate the moving carriage of a typewriter. The last solenoid rings a bell when it’s time to return the carriage, which is done with a combination wrench as a handle. Weird hex, but OK.
Can’t get enough typewriter action? We understand; check out this typewriter-cum-USB keyboard, the tweeting typewriter, or this manual typewriter that pulls some strings.