[8BitsAndAByte] found herself obsessively labeling items around her house, and, like the rest of the world, wanted to see what simple, routine tasks could be made unnecessarily complicated by using AI. Instead of manually identifying objects using human intelligence, she thought it would be fun to offload that task to our AI overlords and the results are pretty amusing.
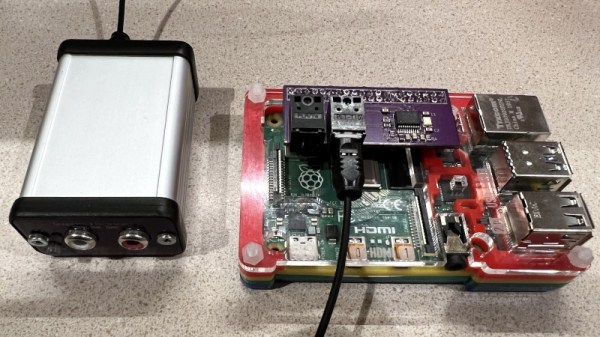
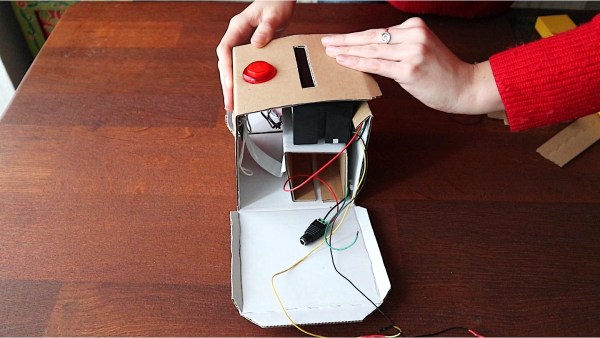
She constructed a cardboard enclosure that housed a Raspberry Pi 3B+, a Pi Camera Module V2, and a small thermal printer for making the labels. The enclosure included a hole for the camera and a button for taking the picture. The image taken by the Pi is analyzed by the DeepAI DenseCap API which, in theory, should create a label for each object detected within the image. Unfortunately, it doesn’t seem to do that very well and [8BitsAndAByte] is left with labels that don’t match any of the objects she took pictures of. In some cases it didn’t even get close, for example, the model thought an apple was a person’s head and a rotary dial phone was a cup. Go figure. It didn’t really seem to bother her though, and she got a pretty good laugh from the whole thing.
It appears the model detects all objects in the image, but only prints the label for the object it was most certain about. So maybe part of her problem is there were just too many objects in the background? If that were the case, you could probably improve the accuracy of the model by placing the object against a neutral background. That may confuse the AI a lot less and possibly give you better results. Or maybe try a different classifier altogether? Or don’t. Then you could just use it as a fun, gag project at your next get-together. That works too.
Cool project [8BitsAndAByte]! Hey, maybe this is a sign the world will still need some human intelligence after all. Who knows?