No, despite what it might look like, this isn’t some early Halloween project. The creepy creation before you is actually a tongue-in-cheek “robot” created by the prolific [Nick Bild], a topical statement about companies asking their remote workers to come back into the office now that COVID-19 restrictions are being lifted. Why commute every day when this ultra realistic avatar can sit in for you?
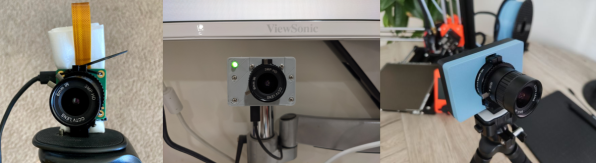
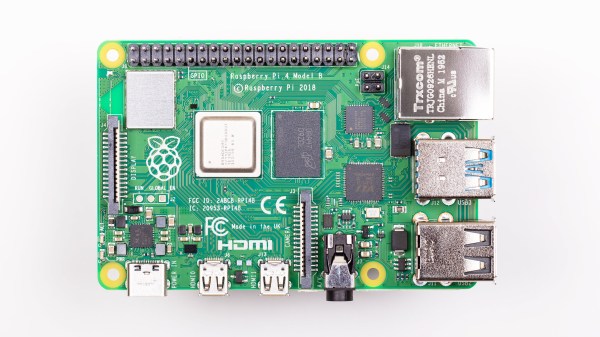
OK, so maybe it’s not the most impressive humanoid creation to ever grace the pages of Hackaday. But if you’re looking to spin up a simple telepresence system, you could do worse than browsing through the Python source code [Nick] has provided. Using a Raspberry Pi 4, a webcam, and a microphone, his client-server architecture combines everything the bot sees and hears into a simple page that can be remotely accessed with a web browser.
Naturally this work from home (WFH) bot wouldn’t be much good if it was just a one-way street, so [Nick] has also added a loudspeaker that replays whatever he says on the client side. To prevent a feedback loop, his software includes a function that toggles which direction the audio stream goes in by passing the appropriate commands to the bot over SSH; a neat trick to keep in mind for your own, less nightmarish, creations.
If you’re looking for something a bit more capable and have some cardboard laying around, this DIY telepresence mount for your phone might be a good place to start.
Continue reading “This Horrifying Robot Is Here To Teach You A Lesson”